A harvest in 7- 14 days: A step-by-step guide to growing microgreens
Microgreens provide fast-growing, highly nutritious mouthfuls of goodness.
Words: Fionna Hill
Microgreens are now a standard on restaurant plates and could easily be dismissed as just an attractive garnish, but they offer so much more.
A 2012 study of 25 types of microgreens by the University of Maryland and the US Journal of Agriculture discovered that their leaves may have four to six times more nutrients than mature vegetable leaves.
The four microgreens with the best health-giving properties were red cabbage, coriander, ‘Red Garnet’ amaranth and green daikon radish.
Microgreens are the immature leaves of vegetables harvested as seedlings; anywhere from a week to two weeks after germination, depending on the type planted and season. Any vegetable or
herb with edible leaves can be grown as a microgreen, including root vegetables such as carrots and radishes.
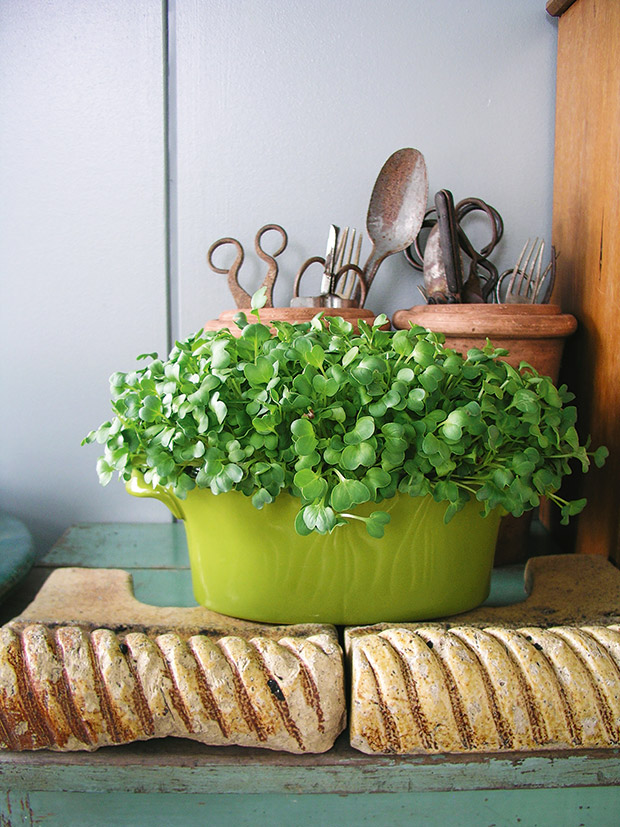
Extremely easy to grow, microgreens are intensely flavoured, vivid in colour, crisp in texture, and require little growing space – they’ll do well indoors or outdoors all year round, with exceptions being amaranth and basil, which require summer growing.
Some microgreens have more flavour than their full-sized counterparts – basil microgreens are stronger in flavour than mature basil leaves, whereas radish leaves taste like radish roots, mustard
is hot and spicy, green sorrel is lemony, cabbage is cabbagey, and carrots taste like, well, carrots.
GET GROWING
• In winter, greens such as brassicas are happy outside. In cool temperatures, grow more delicate varieties, such as basil and amaranth, indoors. Many microgreens will tolerate temperatures from 16-27°C.
• Grow in a sunny spot and watch for germination, which will vary according to what you grow– radish takes only a few days.
• Harvest microgreens at the cotyledon (seed-leaf) stage, cut at first true-leaf stage, or let them grow to baby leaves.
• To harvest, cut with sharp, long-bladed scissors just above the soil.
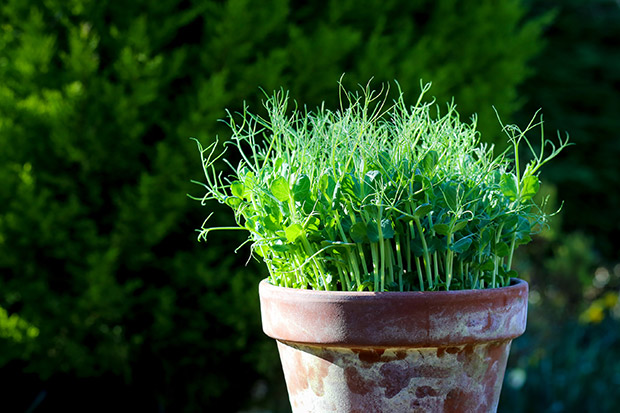
• Most microgreens can be harvested only once. Exceptions include wheatgrass, which can be cut when it’s 150mm high and again two weeks later; peas can be harvested by cutting only the tips and leaving shoots to grow on the remaining seedlings.
• Seeds are readily available from garden specialists, plant stores and some hardware stores.
• Although intended for cooking, store-bought seeds such as mustard and fenugreek (unless they’ve been heat-treated) can be grown successfully as microgreens.
PICK OF THE CROP
These seeds are easy and quick growing, varied and intense in flavour, and are also good looking:
1. Basil ‘Sweet Genovese’ (Ocimum basilicum)
2. Fenugreek (Trigonella foenum-graecum)
3. Mustard (Brassica juncea)
4. Radish ‘Rambo’ (Raphanus sativus)
5. Radish ‘Daikon’ (Raphanus sativus)
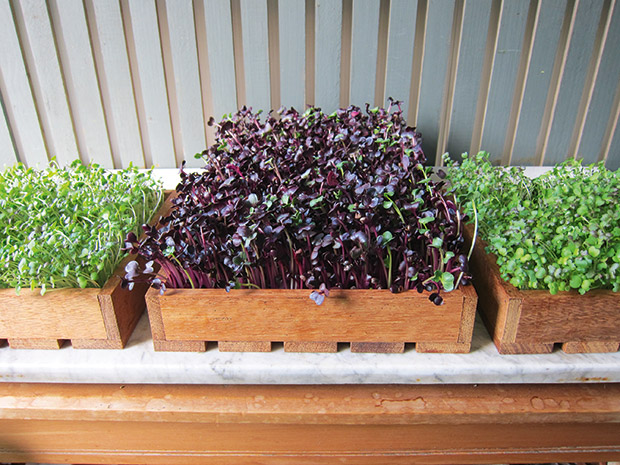
6. Red cabbage (Brassica oleracea)
7. Shungiku (Chrysanthemum coronarium)
STEP-BY-STEP GUIDE TO GROWING MICROGREENS
Step 1: Buy seeds in small quantities at first and in bulk once you decide on your favourites. A microgreen starter kit from Kings Seeds is a good way to try out an array of flavours.
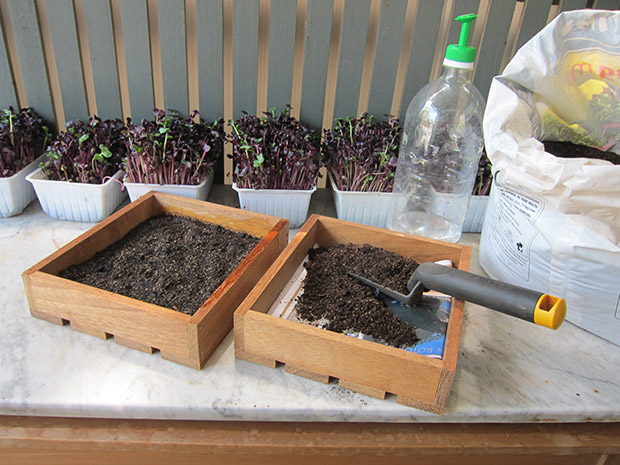
Step 2: Commercial seed-raising mix provides the best growing medium; fine potting mix can be used if it doesn’t contain large chunks of bark.
Step 3: Choose small, shallow containers with drainage, or propagation trays. A container with space to plant more than one variety at once will allow for staggered crops. Seed trays need to be well-drained for optimum growth and to avoid disease, but they must have adequate water for the massive quantity of seeds.
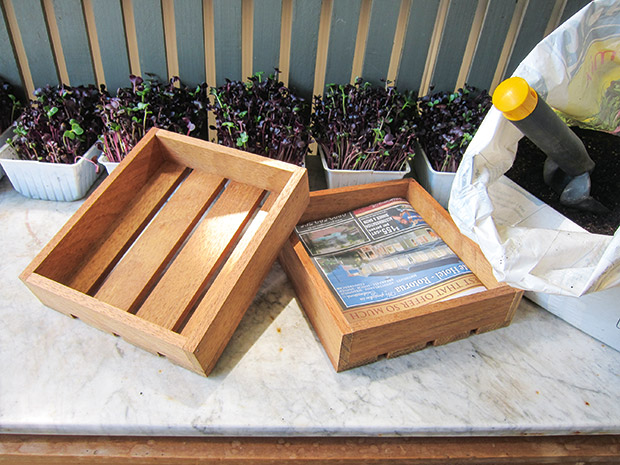
Step 4: Line the base of a tray with newspaper or cardboard and fill to just below the rim with seed-raising mix. A depth of 50mm or less of soil is sufficient. However, the soil surface should be near the rim of the container for air circulation and to enable easy harvesting.
Step 5: Sprinkle seed evenly and generously over the soil surface. For large seeds such as peas, plant ‘shoulder to shoulder’ – almost no soil should be visible.
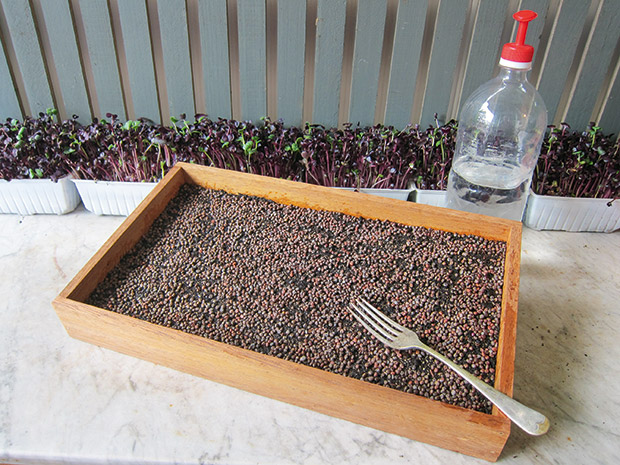
Step 6: Sift soil lightly over the top to just cover the seeds and press down gently.
Step 7: Cover with a damp paper towel, then remove once seeds have germinated.

Step 8: When first planted, gently water seeds daily with a nozzle or fine sprayer. Once germinated, water from the base by standing the container in a shallow tray of water – this will help reduce rot and mould. Don’t over water, but don’t allow seeds to dry out.

This is an extract from our special edition In Your Backyard: Living Lightly. The next edition, In Your Backyard: Sustainability Through the Seasons, is filled with practical advice on self sufficiency ideas and ways for living a greener life 365 days a year. Order online here.
