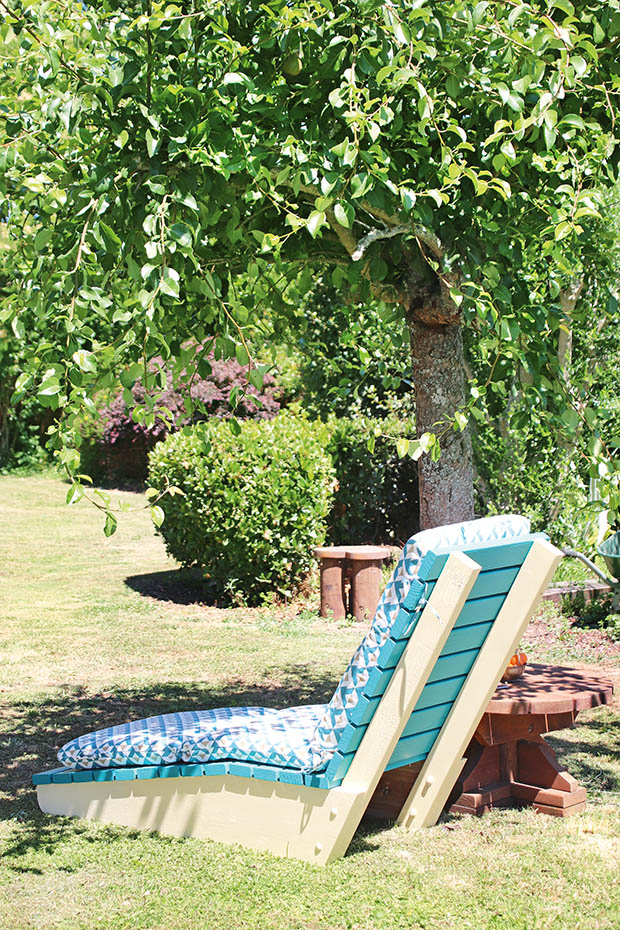
DIY: A sturdy outdoor sun lounger
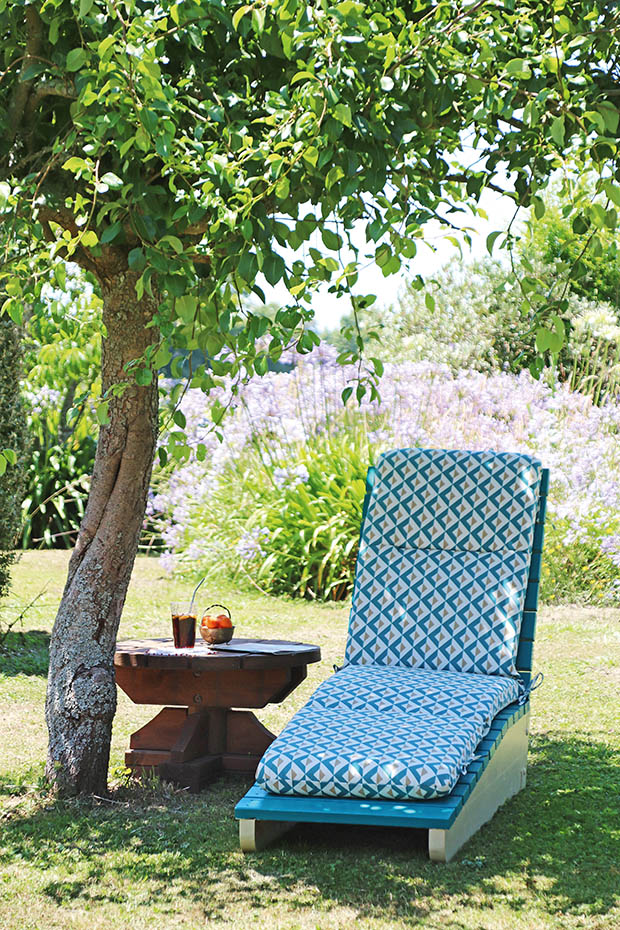
Welcome sunny days by relaxing in this easy-to-make lounge chair.
Words & photos: Julie & Jel Legg
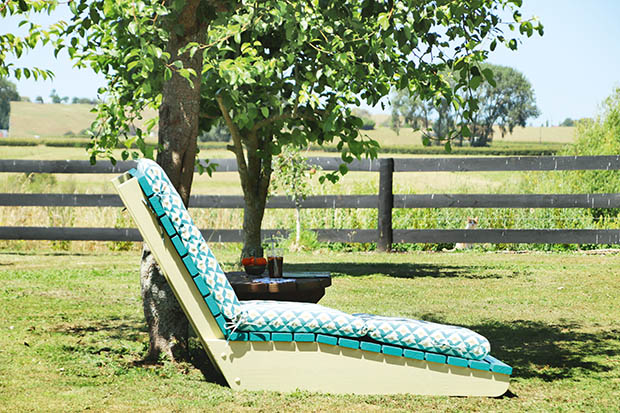
This project is a good way to use up decking timber off-cuts to create a sturdy sun lounger for the garden. The solid base has no complicated joins, and the angled cuts mean you get a comfortable recline. The curved front ‘toes’ also make it easy to lift and drag to a sunny spot without wrecking the lawn.
MATERIALS YOU WILL NEED
3m x 290 x 45mm SG8 H3.2 timber
3m x 90 x 45mm SG8 H3.2 timber
4 x M10 x 120mm coach bolts, nuts, washers
15m x 90 x 32mm decking timber
8G x 60mm timber screws
waterborne primer undercoat
semi-gloss waterborne enamel
INSTRUCTIONS
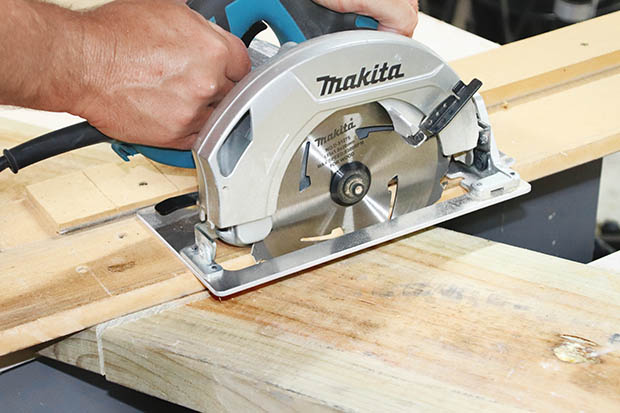
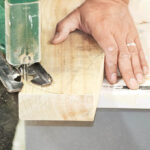
1. Measure and cut the 290 x 45mm H3.2 timber into two equal (1385mm) lengths. These will form the base of the lounger. At one end of each length, mark and cut a 60-degree angle.
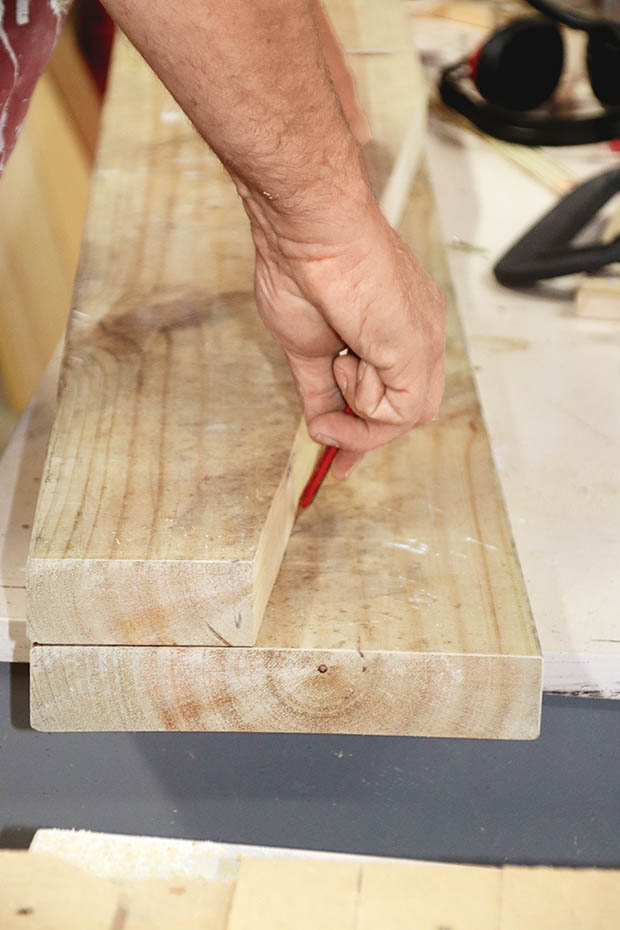
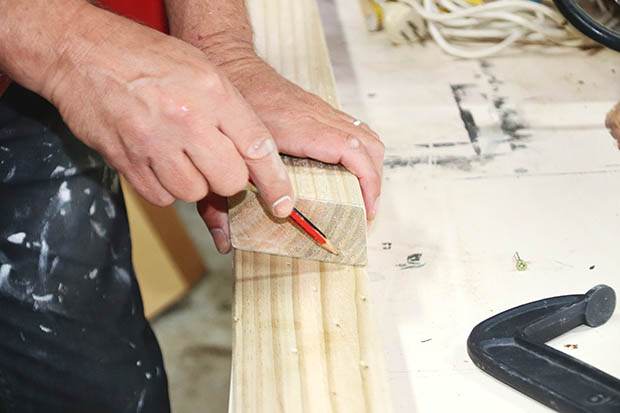
2. To create the angle along the base timber, lay one of the lengths of timber horizontally with the 60-degree tapered end to the left. From the top left corner, measure 500mm along and mark with a pencil at the top. From the bottom right corner, measure 100mm vertically and mark at the bottom. Draw a cutting line between the two points and cut. Make the same cut on the second length – use the first length as a template so they’re identical.
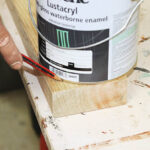
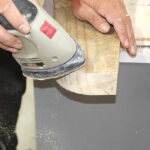
3. On both narrow ends of the base timbers, mark a curved shape and cut; we used the base of a paint pot as a guide. Sand the edges smooth.
4. To make the uprights for the reclined backrest, measure and cut the 90 x 45 H3.2 timber into two equal (1100mm) lengths. At one end of each length, mark and cut a 60-degree angle.
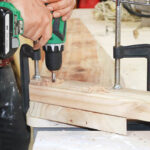
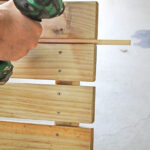
5. Clamp one of the backrest uprights to the 60-degree angled end of one of the long base timber lengths. The angled end of the upright should be at the bottom, flush with the bottom of the base timber. Drill two 10mm holes in the backrest length and through the base timber. Secure together with 10mm bolts, nuts and washers. Repeat for the second base and backrest. Drill the holes so the bolts go through the centre of the backrest uprights.
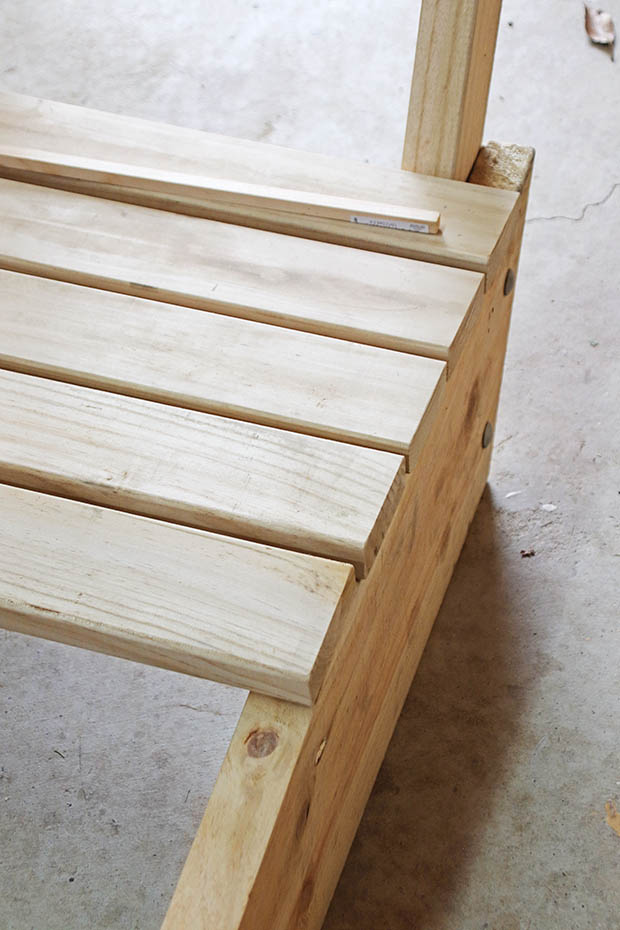
6. To make the lounger’s slats, measure and cut the 90 x 32mm decking timber into 21 x 600mm lengths.
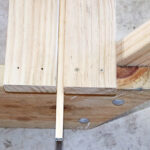
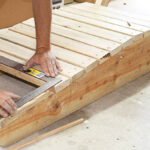
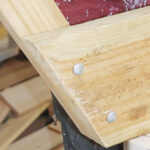
7. Space the slats equally along the base; we used a piece of 12mm wood for a consistent gap. Secure each slat to the sides of the base lengths, two screws per side.
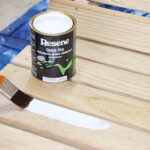

8. We painted our lounger with a waterborne primer undercoat. We finished with two coats of semi-gloss waterborne enamel tinted dark teal on the decking slats, and sandy yellow on the base and sides of the backrest.
JULIE’S TIP
The lounger is fine to use without padding, but we added a polyester outdoor lounge cushion to make it comfier.
