DIY: Build an underground worm farm suitable for a cold climate

Keep worms happy year-round with this easy-to-build underground worm farm.
Words: Nadene Hall Photos: Ben Elms
Ben Elms (aka Dr Compost) has been experimenting with an underground worm-farm system suitable for hot and cold regions especially those such as Central Otago, which can experience freezing winters. The method (see instructions below) involves three to five bucket worm farms dug directly into the ground.
Worms like to be warmer than 10°C and regular worm farms struggle in the colder months of the year when households are still producing the same amounts of veggie scraps, but worms are eating less.
However, the underground temperatures are often a lot warmer than surface temperatures and stay about 12°C or to 15°C year round. One of the many advantages of this system is that multiple worm buckets significantly reduce the risk of over-feeding the worms and killing them.
Use the buckets on rotation, switching to a different bin each couple of days, so the worm farm doesn’t come under intensive pressure.
INSTRUCTIONS
Source 3 to 5 high-quality 20-litre buckets with lids. Good ones are made of high-density polythene (HDPE 2 will be stamped on the bottom).
1. Drill plenty of holes with a 10mm to to 30mm drill bit in the bottom of the bucket. This will allow for good drainage. Continue drilling many holes around the sides of the bucket.
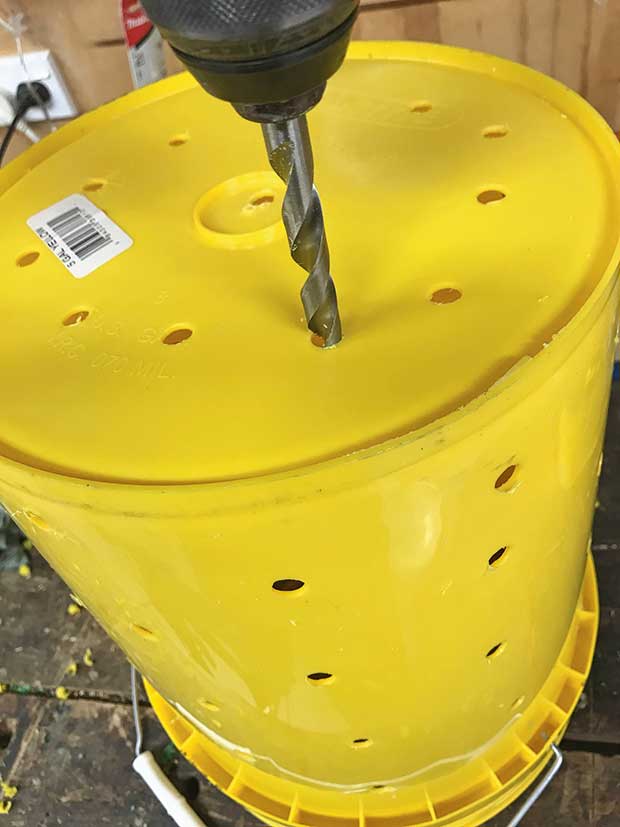
Using a tiny drill bit, drill small holes just below the top rim of the bucket (so small that mice can’t get in). These are the “breathing” holes. Note: don’t drill holes in the lid.
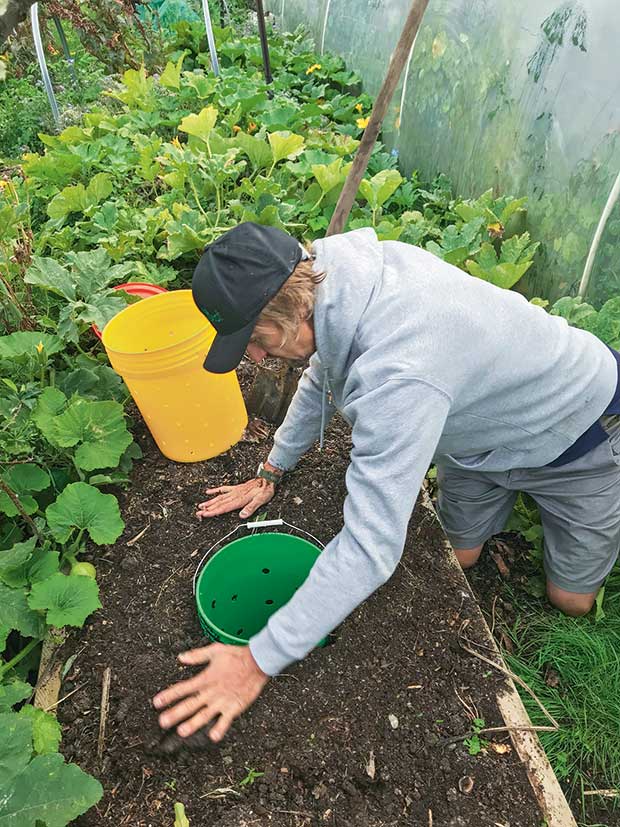
2. Decide where to place the bins — putting the buckets in the centre of the veggie patch is a great way to help organic matter reach prized veggies without difficulty.
Dig a hole slightly larger than the bucket so it is easy to slide the bucket in and out, and deep enough so the lid is at ground level. Regardless of where the bins are placed, they need to be in a spot with no water table so they are not prone to flooding.
3. Backfill around the sides of the bins to ensure they’re firmly in place.
4. Create worm bedding by shredding 5 large handfuls of cardboard for each bucket and soaking in water for 30 minutes. Split 1kg to 2kg of tiger worms evenly between the buckets. Then place the cardboard bedding material on top of the worms in the buckets.
Feed the worms with food scraps. (Remember that worms can’t eat citrus, kiwifruit, onion peel, oil or dairy.) Attach the lid.
5. Leave the worms for a week to settle in their new homes. Start feeding the bins. Remember to put food scraps in a different bin every couple of days. Ideally, each bin should receive food scraps once a week only.
TIPS:
Keep an eye on overfeeding in the first few months. Worms start to proliferate in the warmer months, and they will start munching through scraps faster.
Sprinkle a little dusting of lime every couple of months, which will keep the worm farm a bit “sweeter”.
Every now and again shred and soak a little cardboard as a treat for the worms.
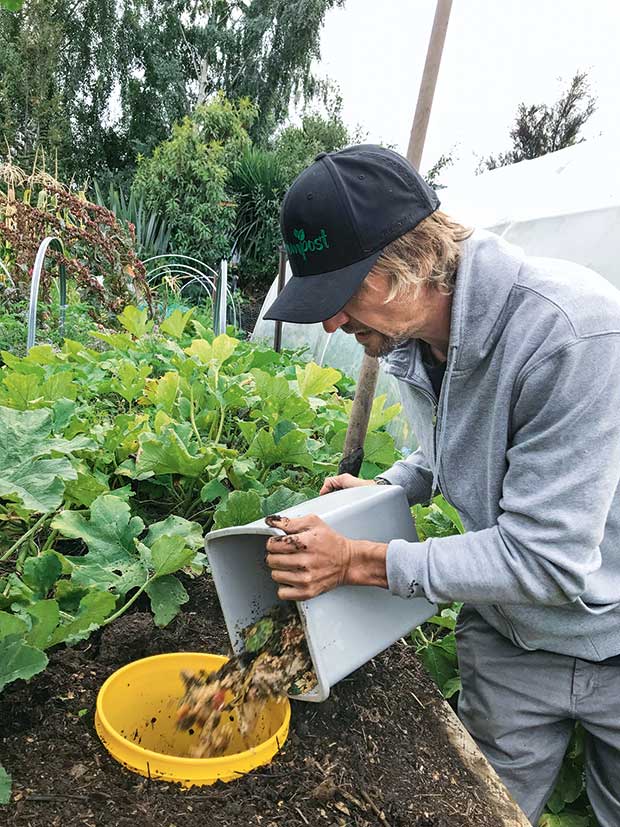
When a bin fills up to the top, gently lift out the top 5cm of food scraps and vermicast and set aside, along with the majority of worms. Dig out all the vermicast and use in the garden. Return the portion of scraps and the worms to the bin to start the process all over again.
To make vermicast tea, mix a couple of handfuls of vermicast with water in a 20-litre bucket or watering can. Add a large spoonful of molasses, stir and then feed the natural goodness to veggies.
The more worms in each bucket at the beginning, the quicker this system works. An ideal amount is 500g in each bucket.
Over the winter months, insulate above the bins with a straw bale or a hessian sack — anything that will keep the worms cosy.
Big families can use 50-litre bins instead of the 20-litre buckets. Increase the number of worms in each bin.
