DIY: Cat-shaped heating pads
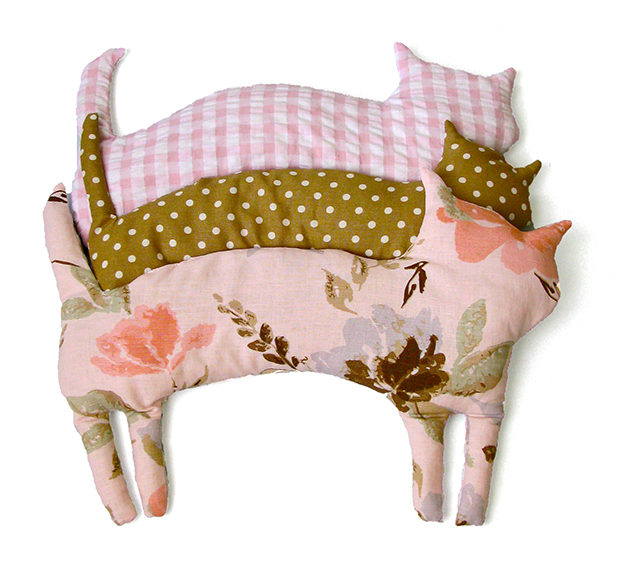
These easy cat-shaped heat pads are purrfect for keeping warm in winter.
Words: Jane Wrigglesworth
Heat pads are perfect for soothing aching muscles and dead easy to make. This cat-shaped pad took no more than an hour to whip up. Bank on less than half an hour if making a simple, rectangular heat pad.
To heat the pad, place in the microwave for one to three minutes. Place a cup of water in the microwave while heating.
Note: I’ve used rice, but whole grain wheat, buckwheat, barley or flaxseed is also suitable.
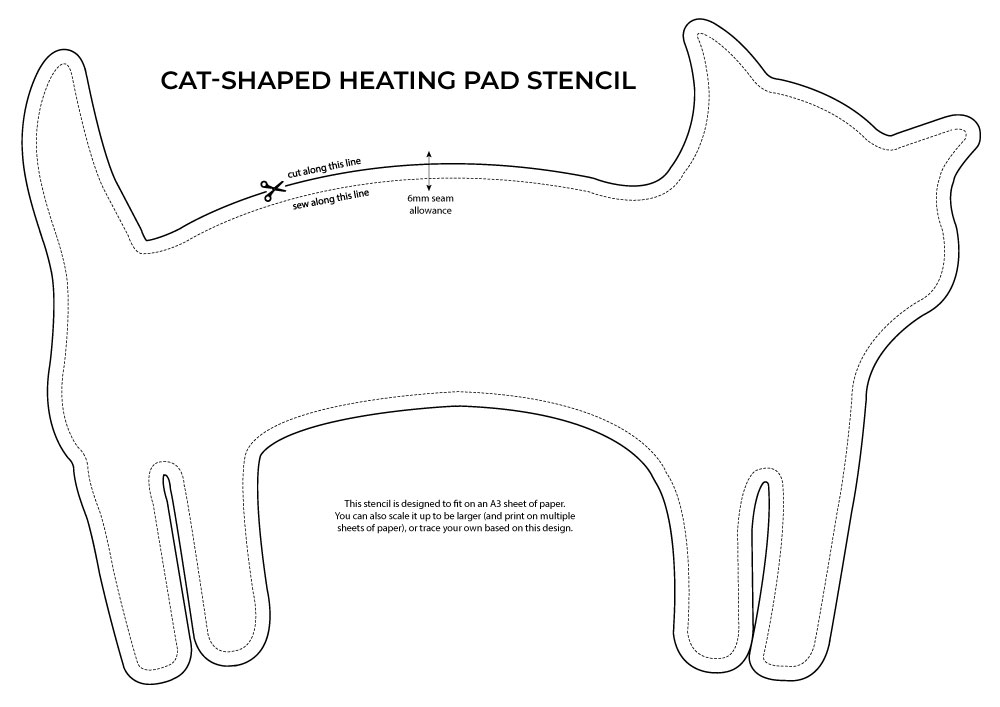
DOWNLOAD A PDF STENCIL OF THE CAT-SHAPED HEATING PAD
MATERIALS
Cotton fabric
Sewing machine
Sewing thread
Rice (or alternative filler, see note above)
Needle
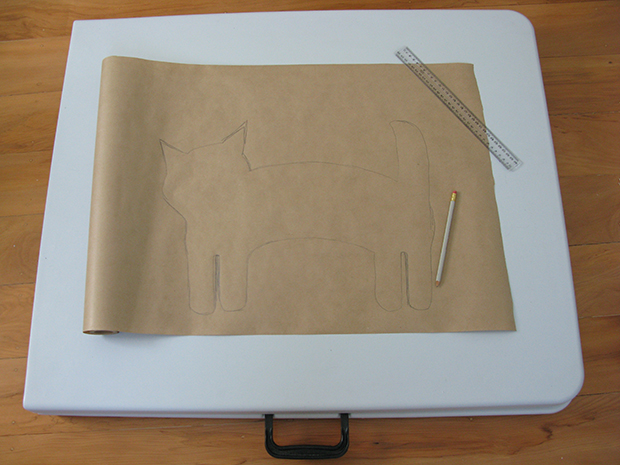
Step 1
Draw a freehand pattern. Try a cat, dog, horse – any shape that has an elongated body (it needs to be long enough to fit around the neck).
For this pattern, the distance between the two inside legs is 210mm. Each paw is 45mm wide. The distance from the top of the head to the bottom of the front paws is 300mm.
Note: Cut the pattern big enough to allow for a 6mm seam.
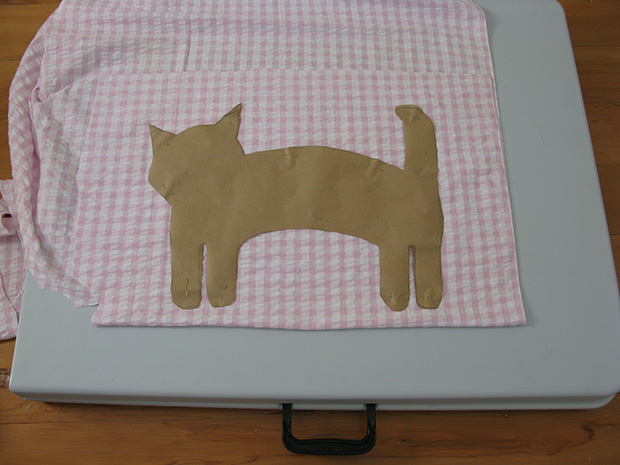
Step 2
Fold the fabric in half with the right sides together. Place the pattern on top and cut it out (you’ll end up with two cat shapes).
With the right sides still together, stitch along the edge of the fabric around the cat, leaving a 100mm opening on the back.
Step 3
Clip the concave curves within the seam allowance, being careful not to cut into the seams. (To clip curves, make tiny cuts from the raw edge in towards the stitching. This allows the fabric to sit straight when turned right side out.)
Now make notches in the convex curves – a series of “V” shaped cuts within the seam allowance. Notching removes small amounts of fabric to reduce the bulk in the finished product.
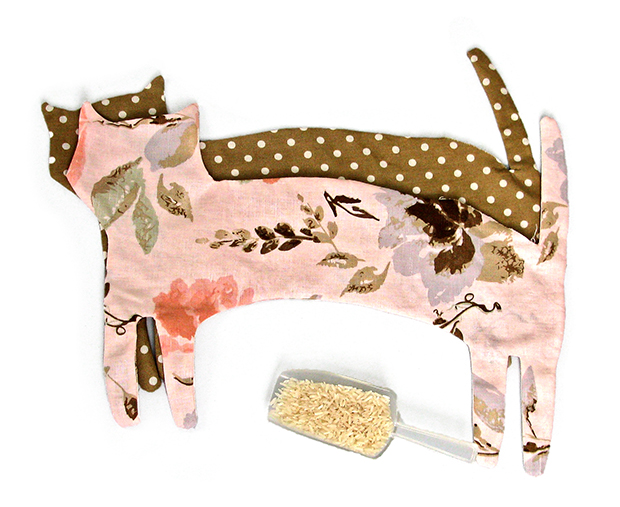
Turn the fabric right side out and fill with rice. If desired, mix the rice with a few drops of essential oil before filling.
Top stitch the opening with a needle and thread to keep the filling in place.
