DIY: Upcycle an old dresser into a chick brooder
If you’ve got a 1970s dresser that isn’t ever going to come back into style, here’s how to re-purpose it into a chick brooder.
Words and images: Julie Legg
A brooder houses newly-hatched chicks in a warm, contained, weather-proof and pest-proof environment. Brooders can be made from virtually anything, from plywood to a converted plastic bathtub.
Upcycling an old piece of household furniture is a creative, attractive option.
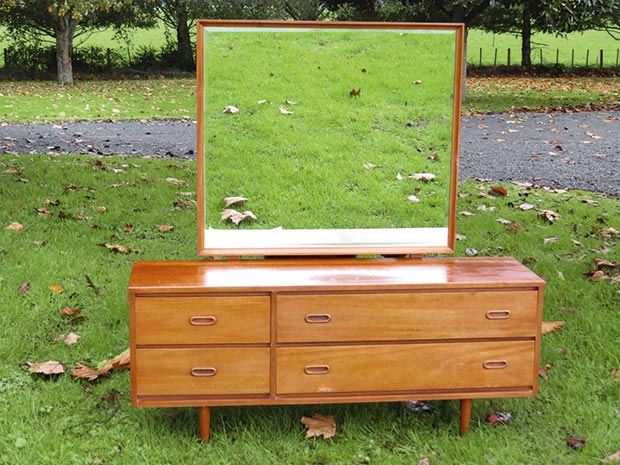
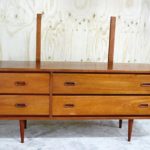
Before.
A brooder is a secure home for vulnerable chicks to grow happily and reach a size where they will be hardy enough to survive outdoors. It needs to be an insulated space, have natural air-flow and protection from the elements.
Heat is very important. There are a wide range of products to keep chicks warm, including ceramic heat lamps, heat pads, and heat plates.
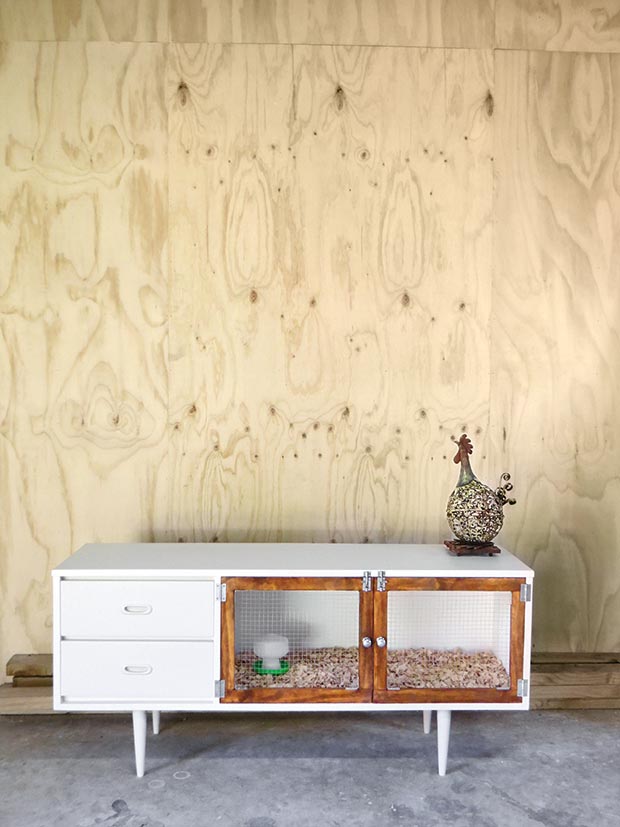
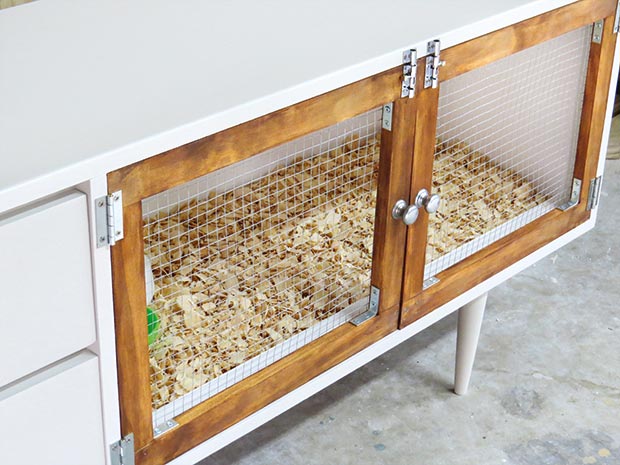
Add a bed of wood chips, a feeder and water dispenser and it’s ready to go.
In this project, an old bedroom dresser was upcycled into a brooder. Some drawers were kept for handy storage, but the main drawers were removed and replaced with lockable mesh doors.
The inside of the brooder is painted in low-sheen kitchen paint (Resene Alabaster), chosen because it is easy to wipe down and clean. The light colour also makes it easier to spot a mite infestation.
Your chosen piece of furniture will differ in size and shape. This project refers to measurements specific to this example. However, the steps you need to take to convert a dresser to a brooder will be similar.
MATERIALS
38mm x 19mm dressed pine
38mm angle brackets x 8, packs of 4 with screws provided
50mm corner braces x8, packs of 4 with screws provided
30 x 15mm U-shape
staple nails
12mm x 12mm x 0.7mm mesh
4 x 50mm hinge butts
2 x 38mm barrel bolt
INSTRUCTIONS
Step 1: Remove the mirror and dismantle supporting struts, as/if required.
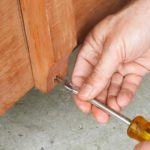
Step 2: Identify the ‘brooding room’ by removing drawers to create a large, open space. Remove any supporting drawer runners or dividers to create a clean cavity. Keep any framework that may act as a ‘lip’ to help with the closing of the newly-created doors.
Julie’s tip: If no lip exists on the furniture, use strips of 10mm x 10mm wood pinned to the inside base and ceiling, inset approximately 25mm.
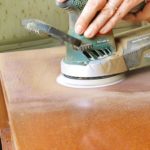
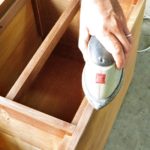
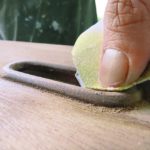
Step 3: Sand all surfaces that need painting, including the faces of any drawers you are keeping, legs, and any internal rough areas that have been exposed by removing the internal drawer runners.
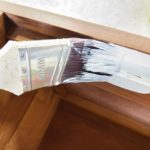
Step 4: Paint prepared and exposed wood with undercoat/primer. Finish with 2-3 top coats of your choice. We re-used paint left over from our kitchen renovation: low sheen Resene Alabaster for the interior brooding space, Resene Quarter Tea for the exterior, and Resene Half Tea for the drawer faces and legs.
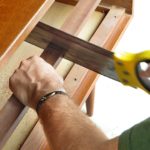
Step 5: We used 38mm x 19mm dressed pine for the doors. Measure the cavity and cut vertical and horizontal door pieces to suit the space, allowing a 3-4mm gap all round for an easy fit.
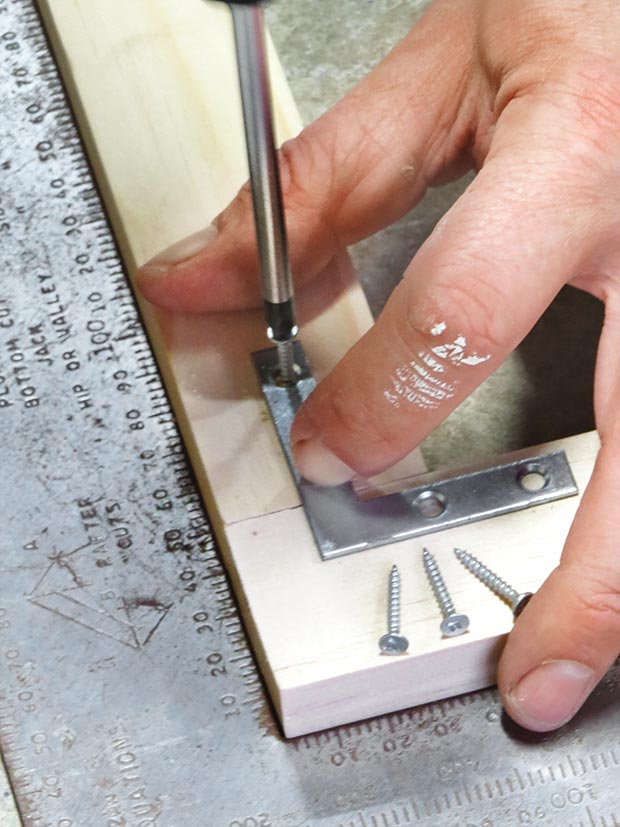
Join each corner of each door with a 38mm angle bracket, on the inside face, a total of eight brackets for two doors. Use a set square to help ensure they remain square.
Julie’s tip: Once assembled, place the door in position to check for a correct fit. If it’s slightly too tight or not perfectly square, now is the opportunity to plane any sides that stick.
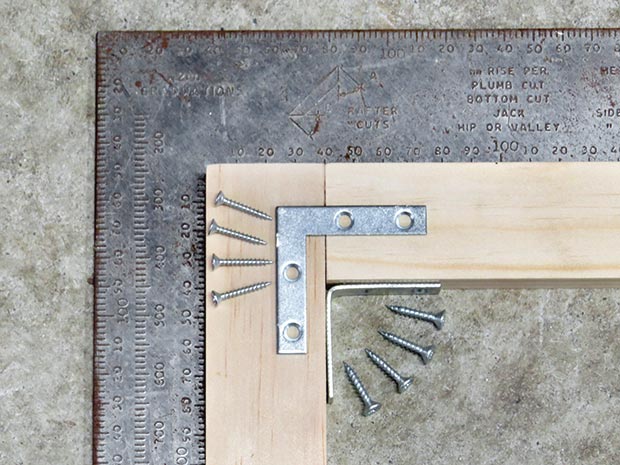
Use a set square while you screw the brackets in place to ensure they remain at a 90° angle.
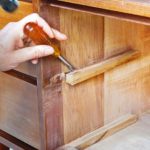
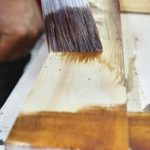
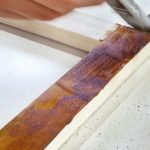
Step 6: Stain or paint the wooden door frames.
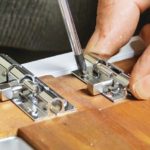
Step 7: When the stain or paint is dry, screw 1 x 50mm corner brace to each of the eight inside door corners.
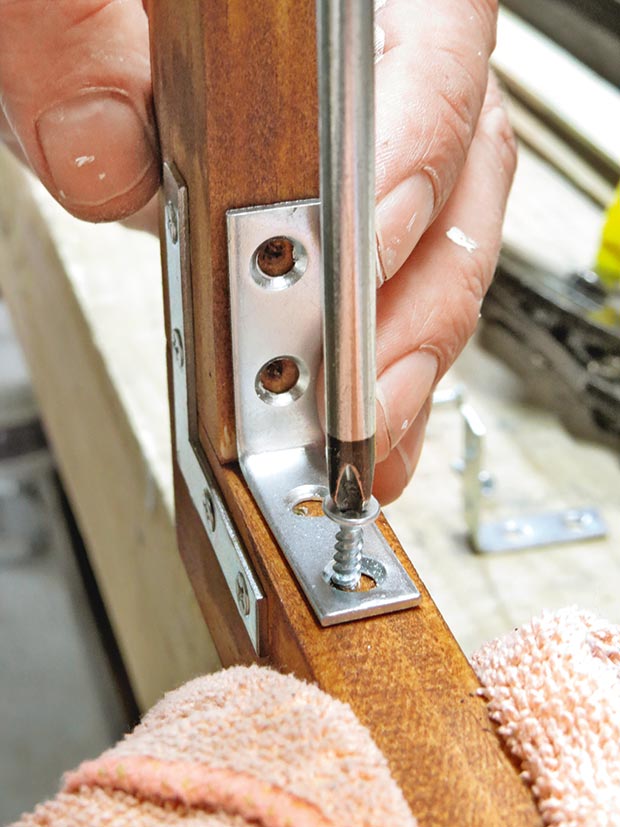
Julie’s tip: Holding the frame upright in a bench vice makes this an easier, more accurate job.
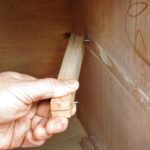
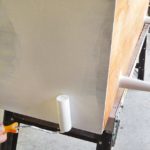
Step 8: Measure and cut the mesh to size, ensuring none of the mesh protrudes wider than the door frame. Place the doors on a flat surface with the bracket angles facing up. Attach the mesh to this side, which will be the inside of the door. Use 2.0mm x 15mm U-shaped staples, starting in each corner of the mesh, and complete with enough staples to ensure the mesh is secured.
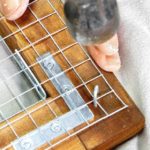

Use plenty of staples to keep the mesh securely in place.
Step 9: Place the brooder on its back and lay the doors in place horizontally. Carefully fit the hinges, two for smaller doors three for larger doors, per door.

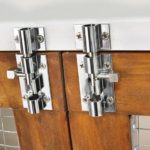
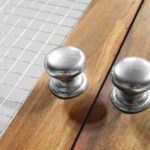
Mark and attach a slide bolt on each door, which should be sufficient to keep them secure. Attach handles or knobs to doors, if required.
Step 10: Drill a hole in the back wall to allow a power cable to be threaded through. The height will vary, depending on whether you are using a lamp which needs to hang, or a heat pad or plate which sits on the floor.
Finished and ready for chicks. The width of this brooder means the heat source can be at one end, food and drink at the other.
