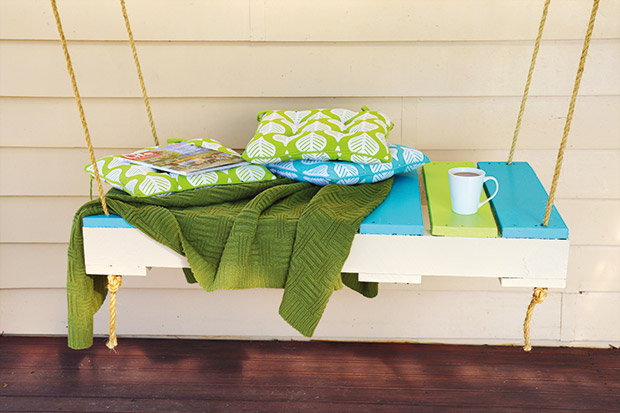
DIY: Upcyle an old pallet into a pallet swing
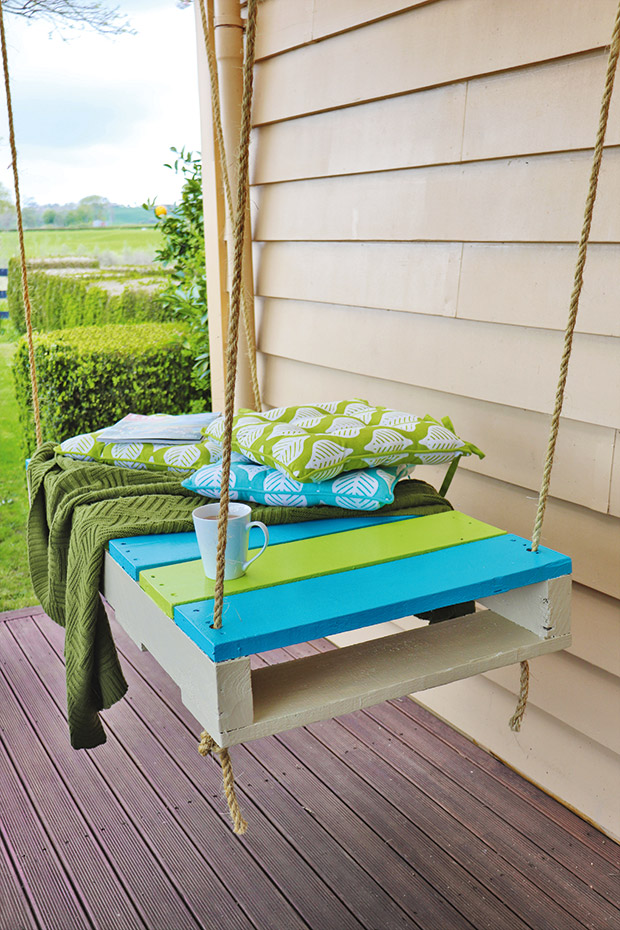
An old pallet becomes a place of rest.
Words & images: Julie & Jel Legg
Wooden pallets are a DIYer’s friend. They’re used to hold heavy goods, and to be moved around by forklift or pallet jacks. This means they are robust, but also portable. But even sturdy, hard-wearing wooden pallets have a set lifespan, and are offered up free on roadsides in industrial zones.
Pallets may have damaged, rotten, cracked, or missing battens. Look for a second ‘donor pallet’ of the same size so you can dismantle it and replace any boards you need.
Tip: Most pallets have been treated with chemicals. Always use safety goggles and a mask to protect yourself from particles and pollutants when cutting or sanding pallets.
MATERIALS
wooden pallet
12m x 13mm hemp rope
duct tape
paint
TOOLS
skill saw
crowbar/hammer
sander (or sandpaper)
wood drill
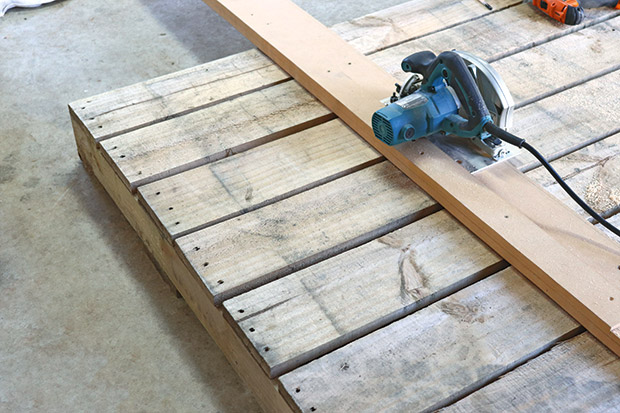
Pallet before landscaping.
INSTRUCTIONS
Step 1: Select a pallet. If required, cut to size – we cut ours in our half. To cut a straight line, we made a jig out of two pieces of wood to fit our skill saw. This was clamped (or could be temporarily screwed) in place so the cut was straight. Flip the pallet over and cut the underside to match.
-
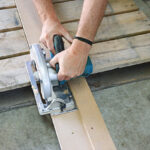
- Cut the pallet to size.
-
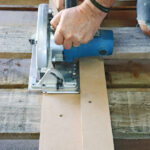
- Flip over and cut the underside.
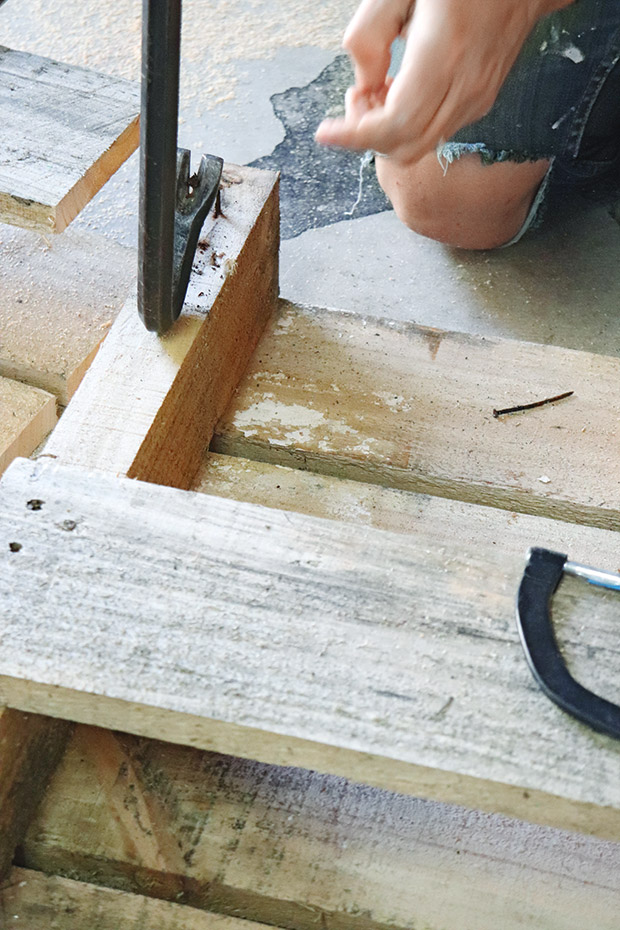
Step 2: Replace any rotten or missing boards with wood from a donor pallet or other offcuts.
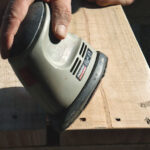
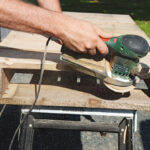
Step 3: Sand all edges to remove any splinters or rough burrs until the wood is smooth to touch.
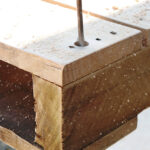
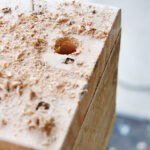
Step 4: Mark and drill holes in each corner. Ensure the holes go through the entire pallet – top, centre, and bottom boards. Watch for nails – adjust where you drill the hole to avoid them.
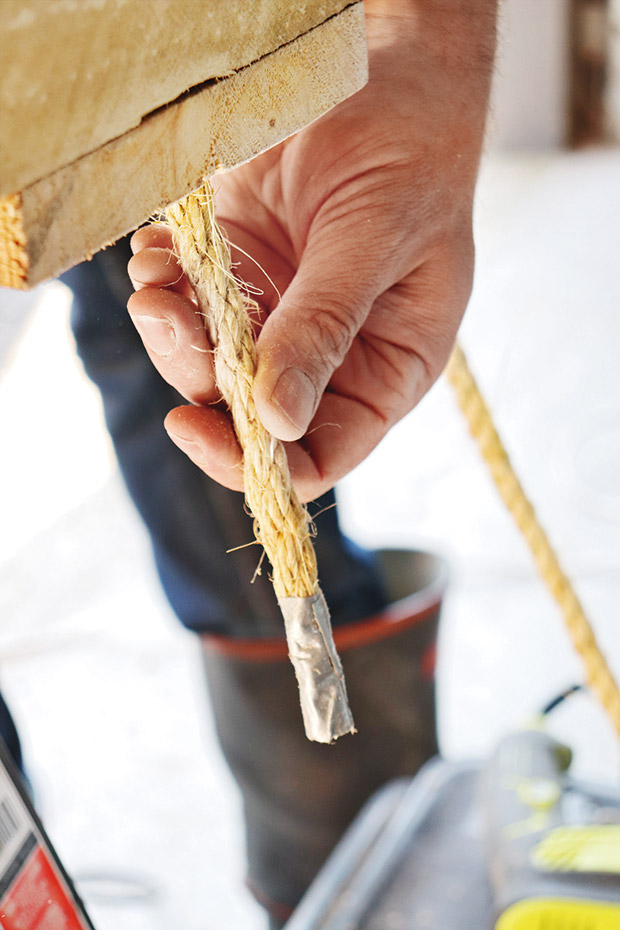
Step 5: Wrap a piece of duct tape around the end of the length of the rope – this makes it easier to feed it through the hole. Push through to ensure the holes are the correct size; they should be only slightly bigger than the rope.
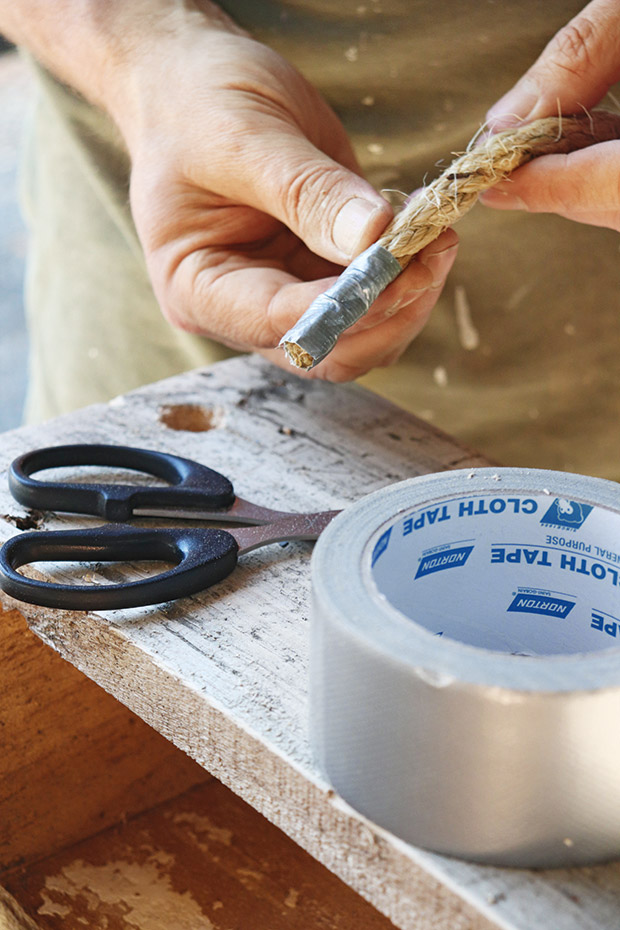
Wrap the end of the rope with duck tape and thread through the hole.
Tip: Ensure the rope is in good condition, appropriate for the weight it will hold (the pallet and a person), and that knots are secure. Also, check the beam/s, and any bolts or other attachments you use are strong enough to bear the weight.
Step 6: Tie a secure knot at the end of the ropes – an overhand knot is the simplest option. The other ends can be tied to eye-bolts or bolts secured to beams. Use a level to make sure it sits flat.

Step 7: Paint your pallet. We used a waterborne primer undercoat, and two coats of semi-gloss waterborne enamel paint in colours to match our cushions.