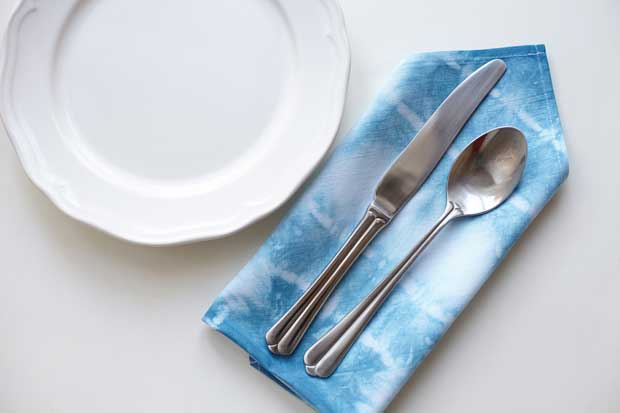
Homemade gift idea: tie dyed napkins
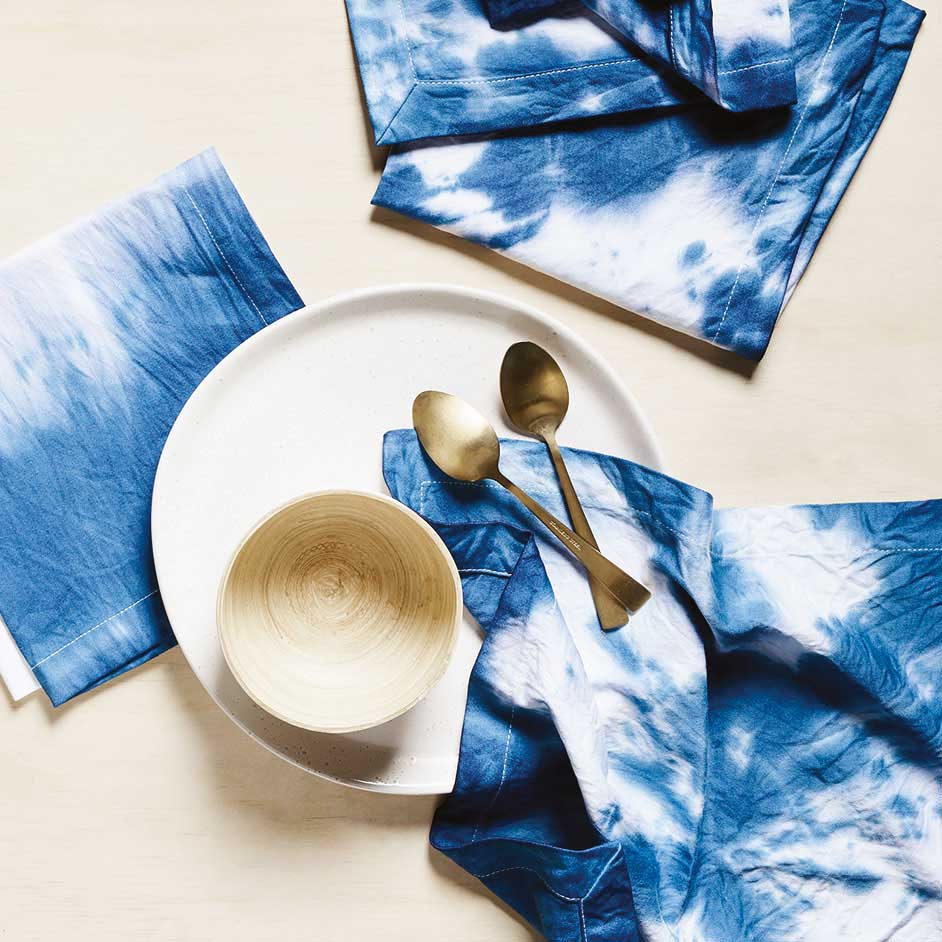
Add a splash of colour to the dinner table with these simple tricks for tie dyeing and shibori napkins. They are an easy homemade present to make.
Photography: Spotlight
MATERIALS
Linen napkins (set of 4)
Water
Cling wrap
Clean work space
A tie dye kit
Without a tie dye kit:
Dye in chosen colour (indigo creates a good contrast). A thick dye such as Tulip brand is easy for application
Plastic gloves
Rubber bands or plastic cover (to protect surface)
INSTRUCTIONS
Step 1- Before you start tie dyeing, make sure to wash your napkins. Then grab your damp fabric directly from the washer and prep it for dyeing.
Choose your tie-dye technique and fold, twist and bind your fabric accordingly. Consider trying shibori, a Japanese method of dyeing patterns by twisting, binding, wrapping, folding, stitching (see video below).
Step 2- Mix your dyes. Simply add water and mix until all the dye is mixed in. Lay out large plastic sheet to protect the surface you are working on and put on the plastic gloves.
Step 4- Dip the fabric into dye until thoroughly coloured then carefully untie, unfold and cut stitches so it can be dried flat (see step 5). If using a thick dye such as Tulip brand, you can squeeze the dye directly onto different sections of fabric. You might need to rotate and/or flip your fabric as you are applying dye to make sure you cover all sections.
Step 5- Cover your flat tie-dyed fabric in cling wrap to keep damp while the dye sets. Let it set for 6 to 8 hours or longer for brighter colours. Follow the instructions on the dye packet for laundering and washing directions.
Step 6- Once your fabric is washed and dry your napkins are ready to use!