How to sprout, plant and grow kūmara and potatoes
Late winter or early spring is a great time to start sprouting kūmara and potatoes.
Recipe and photo: Extract from Homegrown Happiness by Elien Lewis
1. Kūmara
Late winter or early spring is the perfect time to start off your kūmara tipu (also known as tupu, slips or shoots) as kūmara need a long, warm growing season. Starting them off indoors nice and early means they get the head start they need. This is pretty important if you live in an area with shorter summers.
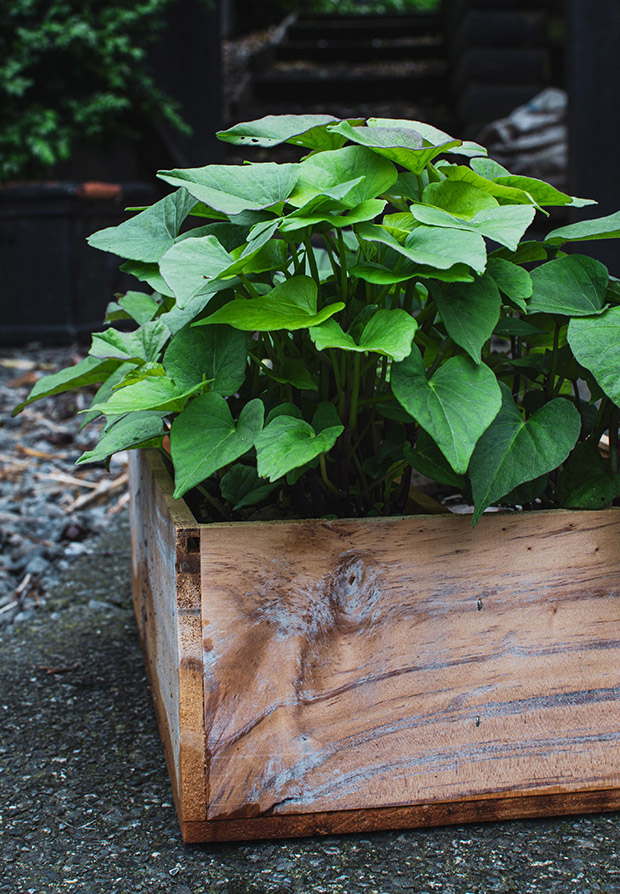
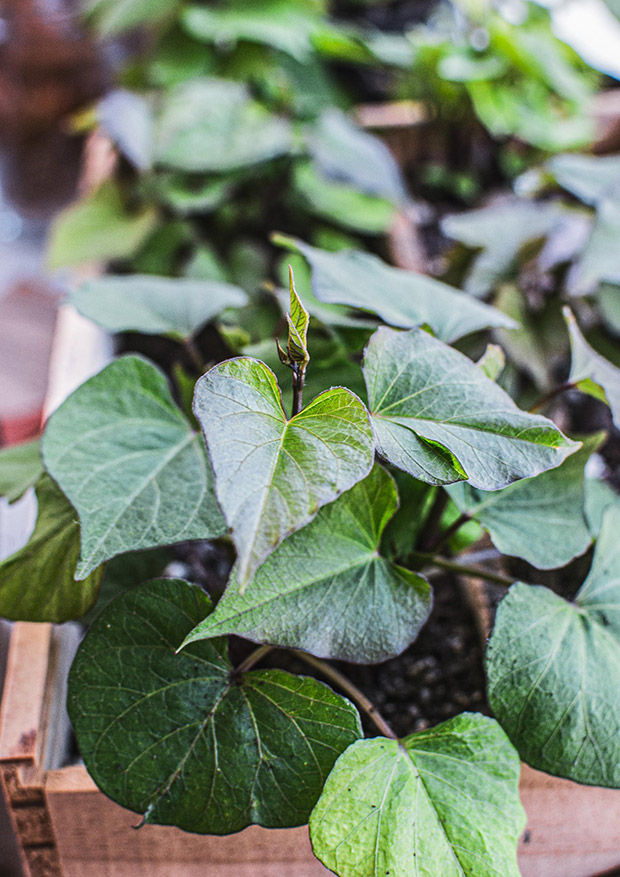
One kūmara tuber can sprout many shoots. Each shoot will feed off the parent kūmara and eventually grow its own roots. Each shoot then becomes an individual kūmara plant. Once these shoots are between 20 and 30 centimetres long, they can be gently pried off the parent kūmara, roots and all, and planted in the garden. If your tipu don’t have roots yet, don’t worry — you can place them in a glass of water for a few days until roots grow.
Ideally, the tipu should not be planted in the garden until the soil is at least 18°C and all risk of frost has passed. This is usually in late October, but depending on where you live it might be earlier or later. Just remember that if your soil is too cold, your kūmara growth will slow right down.
Kūmara grow well in the North Island and the upper half of the South Island. They’re very frost-tender and need a sunny spot, with warm soil while they grow. If you live in an area with shorter summers and you still want to give it a go, they can be planted in pots that can be kept covered and protected. Kūmara leaves also make a delicious spinach substitute, so even if not many tubers form, it’s not a wasted crop.
TWO WAYS TO SPROUT KŪMARA TIPU
Kūmara need warmth to sprout, then water to grow roots. You might find your kūmara sprouting all by themselves if your kitchen gets warm enough.
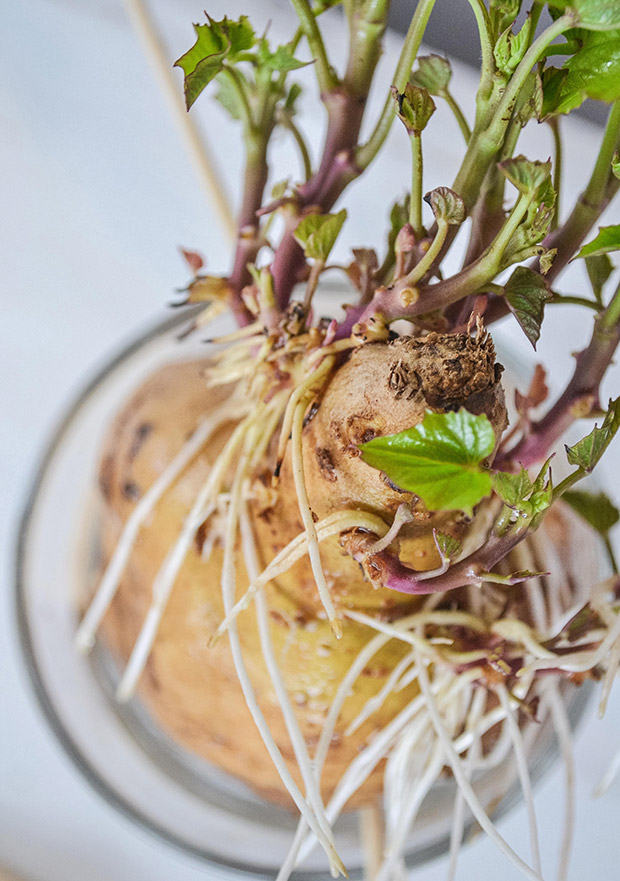
1. Kūmara in a glass
Place a firm, unblemished kūmara in a glass of water, so that its bottom is submerged. Keep this on the windowsill or bench. In 10 to 15 days, you will see shoots forming on the kūmara. Keep the kūmara in water until the shoots are long enough and the soil is warm enough to plant.
2. Kūmara in river sand
Choose a box or a pot with drainage holes and fill it halfway with coarse river sand. Place a firm, unblemished kūmara into it. Cover with sand and water well. Keep the box in a warm space indoors or in a glasshouse. Ensure the sand does not dry out as shoots will push through the sand. Let them keep growing in the box until they are long enough, and it is warm enough outside to plant them out.
Kūmara is usually ready to harvest five to six months after planting the tipu.
2. Potatoes
Planting out potatoes in September will result in fresh spuds on the table in time for Christmas. If you’re planting an early variety, they will be ready even sooner. Early variety potatoes can be sprouted as early as August, but don’t worry if you haven’t sprouted them by then. It’s not critical to do so, it just shaves off a bit of growing time.
Planting a variety of potatoes with different harvesting times is a great way to extend the harvesting period. A quick-growing variety can be ready in three months, a middling variety takes four months and a late-maturing potato can take about five months. Here are a few common types and their average harvesting times:
► Swift: 70–80 days. An early variety. They are delicious boiled and eaten as little new potatoes.
► Rocket: 80–90 days. An early variety. It is a waxy potato that’s great for boiling.
► Purple Passion: 80–90 days. An early variety. These are beautiful purple-skinned potatoes with cream coloured flesh. Great for boiling and roasting.
► Cliff Kidney: 80–100 days. An early variety, though they can be left in the soil longer depending on how big you want them. They’re a nice waxy potato.
► Highlander: 80–100 days. An early variety. Waxy and perfect for boiling.
► Jersey Benne: 80–100 days. An early variety. It is a creamy oval potato that’s great boiled.
► Desiree: 90–120 days. A red-skinned main crop potato that’s very versatile and can be boiled, baked or mashed.
► Red Rascal: 100–130 days. A main crop variety that’s disease resistant. It has a floury texture, so it’s great for baking and in mash.
► Agria: 140–160 days. A late crop variety. They have a floury texture and are excellent baked.
HOW TO SPROUT POTATOES
Early varieties of potatoes can be sprouted from August onwards. Getting some decent sized sprouts on them now is going to give the plants a good head start. Seed potatoes can be purchased from garden centres or many online garden stores. Certified seed potatoes are guaranteed to be virus-free and you will know exactly what variety you are getting. Alternatively, it is possible to sprout supermarket potatoes. If you have concerns about any sprays that may have been used, purchase them from an organic produce shop.
To sprout potatoes, simply place the seed potatoes on some newspaper or pop them in egg cartons with the lid on, in a dry, light place out of direct sunlight. They will start growing sprouts from the ‘eyes’, which are the little growing points on the potato. It takes around four to six weeks to grow decent-sized sprouts. When they are long and strong, you can keep three or four of the strongest ones and rub off the rest.
PLANTING POTATOES
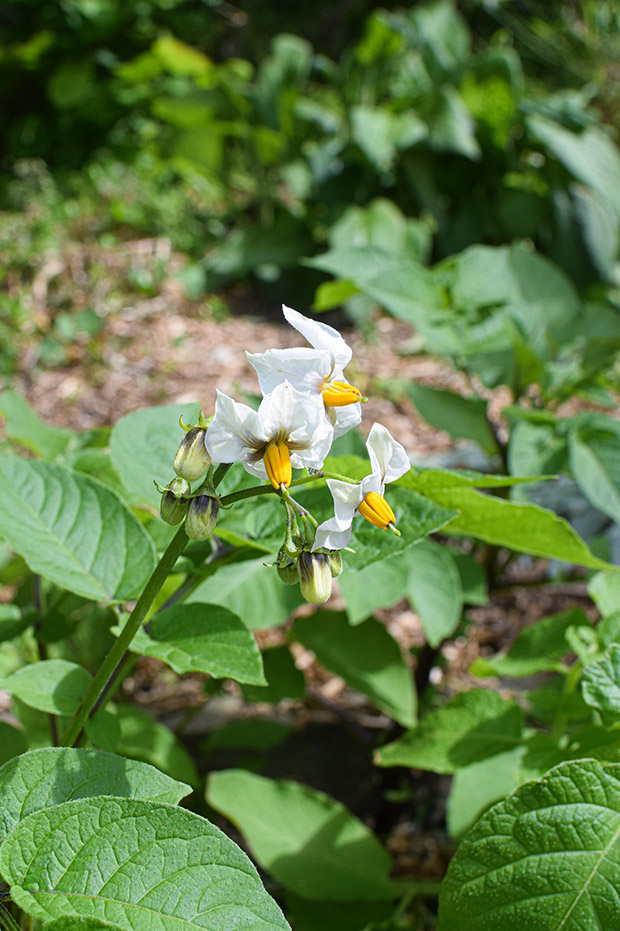
Traditionally, planting potatoes is done by digging long trenches about 15 to 20 centimetres deep and 50 centimetres apart. The sprouted seed potatoes are placed in the trenches and covered with soil and mulch. As the potato greens start poking through, more mulch should be continuously added on top as the potato plants grow. The extra layers of mulch are to ensure the potatoes are not exposed to sunlight. If a growing potato sees the sun it will turn green and become toxic.
Potatoes grow very well in pots or bags, as long as they are deep enough to mound on mulch or compost as the potato greens grow. Start them off in a small amount of compost first, just so it covers them. Then continue to add on layers of mulch or compost as the tops poke through.
Potato tops are very frost tender, so if the greens have poked through and you’re still expecting frosts, covering them in frost cloth is a good precaution. A frost won’t necessarily kill your potatoes, only the green leaves, but it will slow down the potato growth as the plants will have to put their energy into producing more green shoots.
When planting potatoes, I find it helpful to take note of the variety I have planted, so I know when to harvest them.
NO-DIG POTATOES
I use a no-dig method for planting potatoes. On a no-dig garden bed, add a generous layer of about 5 centimetres of well-rotted compost. Lay out your seed potatoes in rows, spaced about 20 to 25 centimetres apart. Use a trowel to make a 10-centimetre-deep hollow in the soil for each potato plant. Place the potatoes in them with their sprouts facing up.
Cover with a 3 to 4 centimetre layer of compost or mulch. I usually use hay and mix in some grass clippings and chopped plants. For now, the mulch is there to conserve moisture in the soil and for warmth. In one- or two-months’ time, when the potato plants are large and tall, mound compost or mulch around the base of each plant to block any sunlight reaching the tubers close to the surface.
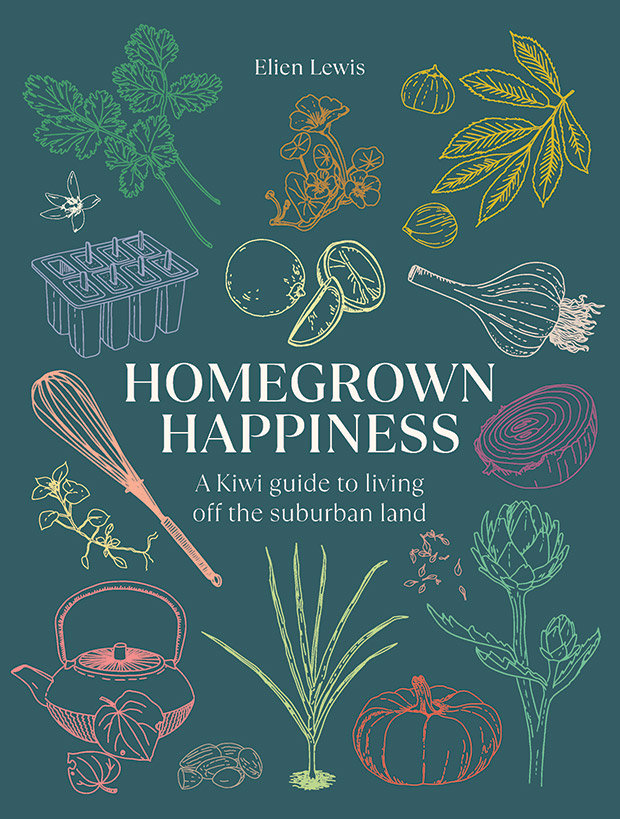
Extract from Homegrown Happiness: A Kiwi Guide to Living off the Suburban Land by Elien Lewis, photography by Elien Lewis, published by Bateman Books, RRP$ 39.99.
