How to make a birdhouse out of a gourd
If you’ve ever grown gourds you’ll know just how prolific these cucurbits can be, but do you know how to turn them into an art form?
Words: Jane Wrigglesworth
Gourds are fun to grow, but you can end up with enough to last a lifetime, or at least a healthy supply to flick off at the local markets and to friends, family, strangers. Anyone. Gourd growing in New Zealand is not as popular as it is in the US, where the American Gourd Society and The Gourd Magazine were set up to satiate their thirst for all things gourd.
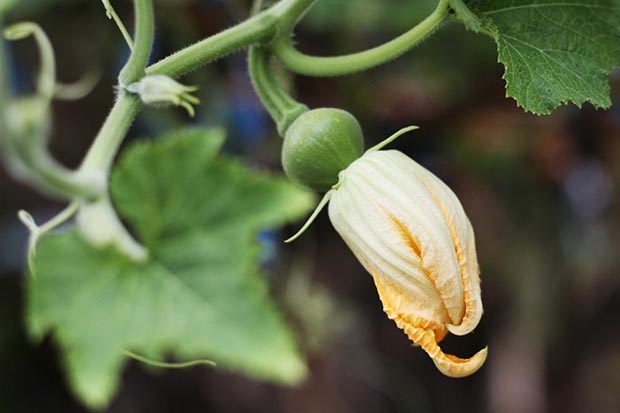
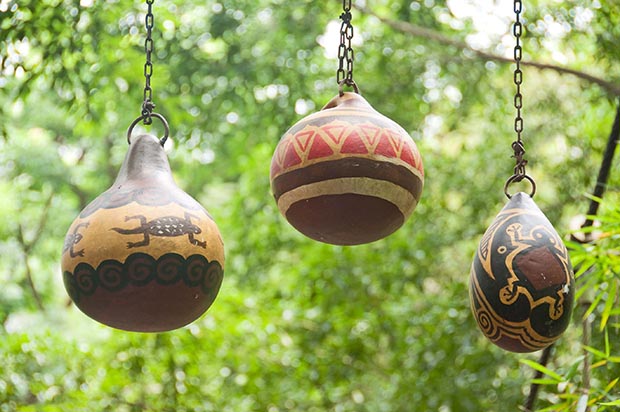
Speak to any American and they’ll tell you that hard shell gourds have been grown and used for as long as anyone can remember. In times past they served as drinking and eating vessels, but today they’re used as ornamental bowls, birdhouses, artwork and festive decorations.
“The product I take the most pride in that I sell at this time of the year are my beloved gourds,” says Janna Field of Fieldfarms, a small farm in Dexter, Michigan. “I love gourds. I grow them every year and have a huge stash of many kinds. I clean the gourds and turn them into useful items. Christmas ornaments are my best-selling gourds, and they sell for $US15 each. I clean the gourds, drill a hole in the top, insert a gold string for hanging, and paint them. I also sell gourd birdhouses and gourd bowls.”
The gourds are a constant crowd-puller at her market stall, whether sold freshly picked, or dried and decorated. “My husband built a wonderful display for these gourds and it really catches the customers’ eye,” she says. “Most don’t even realise how many varieties there are and what can be done with them. It creates a very unique display that helps me stand out at the market.”
Gardeners grow gourds in New Zealand but not to the same extent, largely due to the challenge of importing gourd seed into New Zealand. “Virus testing is currently required by the Ministry of Primary Industries prior to importing each order of gourd seed into New Zealand,” says Karen May of NZ seed supplier Kings Seeds. “This has increased the price considerably, due to the multiple tests required.
Sadly, this has made many of the varieties no longer economically viable for us to stock, which is a great shame as the enquiries we receive indicate that there are many customers out there who love growing all the different gourds.”
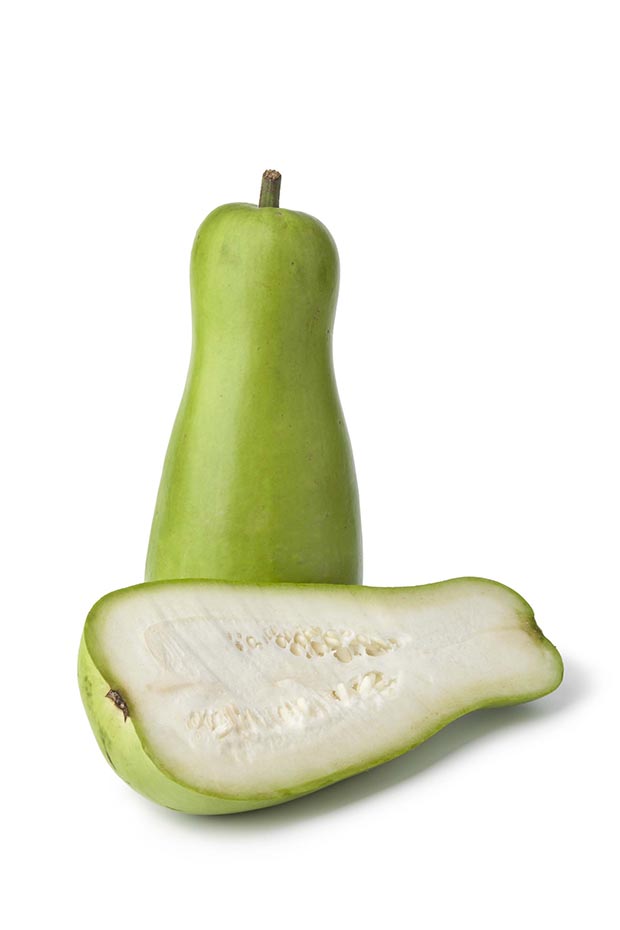
Kings Seeds sells a gourd mix called ‘Large Fruited Mixed’ which includes large varieties such as Calabash, Caveman’s Club, Powder Horn, Dipper, Bird House and others. Some have hourglass shapes that are great for doll-making, others are pear-shaped and ideal for turning into birdhouses. Dipper gourds have long, skinny necks with round bulbous ends that, when cut, make useful ladles or dippers.
Kings also sells a mix called ‘Small Fruited Mixed’ which includes colourful and intriguing varieties such as Spoon, Pear, Orange, Egg, Apple, Bottle and Warted. These make fabulous table and seasonal decorations. Country Trading Co has seeds of the large bottle gourd.
HOW TO GROW GOOD GOURDS
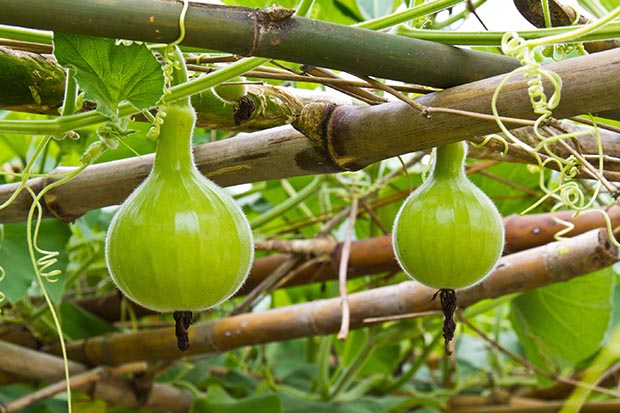
Gourds are easy to grow, but you’ll need plenty of room to accommodate the vines as they can reach up to 4m in length. They grow best in a sunny spot in fertile soil. Select a growing position that receives at least six hours of direct sun each day. Add 5-10cm of organic matter to the soil prior to planting.
“Trellis, fence or frame may be needed to support vigorous vines if you are not spreading them along the ground,” says Karen May of Kings Seeds. Sow seeds after all danger of frost has passed in spring. “Fruit takes 120 days to mature so if you have frosts, consider starting seedlings indoors,” says Karen. “Though transplanted seedlings may sulk for up to two weeks.”
Seeds can be planted in rows or hills. If planting several vines, sow seeds in rows that are 2.5m apart. To plant on hills, create mounds of soil 15cm high and 30cm across. Space the mounds 1.5m apart. Poke four seeds 2-3cm deep into the top of the hill, spacing them 10cm apart. These can be thinned later to the best growing seedlings.
Your vines can be left to meander across the soil, but you can have trouble with rotting fruit. To avoid this, you can place organic material like cardboard or newspaper underneath each gourd to prevent it from laying on the soil. Adequate watering is essential.
“Water seedlings in the morning around the roots, keeping the leaves dry,” says Karen. “Decrease watering in early autumn to allow the gourds to start to harden off.” Smaller gourds can be grown in containers but they still require room to spread and climb. Apply a side dressing of compost or a balanced fertiliser once the seedlings have reached 20cm high. This is sufficient food for the growing season. Apply a layer of mulch too, to prevent weed growth and to help retain moisture in the soil. Water during dry times.
HARVESTING AND PROCESSING FOR GOURD ART
Gourds are ready to harvest when they become hard to the touch. “You can tell when the fruit is ready to harvest when the stems dry off and turn brown,” says Karen. “The gourds themselves will start to turn from green to an ivory shade.”
It is best to keep the fruit on the vine until after the first frost. If you have grown your vines along the ground, the gourds can be left on the vine to dry where they have grown as the freeze and thaw process of winter will not harm the shell, provided the fruit has grown to maturity. If you have grown the fruit up a trellis, it is best to cut and store them as the vines will become weak as they dry off and will be unable to hold the bigger fruit.
Cut the stem loose from the vine with a sharp knife or scissors, and leave at least 3cm of stem on the gourd to prevent the fruit from rotting. Wash the gourds in warm, soapy water, then rinse in a mix of water and bleach (¼ cup of bleach per 5 litres of water). This helps to remove any soil and soil-borne bacteria clinging to the shell, preventing it from rotting. Dry with a soft cloth to avoid bruising or scratching the skin.
Place the clean gourds on several layers of newspaper in a warm, dry place. Space the gourds so they don’t touch one another and so air can circulate between them. Initially, you should turn the gourds daily, and replace any dampened newspaper with fresh, dry paper.
James Conquer runs gourd-crafting workshops at Forgotten Arts in Clevedon, south of Auckland. He says gourd drying is not a quick process. “Drying can take several months, basically a season to dry,” he says. “Store them in a dry place, out of the sun, say in the garden shed or garage. They go brown and as they dry out, get lighter and lighter. You know they are dry enough when you shake them and the seeds rattle inside like a maracas.”
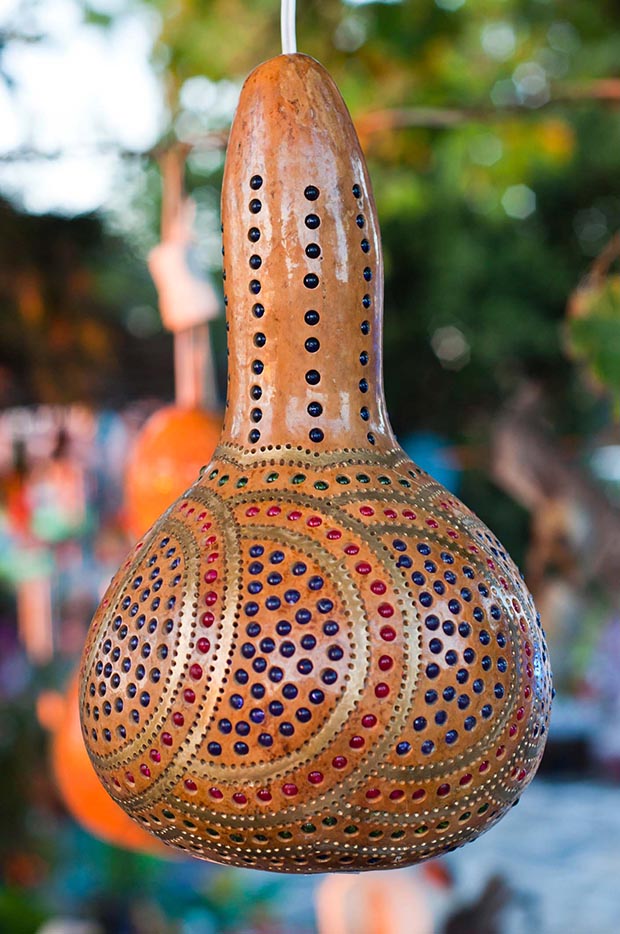
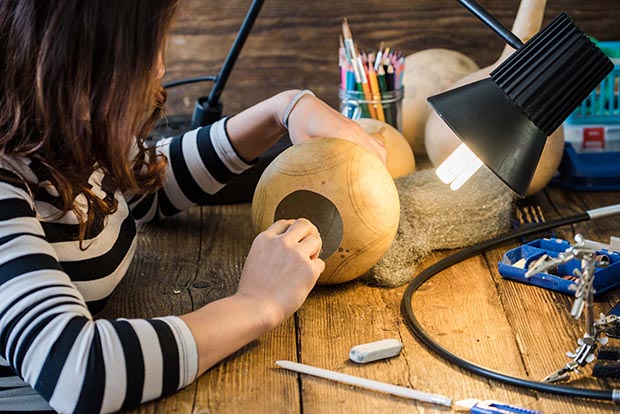
After they are completely dry, the gourds are ready to be polished, painted, carved or burned, as in pyrography. “We burn patterns into them using a pokerwork machine,” says James. “Alternatively you can carve patterns using a dremel.” Either way, you can have some fun with your gourds and possibly create a work of art.
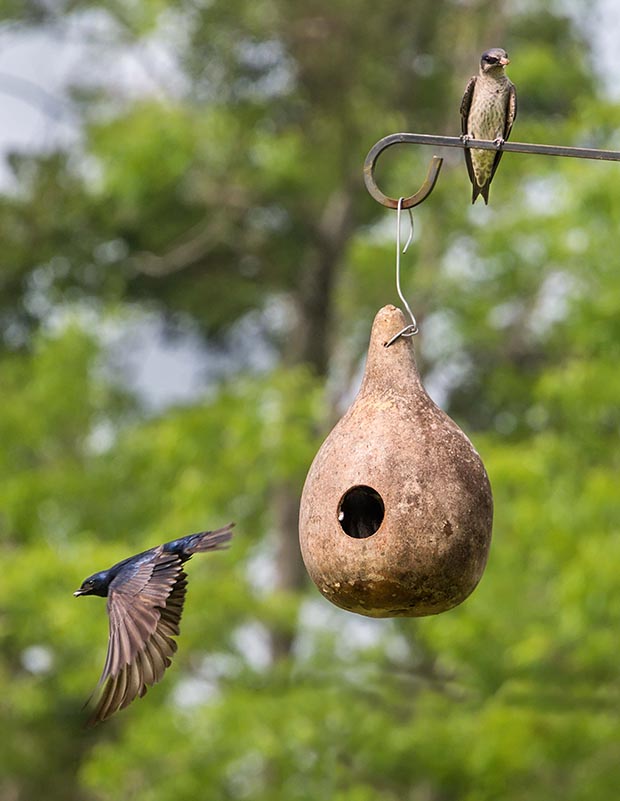
HOW TO MAKE A GOURD BIRDHOUSE
When your gourd is completely dry, make a hole in the gourd to allow the birds to enter. The hole will need to be a suitable size for the bird you are making it for. To make the hole, use a holesaw bit that fits into an electric drill. A perch can be added beneath the entrance hole if required.
Drill a few small holes into the base of the gourd to provide drainage to keep the gourd dry. Drill a couple of small holes at the top so you can insert string or wire for hanging. Drill a couple more for ventilation.
Use a long-handled spoon to remove the seeds and membrane through the entrance hole. After the gourd is cleaned out, apply a wood preservative to seal the outer surface. Once dry, you can sand it smooth, then paint with an oil-based primer. Allow to dry again, then apply a topcoat. Be careful not to clog the drainage holes.
