How to make a ‘NZ Neck Gecko’ scarf
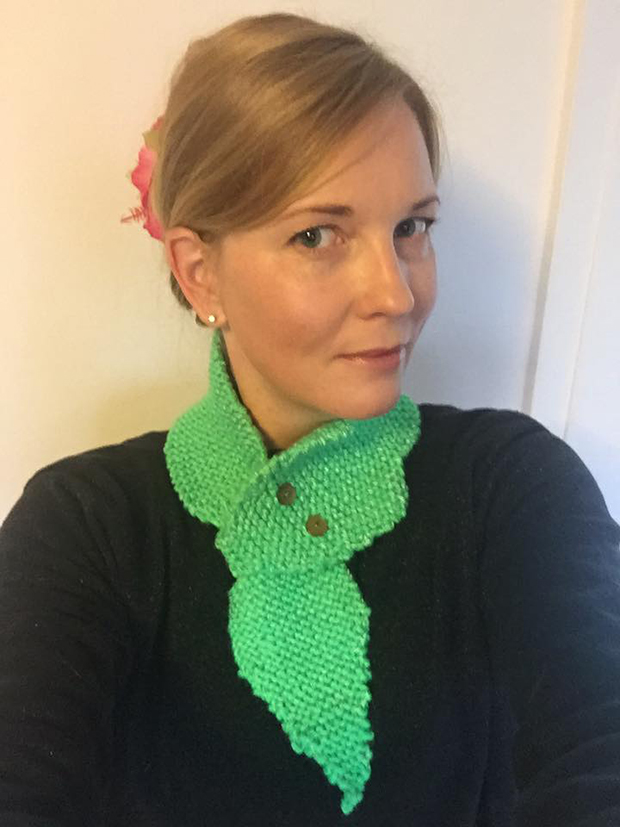
Jessica Rose wearing her Neck Gecko scarf.
This neck gecko scarf is made from reflective wool and is a good project for beginner knitters.
Words: Jessica Rose
I saw a knitted fox scarf online, a homespun cruelty-free alternative to an old-fashioned fox stole. I wanted to make something with a New Zealand twist and using reflective wool, and the NZ Neck Gecko was born. Reflective wool glows in headlights and flash photography so it’s a good winter option for bike enthusiasts like me.
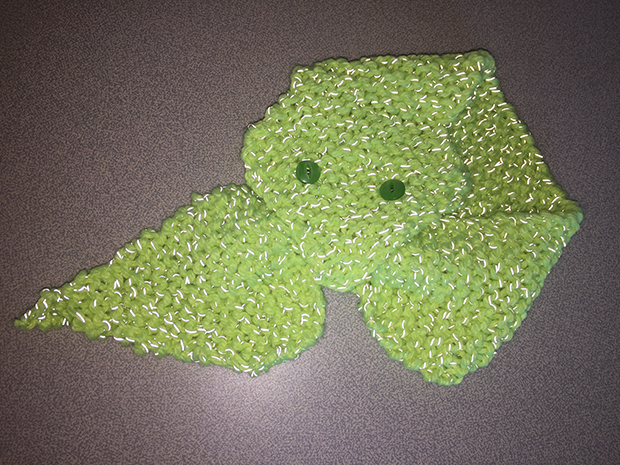
The completed Neck Gecko.
I’m not an advanced knitter - I only know a basic stitch, and everything I have made so far has been a scarf, but use this story as a guide to make your own thing.
To make the Neck Gecko you will need:
- Wool
- Knitting needles*
- Needle and thread
- Buttons or beads (for the eyes)
- A big needle for sewing with the wool
*I used size seven knitting needles, but you can use any size. Needle size will vary depending type of wool used and whether your scarf is a tight or loose weave.
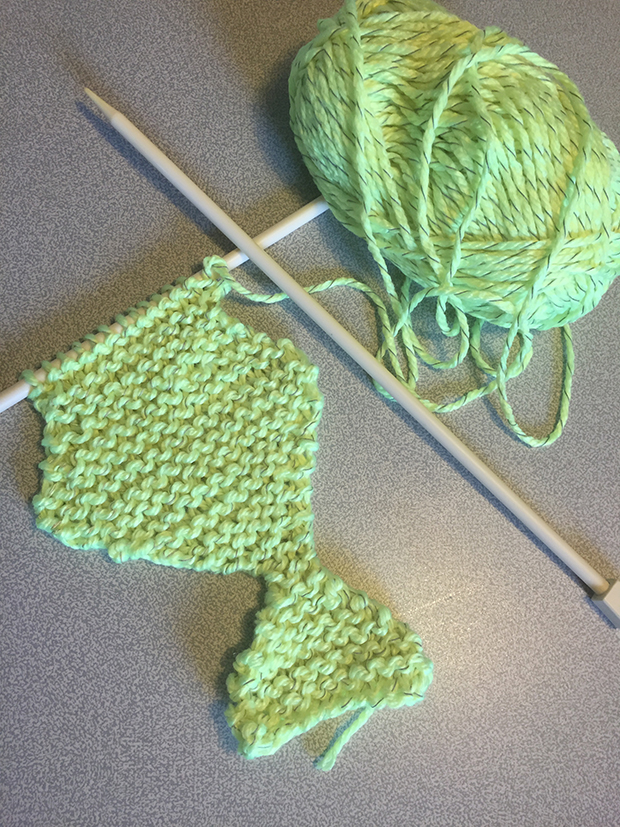
Making the flap.
STEP 1 - THE FLAP
These instructions will make a flap at the start that can be folded, and then sewn under the head so that the tail can pass through. Once finished, this flap will look like an hour glass. The first goal is to make a triangle. Cast on and do 15 stitches, then knit another row of 15. On the third row I did one stitch less at each end (leaving it 13 stitches wide). I then did a normal row of 13, then on the next row decreased it again by one stitch at each end (11 stitches wide). Repeat this pattern until you are down to 3 stitches wide, then knit three rows of 3 stitches.
STEP 2- THE HEAD
From 3 stitches wide you’re going to increase the stitches again to make the gecko head. To do this you do Step 1 in reverse, increasing by one stitch at each end on every second row until you reach 19 stitches (making it a bit wider than the flap). To create the curvy head shape, use the same method as above, but decrease back to 13 stitches for two rows, then increase back to 15 stitches. Hey presto, we have a gecko head!
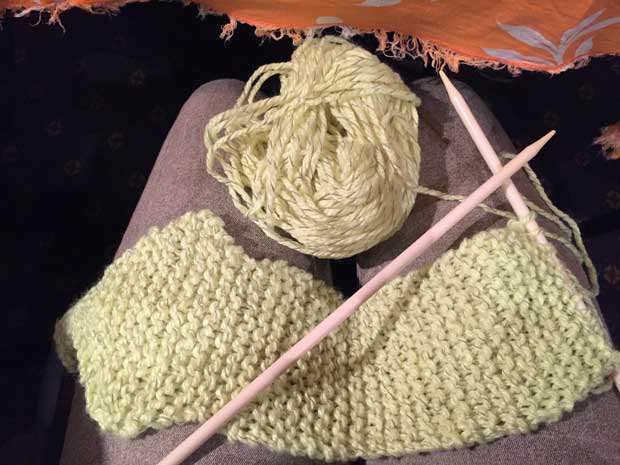
The easy bit - creating the scarf.
STEP 3 - CREATE A SCARF
From here, things get pretty easy. Simply knit back and forth at 15 stitches until you have a scarf long enough to wrap around your neck. Make sure the ‘nose’ of the gecko touches the end, not the flap. This part can be done surprisingly fast or while watching Game of Thrones. It is also a great way to keep your hands warm.
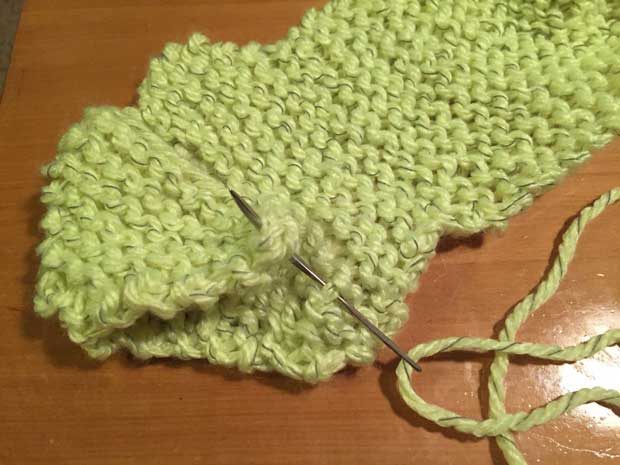
Completing the tail.
STEP 4- THE TAIL
Now it’s time to make the tail. First, make a pinch in the start of the tail so it will sit nicely once you feed the tail through the flap under the head. To do this, you decrease the stitches again (at each end), but this time, decrease two stitches at once and don’t do a second row: simply decrease, again by two, immediately when you do the next row.
Repeat this until you are down to 3 stitches wide again. Knit about four rows at 3 stitches, then increase again, this time just 1 stitch increase at each end, but on every row. Do this until you are back up to 15 stitches wide. Taper off the tail by changing the length as desired - I did about four rows at 15 stitches and then started decreasing by one stitch at each end, knitting for two more rows at that number before I decreased again, until I was back at 3 stitches. This makes the tail taper more gently. I did another two rows at three stitches and then cast off.
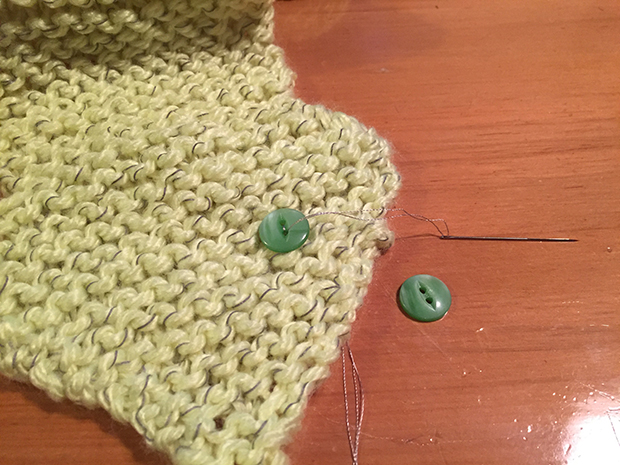
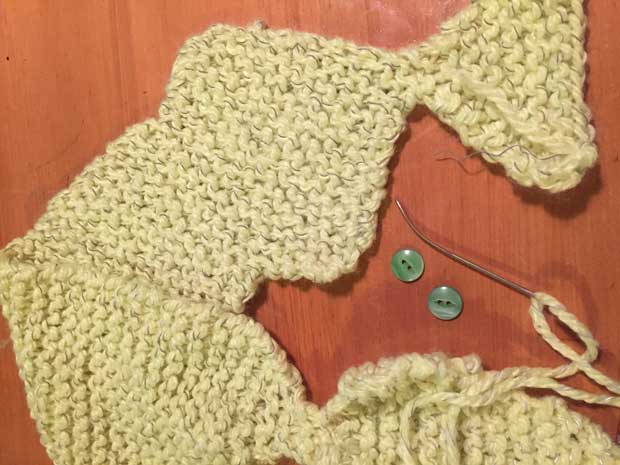
Sewing on the eyes.
STEP 5- THE EYES
Now you can sew on your eyes. Or buttons. Place them where you think they look best and sew them depending on the type of fixture they are.
Fold the flap under the head and sew that in place using the big needle and thread.
STEP 6- FINISH IT OFF
Once finished with the eyes, fold the flap under the head and sew that in place using the big needle and thread. Make sure you sew this on the back side of the side you put the eyes on.
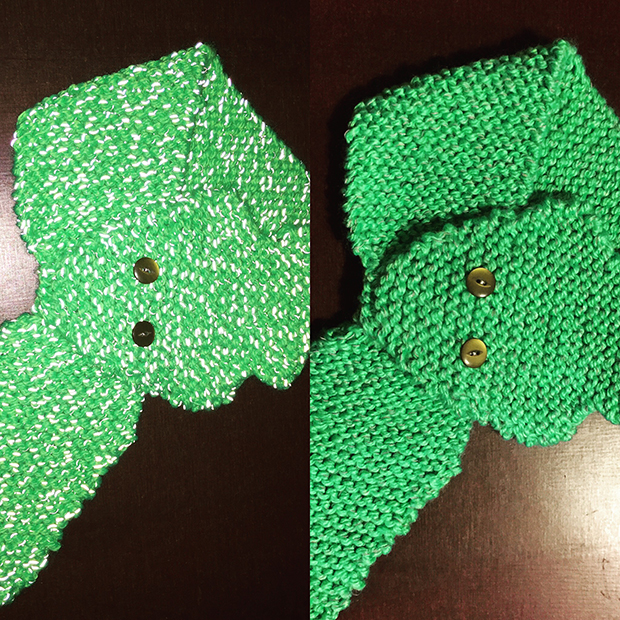
The Neck Gecko made with different fabrics.
And that’s it; you have finished your first NZ Neck Gecko! To wear it simply pull the tail through the loop you have made under the ‘chin’ of the gecko, and it will stay in place.
Jessica is a ‘thug’ crafter, DIY enthusiast and experimental cook, none of which are related to her day job at an Auckland tertiary training institution. She is also a firm believer in sustainability and likes to advocate bicycling to promote healthy cities for young and old. Right now she is campaigning for Albert-Eden local board; you can connect with her on Facebook or linked in to find out more.
Related stories: How I quit plastic
Related stories: Make your own beeswax wraps
