How to make a perfect kokedama, Japanese moss balls
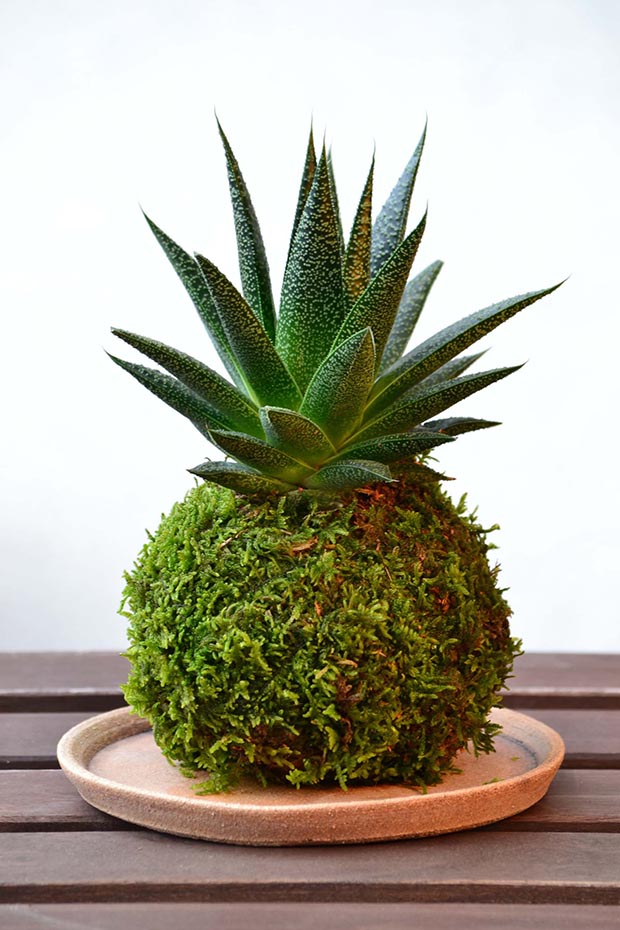
Japanese moss balls are an art form that’s easy and cheap to make, but there are a few secrets to their success.
Words: Jane Wrigglesworth
WHAT YOU NEED
– A plant
– Soil
– Moss
– Heavy duty twine
– Gloves
– A bucket
– Scissors
– A mesh bag (optional)
– Water in a spray bottle
You may not be familiar with the name, but you’ve probably seen these green, living balls gracing our shops. Kokedama is an ancient form of Japanese garden art that’s taking the world by storm. Garden centres have taken to demonstrating the technique, and florists, designers and event stagers are enamoured with these mossy hanging structures.
While it might look complicated, it’s not. Koke (ball) dama (moss) simply involves a plant’s roots being wrapped in a moss ball. They are simple to create and they make a unique focal point in the garden, and an excellent gift. If you are running a stall at craft or farmer’s market, they look great hanging from an awning or placed on decorative plates or wood slab.
THE SOIL
You need to mix certain soils to create one that will adhere to itself and remain in a spherical shape. Bonsai soil or a specialist orchid mix are both excellent growing mediums if you need a very free-draining mix, but for this method you will also need a mesh bag (like the sort fruit or vegetables come in).
Another option is to mix clay soil (85%) and peat moss (15%) together. The clay holds its shape and the peat moss provides the moisture retention for the plant. Experiment with both methods to see which one you like best, or according to the plant you use.
THE PLANTS
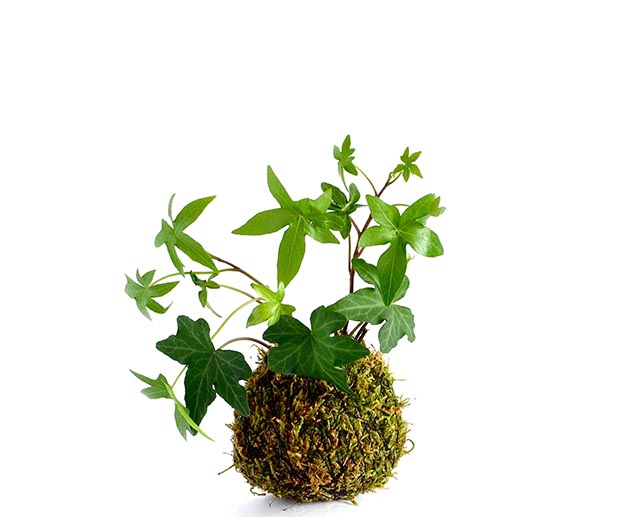
The central plant can be any type, although there are certain plants that work well. Succulents, epiphytes like orchids, ferns, begonias, peace lilies and ivy are good plant choices for a moss ball. If making a clay-based ball, it will stay damp all the time, so you will need to select your plants carefully.
Avoid using cacti and succulents, since they prefer to stay on the dry side, or African violets and orchids, as their roots need air around them. A porous mix, which provides air spaces for their roots, is best for these plants.
One of the world’s leading kokedama artists is botanist Fedor Van der Valk (www.stringgardens.com). He has used the method on all kinds of plants, from violets to fruit trees. His tips:
• annuals are ok, but don’t tend to last long;
• you can use this method for trees – he’s successfully used it with olives, conifers, pears and apples, and you can see examples on his website – but they take a lot of care;
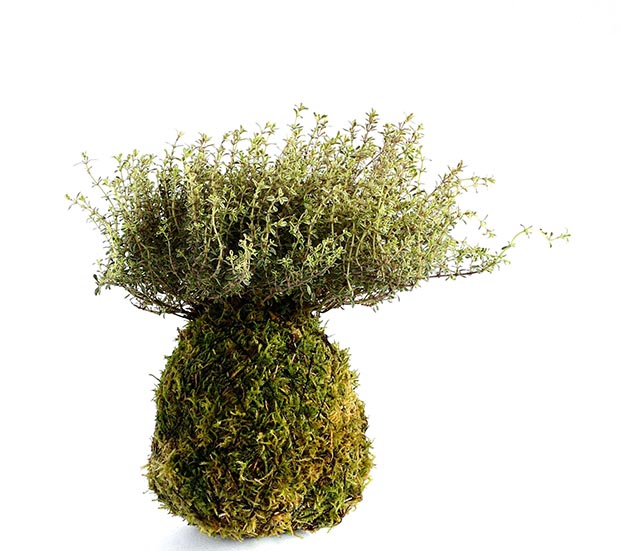
• his most successful kokedama are tropical plants, like orchids, anthuriums and asparagus ferns, and herbs like rosemary;
• the best options are plants that like medium to full shade, as kokedama burn easily and tend to go brown in full sunlight.
THE MOSS
The moss needed for the outside of the ball can be foraged from your own landscape or you can use sphagnum moss, which you can buy fresh or dried from garden centres. To harvest fresh moss, use a flat, sharp-edged tool like a paint scraper or metal spatula and gently scrape it off. Make sure to take some of the ‘soil’ under it too, even if it’s a thin layer.
How to make kokedama
To create a kokedama, you simply take a plant root and build a ball of mud around it, then cover the mud ball with moss, the ball and moss forming a living planter.
1. Soak the moss
If dried moss is being used, soak it for the required time (usually about 15 minutes), wring out any excess water and lay it aside while the other steps are being completed.
2. Form your ball/s
Put on gloves, pour your soil (or soils) into the bucket, then gradually add water and mix until you can form a ball that won’t break apart. If you’re using clay and peat, keep adding water until a firm ball of mud forms.
The size of the mud ball needed will depend on the size of the central plant. The larger the central plant, the larger the mud ball needed to support the plant roots. A general rule is to make the ball the same size or slightly larger than the pot the plant comes out of.
3. Prepare your plant/s
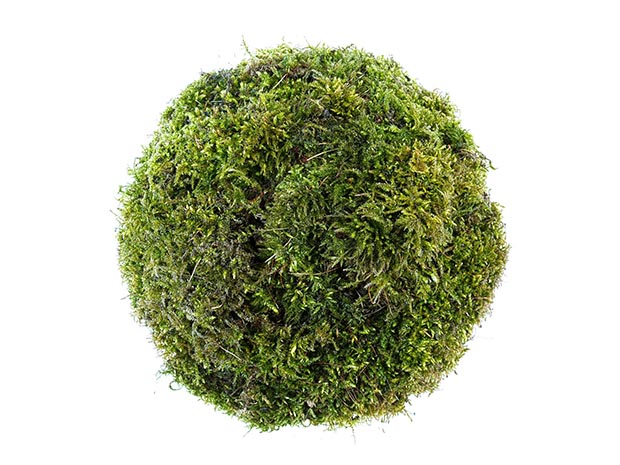
When your ball is the right consistency and size, remove your selected central plant from its container. Gently knock off all the soil that is around the plant roots.
4. Mould the ball around the plant
Use your hands to create a hole in the centre of the mud ball that is the same depth and width as the central plant roots. Place plant roots into the hole and work the soil around the roots and stem. Another method is to break the ball in half, lay the roots on one half, then push it back together. Spray water on the ball as needed while planting to keep the mud moist and pliable.
5. Cover with moss
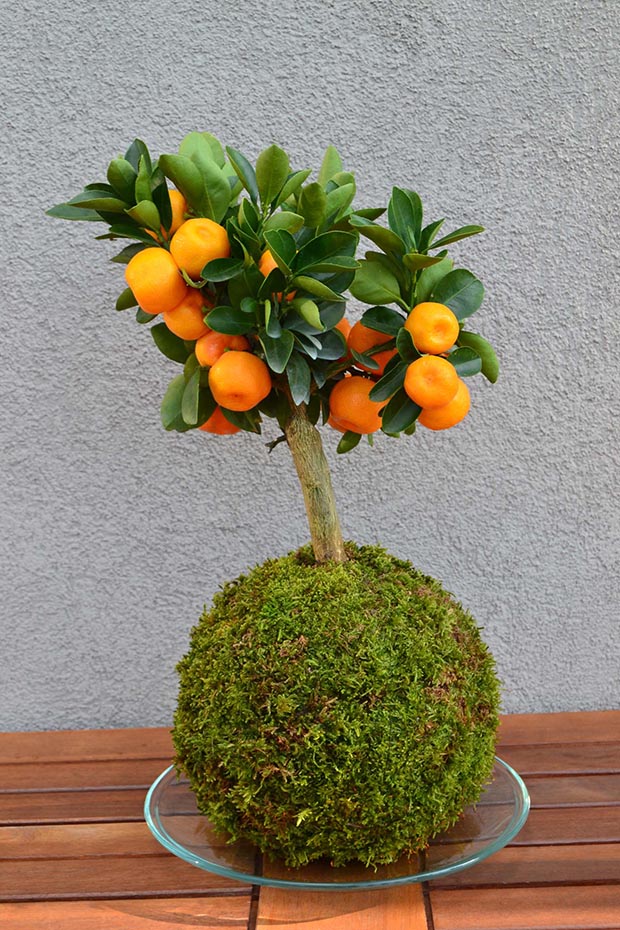
If using a clay-peat mix, apply moss to the outside of the mud ball, pressing into place and covering all exposed mud. If using a bonsai or orchid mix, cover the mesh bag with with sphagnum moss, but leave an opening so you can insert the ball and plant.
6. Wrap it up
If using a clay-peat mix, wrap twine around the exterior at least twice. This will help hold the moss in place until it forms roots and adheres to the mud. You can also use fishing wire to keep it in place if you need more hold. Clip off excess twine and place the newly created kokedama on driftwood or in a container.
HOW TO DISPLAY A KOKEDAMA
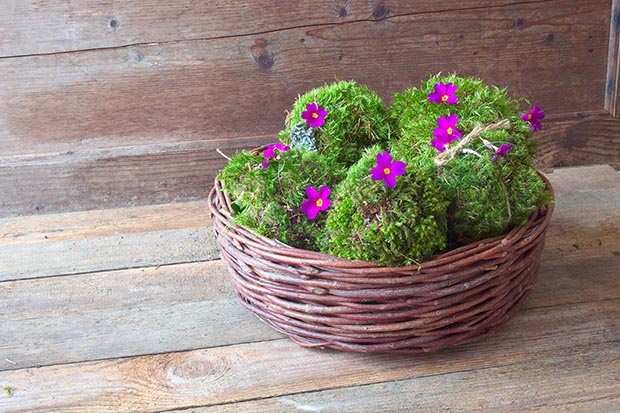
The finished kokedama can be displayed in a variety of different ways. Smaller specimens can be displayed on pieces of driftwood or reclaimed wood.
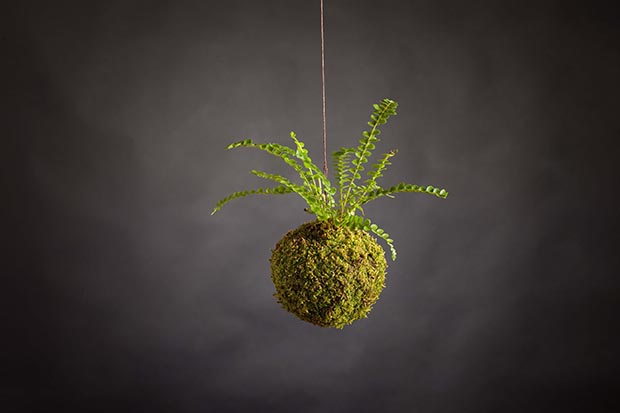
You can hang a kokedama to create a ‘string garden’, either by creating a ‘sling’ using four pieces of twine, one end of each knotted together to form the base of the sling, or by tying four pieces of twine to the twine wrapped around the ball. A ball can hang upright or sideways. String gardens look spectacular at special events such as wedding and major celebrations, or hanging outdoors on patios, or in areas where your garden soil is inadequate for planting.
Love this story? Subscribe now!
 This article first appeared in NZ Lifestyle Block Magazine.
