Recipe: How to bake crusty ciabatta at home
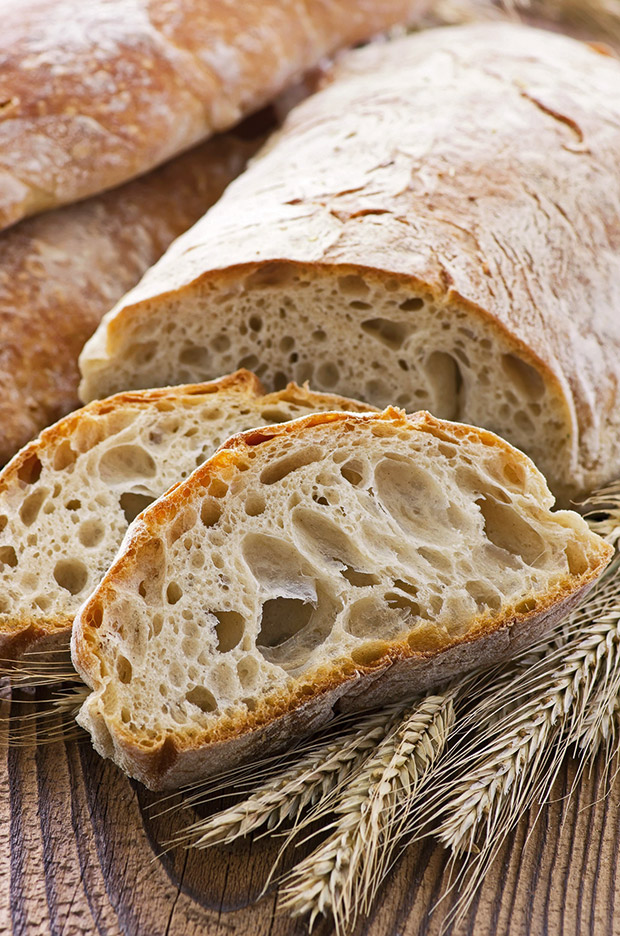
This flattish crusty bread means ‘slipper’ in Italian, a reference to its shape. Its hole-filled structure is excellent for soaking up delicious juices on a plate without falling apart.
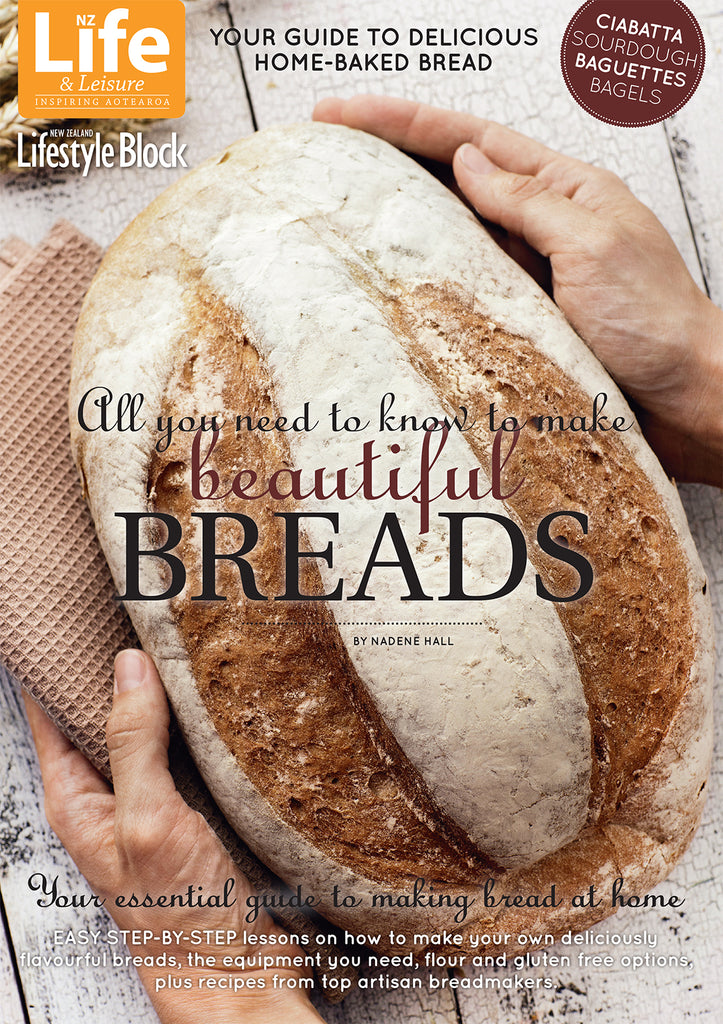
Recipe: Extract from All You Need to Know to Make Beautiful Breads
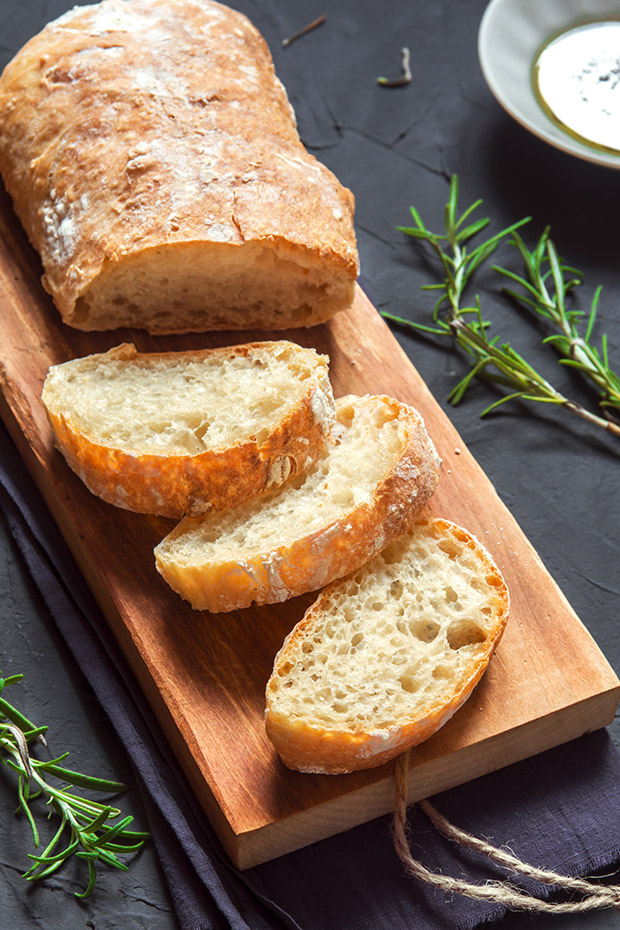
Bread profile: made from a soft, wet dough; flavoured with olive oil; crisp crust; big, shiny holes in the crumb.
Fermentation time: overnight.
Ciabatta is quite a ‘flat’ dough. It’s wetter than most. It’s generally one of the softest ones around – that’s why it’s a little bit more difficult to work with, says Kāpiti Artisan Bakery owner David Winterbottom.
“If you’ve done it correctly (the dough) will still hold its shape. It won’t flow like a big mass, like a cake mixture. If you fold it over and tuck it like an envelope, it will hold its shape.
“You’d probably put in about two-thirds of the water at the beginning and get a nice dough. Once it’s smooth, work in the rest of the water.”
TIPS FOR KNEADING CIABATTA DOUGH
This is a sticky dough. Even when kneaded, it will be wetter than normal dough.
If you don’t have a mixer, do the initial mixing for a minute or so in a bowl using a bread scraper. Then leave it for 20 minutes to develop. In Step 1, don’t dust your hands and work bench with flour, or add extra flour to the dough. Some of it will stick to the bench, but this is ok.
The easiest method of kneading is to use your fingers to lift/scrape one end, drop it down over the rest of the dough and push it forward. It might take 15 minutes or more. Slowly add the remaining water (see Step 1 for amounts) and keep kneading until it’s silky smooth and elastic.
You might need a little bit of flour on your hands (Step 3) as you’re folding and tucking in the last few turns, but the dough shouldn’t be sticking to you. If it is, it needs more kneading.
Learn more on how to work with wet dough here.
Ciabatta
RECIPE: David Winterbottom, Kāpiti Artisan Bakery
This recipe is a two-stage process using a traditional Italian overnight fermentation called a biga. Make the biga 12-18 hours before you need it. This dough is very soft and it’s easiest to knead it with an electric mixer. If you’re attempting it by hand, see the tips above.
INGREDIENTS
Biga:
200g strong white bread flour*
100ml water
1/4 tsp dried yeast
Dough:
260g strong white bread flour*
220ml water
4g dried yeast
8g salt
30ml extra virgin
olive oil
all of the biga
*Also known as ‘high grade’ flour, protein level 10.5-13%
METHOD
Mix all the ingredients and knead for a couple of minutes. The dough will be quite rough and tight. Place in a lightly oiled bowl, cover, and leave at room temperature to double in size.
Step 1: Add all the ingredients and two-thirds of the water to a mixing bowl. If you’re kneading it by hand, see the tips above. If you’re using a machine, mix on the slowest speed for 5 minutes. Then, switch to the fast speed and mix for a further 8 minutes until it’s starting to look smooth. During the fast speed mix, slowly add the rest of the water. When mixed, the dough will be very soft, smooth and silky.
Step 2: Place the dough into a container or bowl you’ve brushed with olive oil (to stop it sticking). Cover, and leave to rise at room temperature for 1 hour, on the bench in a warm kitchen. It will double in size in this time. Don’t place it in direct sunlight as this will be too warm.
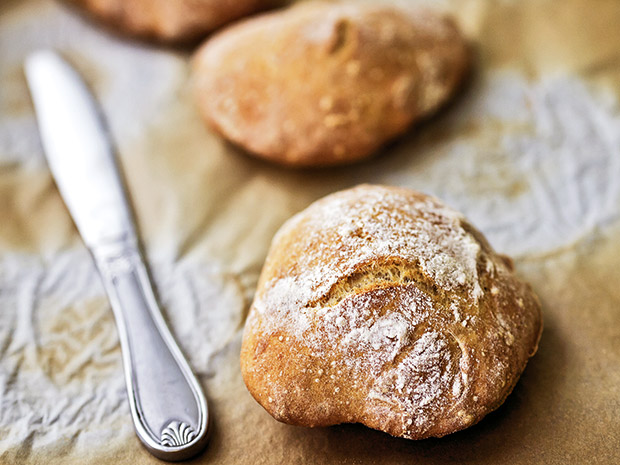
Step 3: Carefully tip the dough onto a well-floured work bench and dust with more flour. The dough will be fragile, so treat it with great care. Cut the dough into two pieces and gently tuck the edges under to form a long rectangular shape about 30mm high. Gently place the two pieces onto a flat tray dusted with medium or coarse semolina flour. These loaves will expand 2-3 times in size, so leave plenty of room between and around them. Dust with a little flour, cover, and leave to prove for a further hour.
Step 4: Place a pizza stone or heavy tray in the bottom of the oven (or as close as possible). Pre-heat your oven to 240°C – with the stone, this could take up to an hour.
Step 5: Dust the top of the loaves with more flour, then gently shake your tray with the dough pieces to make sure they’re not sticking to the bottom of the tray. Quickly but carefully slide them onto the oven stone, like you would a pizza. Spray a little water into the oven (not over the bread) to help the dough expand in the oven and create the final crust.
Step 6: Turn the oven down to 230°C and bake for 20-25 minutes until the loaves are golden, and sound hollow when tapped on the base. Cool on a cake rack.
Find more recipes, trips and tricks in All You Need To Know To Make Beautiful Breads by Nadene Hall, in stores and on sale here.