The magic of Jersey cow milk season
There’s a lot to be grateful for in August, but at The Food Farm the new season’s Jersey milk is the main event.
Words and photos: Angela Clifford
Who: Angela Clifford, Nick Gill, Ruby, Flynn & Matilda
What: The Food Farm
Land: 6.5ha (16 acres)
Where: Amberley, 50km north of Christchurch
Social Media: @thefoodfarmnz / thefoodfarm.nz
It’s August at The Food Farm and we’re starting to unfurl from our winter hibernation.
Some days might be sunny enough to wiggle our fingers into the soil to test temperatures, but really, it’s still a while until it’s warm enough for seeds to successfully germinate outside. So the main activity is in the potting tunnel house, where we’re starting to sow seeds in trays.
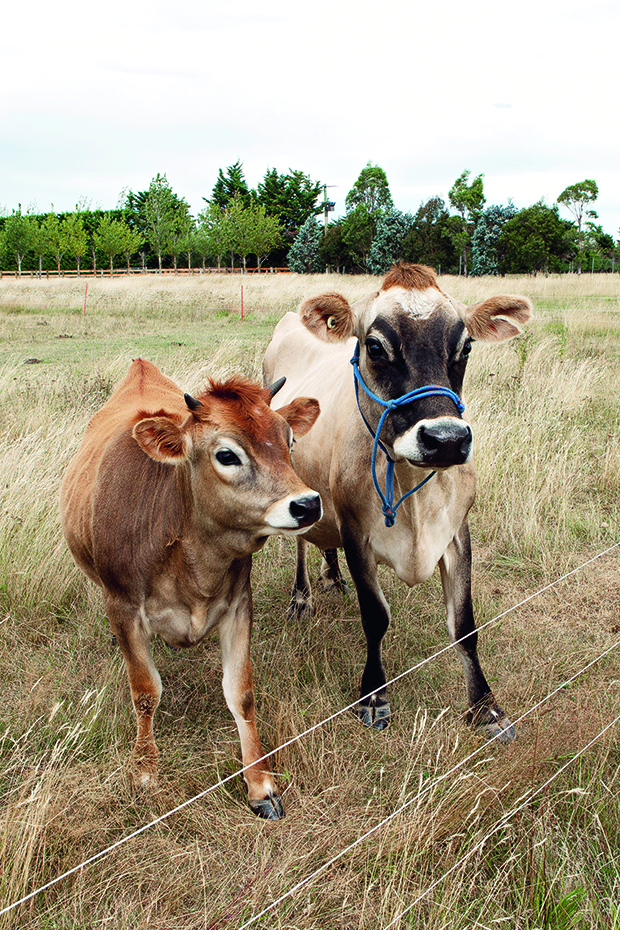
We’re still pulling kūmara, pumpkins, onions, garlic, beetroot, carrots, and maize for masa flour out of the pātaka, or storage house. The vegetable gardens are bulging with winter staples such as silver beet, Asian greens, rocket, winter salad mixes and chicory. And we’re working our way through the preserve shelf that is stacked with passata, fermented pickles, krauts, kimchi and colourful arrays of bottled fruit – all of which come into their own at this time of year. We have our own meat, both frozen and preserved, there’s a decent tub of honey for kombucha, and tea and toast on a cold morning, and the chickens and ducks are laying plenty of eggs. However the most exciting development in August, if we’ve timed things correctly, is the arrival of new season’s milk from our Jersey cow – Cacao.
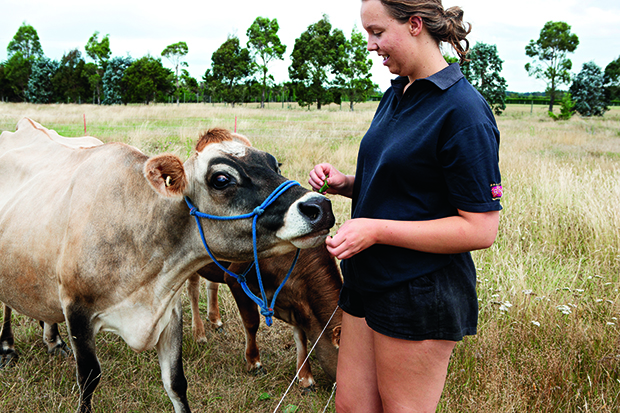
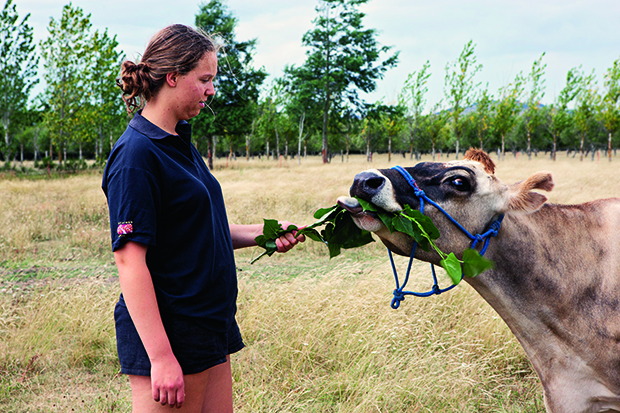
The Food Farm’s Jersey cow, Cacao, with Ruby Gill-Clifford.
Having our own milk supply is the result of a lifetime of learning. My family has hand-milked a cow since our three children were little. I have fond memories of them all as toddlers squatting down beside my milking stool as I tried to squirt milk from the cow’s teat directly into their mouths. I’d often miss and their milky faces would erupt into giggles.
We’d have good protocols in place to ensure they stayed calm around the cow and away from her hooves. They were always welcome in the milking shed.
I’ve never found milking a repetitive chore. I genuinely enjoy putting my head against my cow and listening to her rumen working while I get into the rhythm of milking. It’s an incredibly mindful act and the other business of the day melts away in those moments.
It becomes something that everything else on the farm revolves around. As the children got older they all learnt to milk, with various degrees of interest, but I feel they have the knowledge if they need it.
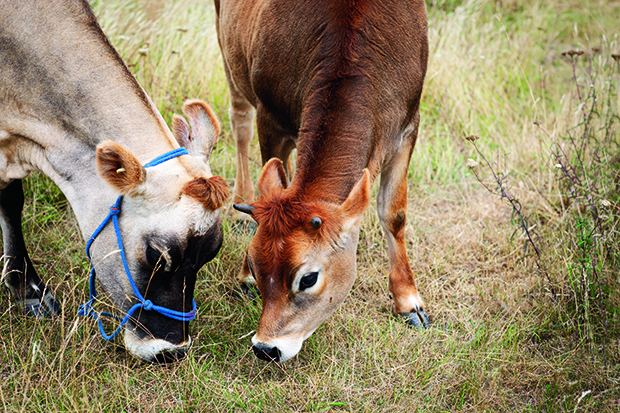
It’s a privilege to have the land and space to milk such a large animal. It’s something I’m always grateful for. We usually get about 10 litres of milk a day, with the calf getting its share. We therefore don’t have so much milk that it becomes overwhelming.
But we also have months of the year when we’re not milking and have to go to the store for bottled milk like many other people. Some days this is a disappointment and other days a relief.
And yet perhaps the most important factor in milking your own cow is doing your research and developing a unique awareness of the food. For us that involved unlearning bits of knowledge, such as the notion that milk needs to be refrigerated at all times. We’re a family of wine and food growers and we ferment everything from grapes to sourdough, soya beans to fruit, compost to meat, kombucha to vinegar. We’ve never, ever made ourselves or our children sick from our own food. This is because we’ve honed a sense of sight, smell and taste which we’ve learnt to trust. If we’re even a little bit worried, the food will go to the pigs and we start again.
Once you start to trust your instincts, you begin to realise that small-scale food production for your family is a completely different process to large scale food production for the masses. And home dairy is a great place to start.
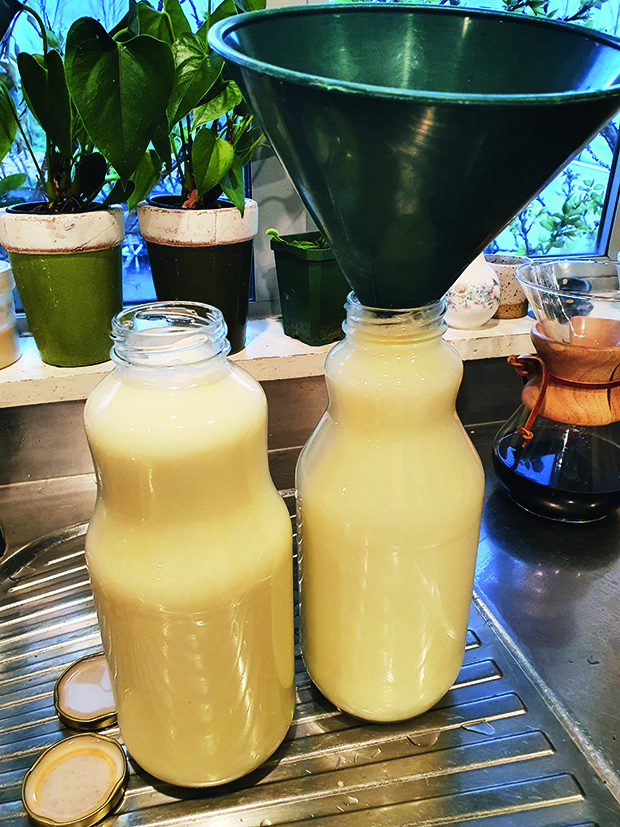
Bottling milk.
It might seem complicated, but milking is a simple, pleasant task the whole family can participate in. You can even find other people in your community who might help out with the duties for the opportunity of fresh milk. We think of it as community sufficiency, not self-sufficiency.
But if there’s anything that testifies to the value of milking your own cow, it’s the utter deliciousness of fresh milk in your coffee, cream on your berries, and home-made cheese on your bread.
THE ART OF CHEESE
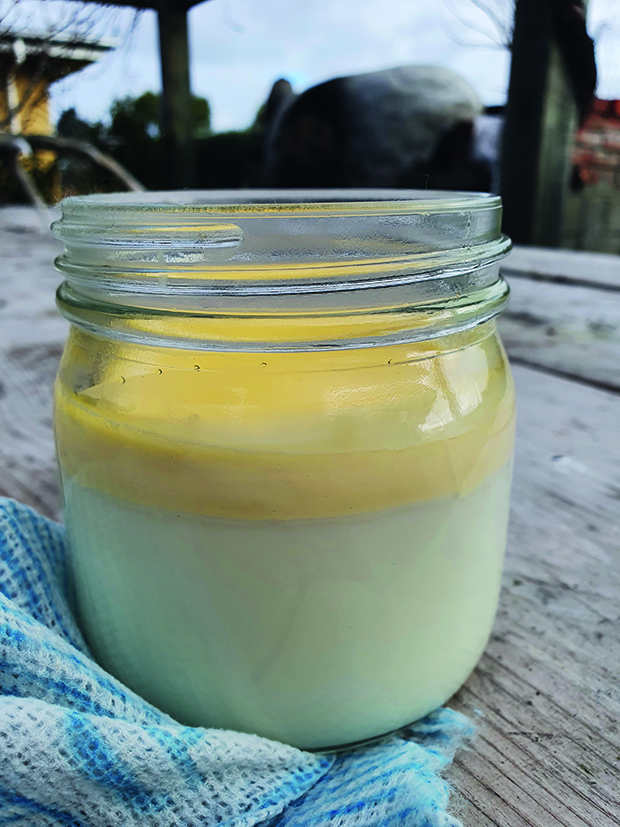
The clabber.
As soon as we had our own milk to work with, a whole world of natural cheese-making opened to us. Although we rely on our own food safety protocols, we make sure our cheese-making area is meticulously clean with sterilised equipment. We also have little pots of fresh milk, which haven’t been chilled, fermenting on the preserve shelf or closer to the fire to work out which one will make the best “mother”.
This is called clabber and works in the same way as a sourdough mother. You’re effectively trying to create the best possible collection of yeasts and bacteria which will help ferment larger amounts of milk to turn into everything from sour cream to cultured butter and cheese. It only works with unpasteurised milk, straight from the cow, that hasn’t been chilled. This is because both pasteurisation and chilling will kill yeasts and bacteria.
-

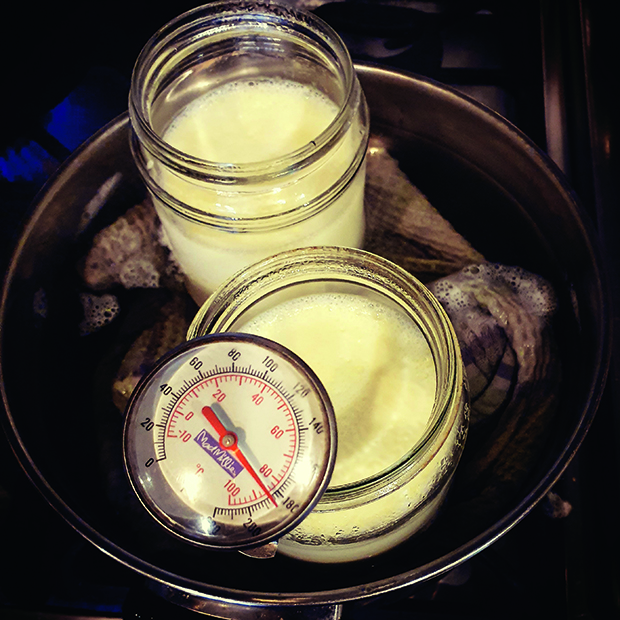
- Pot cultured yoghurt-making
-
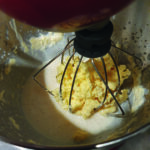
- Making cultured butter.

If you’re lucky enough to have fresh milk, I’d highly recommend The Art of Natural Cheesemaking by David Asher. It presents an entire world of understanding that takes you a million miles away from the chilled dairy cabinets of the supermarket.
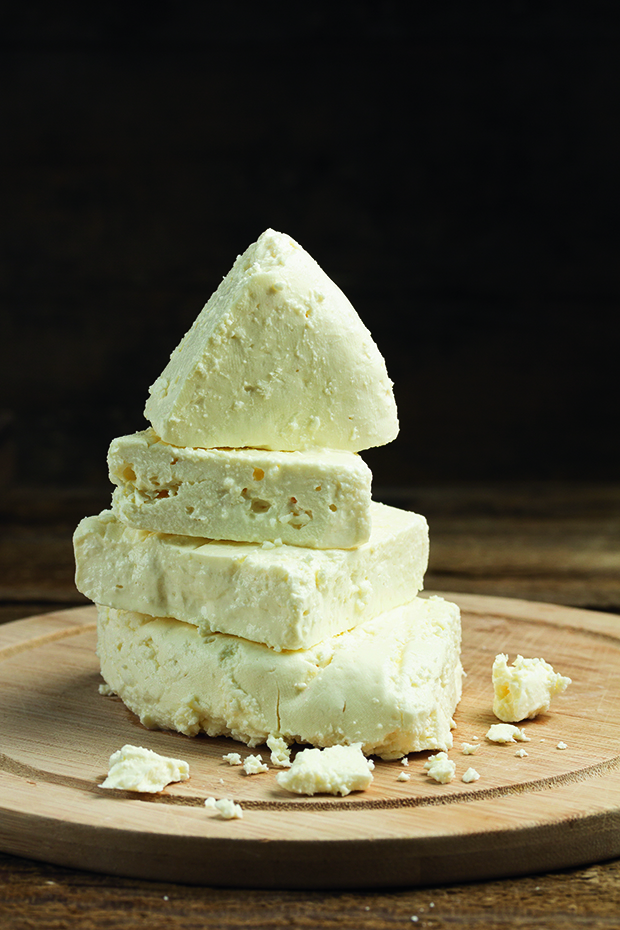
Even if you don’t have access to your own milk, this recipe for a feta-type cheese is a winner. It’s become the “farmhouse” cheese here on The Food Farm; we preserve it in oil and even though it’s a fresh cheese, we use it in place of cheddar in toasties and baked dishes. It’s also beautiful in salads.
Farmhouse cheese
This recipe comes from Katherine Mowbray’s Cheesemaking at Home. I highly recommend getting your hands on a copy.
Basic rules of engagement in cheese-making:
• Sterilise everything constantly. We use boiling water.
• Temperatures are not creative measurements – get yourself a good thermometer.
• Invest in some moulds, a metal bucket that fits inside a big pot as a water bath (for us this is a spare milking bucket) and some muslin.
This recipe uses added culture which you can find at most bulk food places. Natural cheesemaking doesn’t, but that’s a story for another day.
INGREDIENTS
10 litres milk
⅛ tsp R704 culture. This is available at most whole food stores/Bin Inns
10ml rennet. These are enzymes produced in the stomachs of ruminant mammals. Available at whole food stores or Bin Inns. (Can be substituted for 5ml vegetable coagulant)
1.5 tbsp fine salt
olive oil
flavours such as bay leaf, chilli, garlic
METHOD
DAY 1:
Heat 10 litres of milk to 32°C in a water bath.
Add R704 culture.
Add 10ml rennet diluted in 10ml of boiled cooled water.
Leave to set in the warm water bath for about 45 minutes until firm.
Cut the curd with a long knife into cubes (backwards and forwards and across).
Leave for five minutes then gradually heat to between 35°C and 38°C. Keep a close eye on the temperature here, this should be a slow process that takes about 30 minutes. Stir gently until the curd becomes firm and elastic.
Leave again for five minutes.
Drain by placing a sterilised cheesecloth or muslin (you can use chux cloth as well) over a rectangle frame or mould. Using a sterilised sieve, ladle the curd onto the cloth.
Fold the cloth over the top and then add weights (we use sterilised cans). Press for 20 to 30 minutes until the curd knits together.
After removing the weights, sprinkle salt over all the surfaces and leave covered with the cheesecloth overnight. We do this out of the fridge but in a cool place.
DAY 2:
Cut the cheese into ten pieces. Sprinkle with salt and rub in, especially on cut surfaces. To increase acidity, leave at room temperature on a draining board, covered in a clean cloth.
DAY 3:
Cut into cubes and store in oil in jars. Make sure the cheese is completely covered. You can add flavourings such as peppercorns, bay leaves, or chillies. We store it in the chiller or in a cool place like a cellar. Eat it straight away or after a few months when the flavourings have had a chance to imbue the cheese.
