What your soil is trying to tell you with sound, smell and colour
March is a good time to do soil testing, and apply fertiliser and lime. But do you know what your soil is telling you?
Words: Nadene Hall
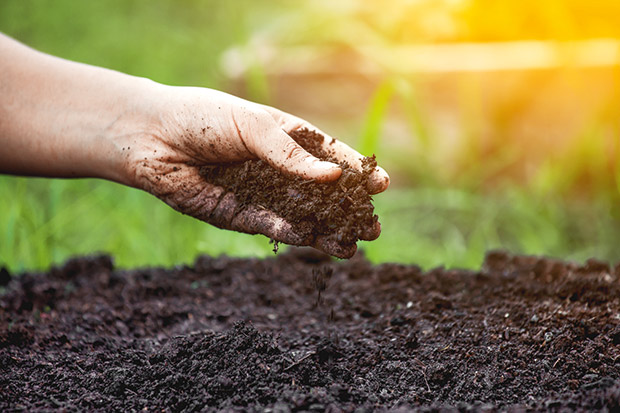
Grab a spade and slide it into your soil. Did you hear what it said with that one simple action?
The noise generated by the spade cutting through the soil, and how it feels as it moves through it, immediately tells you important information:
Gritty, rasping sound: sand, loamy sand
Slightly gritty, faint rasping: sandy loam
No grit, smooth, soapy feel: silt loam
Very smooth, slightly sticky to sticky: clay loam
Very smooth, sticky to very sticky: clay
Soil tests give you excellent information on a sample’s chemical composition and what needs to be boosted for good pasture growth. But it’s also important to know your soil so you can hear all it has to say. The best way is to grab a spade in late winter or early spring, go for a walk around your block and dig some holes.
The following are part of a visual soil assessment (VSU), a free way for you to learn more about the different soils on your property so you can assess how best to manage them. Management options may include:
• fencing off some areas that are unsuitable for grazing;
• only grazing certain areas at certain times of year, eg avoiding grazing on soils that get wet over winter;
• choosing alternative pasture plants, eg planting drought-tolerant plants in areas where soils dry out in summer.
First, you need a reference sample. Dig one ‘spit’ of soil, the width and depth of your spade (approx. 20cm wide by 20cm deep) from under a fence line. These soils are usually under the least pressure from stock or cropping, and give a good indication of what your soil is like when it’s at its most stable. Then dig spits from different areas of your block and compare.
1. Smell it
The more fertile a soil, the higher the amount of actinomycetes and the stronger the musty/earthy smell. It is unclear how reliable this observation can be for comparing soils, but it may be useful in comparing two treatments (eg lime, fertiliser). Smell can tell you if the soil is too sour (it will smell sour due to a low pH), which can be confirmed by a soil pH test.
2. Drop it
You’ll need a fish bin and a large plastic rubbish bag for this test. Drop the soil sample three times from a height of one metre (waist height) onto the firm base in the fish bin. If large clods break away after the first or second drop, drop them individually again, once or twice. If a clod shatters into small pieces after the first or second drop, it doesn’t need dropping again. Don’t drop any piece of soil more than three times.
Separate each clod that has broken away from the top layer of grass from any enmeshing roots, and part it by hand along any exposed fracture planes or fissures. Transfer the soil onto the large plastic bag. Grade the pieces from finest to coarsest.
A healthy soil structure will be made up of small lumps of soil nearest the surface, with a large amount of small aggregates under it. It will crumble easily. A poor soil will have large, solid clumps, with a very small amount of fine material, and it won’t crumble.
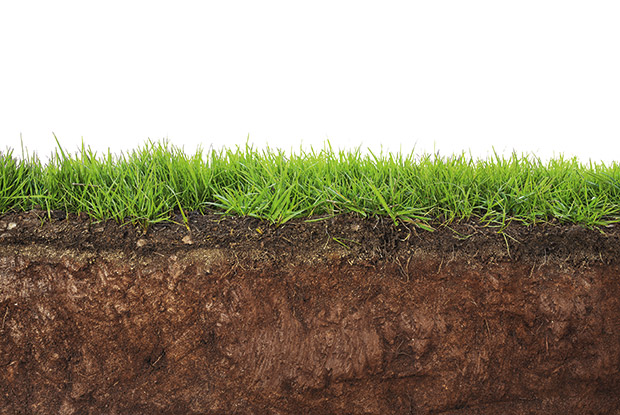
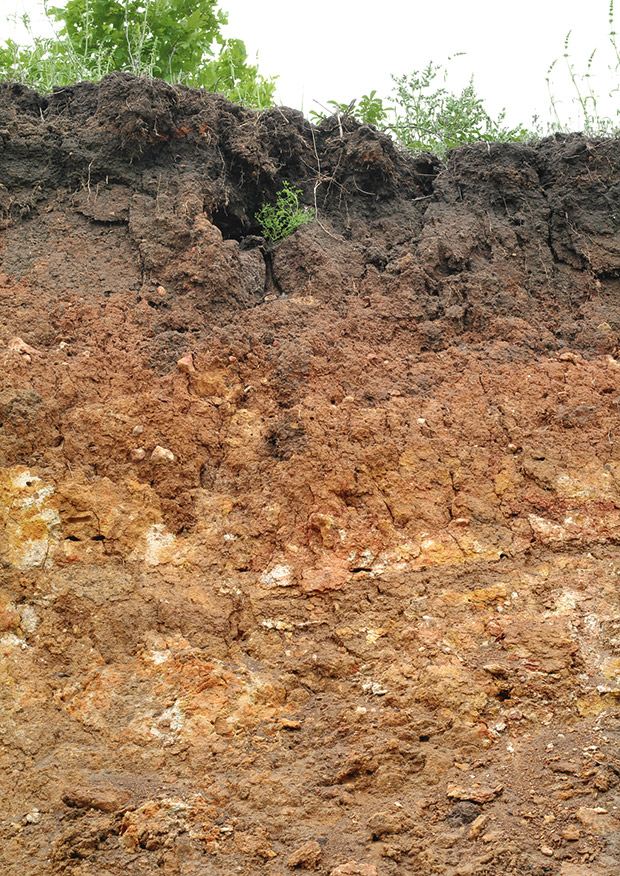
3. Look at the colour
A healthy soil will be dark brown to black. Earthworm activity will show up as darker, as their tunnels fill in with humus-soil particles (well-rotted organic matter that has passed through the worm). Dark colour also indicates good drainage, aeration and a reliable turnover of organic matter.
Compare the colour with your under-fence sample. Soil that is in poor condition will be a paler brown, with a more blue-grey look to it.
4. Count the worms
An easy way to assess the health of soil ecology is to count and identify earthworms in your sample. Mostly, the more the better.
“A fully functional soil should contain all three types of earthworms for sustained production,” says Dr Nicole Schon, an earthworm expert for Agresearch earthworm. “In one spade spit, ideally, you should have at least one dung earthworm, 14 topsoil earthworms and one deep-burrowing earthworm.”
Here’s how to do a basic earthworm count and identify what you find.
WHY AUTUMN IS THE PERFECT TIME TO TEST
It is important to do soil tests each year, preferably in autumn, when there is:
• good soil moisture;
• time to apply products before conditions become too wet;
• time for the soil to take up nutrients, ready for spring production.
A soil test will tell you the basic nutrients your property may need, or show that it doesn’t require anything.
Rural supply stores often have soil core test equipment you can borrow and can give you details on where to send samples. You can also get test sample bags and advice from fertiliser companies, or contact soil testing laboratories yourself. Take samples out in open pasture, away from dung heaps, urine patches, gateways, fences, pugged soils, and troughs.
GET A TEST
A basic soil profile test will cost around $70 or so. Options for testing include Hills Laboratories and Eurofins Agri Testing.
FOR MORE INFORMATION
Beef & Lamb NZ: This site has a range of resources on how to assess soil and best manage it.
The VSA Field Guide: This field guide shows you how to carry out a visual soil assessment, no special training or technical skills required, and gives you images to compare.
