Why your soil needs biochar (plus two ways to make it)
This special type of charcoal made from waste wood will enrich your soil and help save the planet.
Words: Sharon Stevens Images: Phil Stevens, Sharon Stevens
Walk into a garden centre, and you can buy a bag of biochar. It’s even possible to order biochar by the tonne and apply it to pasture, usually mixed with an organic fertiliser. The only problem is most biochar is imported from China.
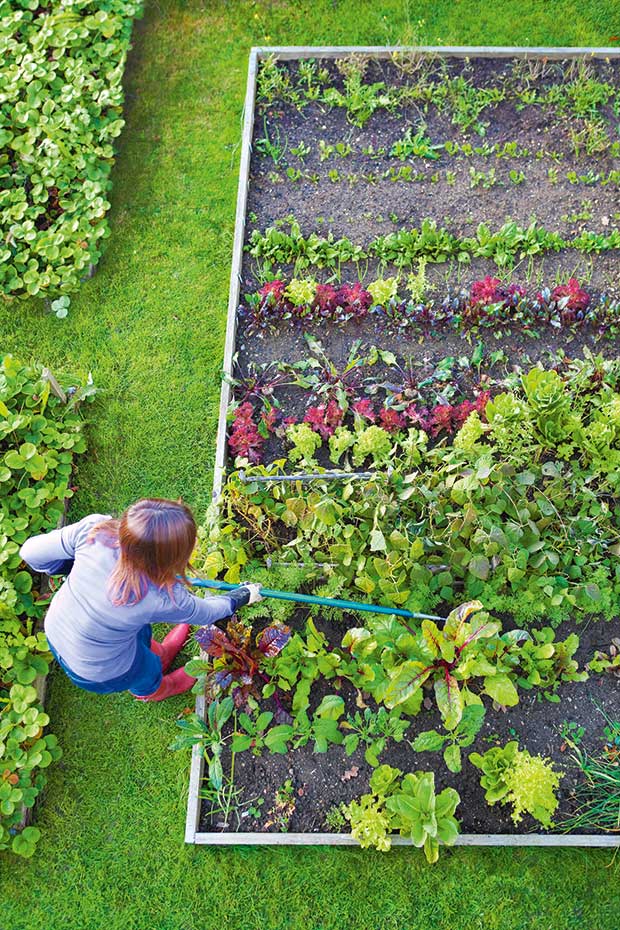
Adding biochar to your garden and pasture is an organic way to improve the soil. Research has found properly-made biochar helps the soil by:
• holding moisture;
• retaining nutrients like nitrogen, phosphorus, and potassium;
• raising the pH of acidic soil;
• reducing the incidence of plant disease;
• increasing plant productivity;
• limiting the bioavailability of heavy metals;
• reducing nutrient leaching.
Then there is biochar’s potential to help with climate change. Biochar can:
• store carbon over hundreds of years (sequestration);
• reduce greenhouse gases methane (CH₄), and carbon dioxide (CO₂) generated during waste disposal, waste processing, and recycling;
• produce renewable energy.
Another bonus is it’s made from agricultural waste, like tree prunings, nut shells, maize stalks, bamboo, and woody weeds. This is commonly burnt or left to decompose, releasing carbon into the air.
Turning it into biochar creates a valuable asset in your soil, and holds carbon in an inert state, instead of releasing it into the atmosphere.
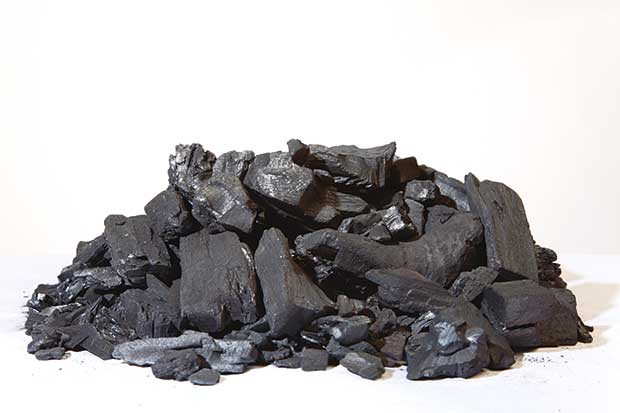
WHAT IS BIOCHAR
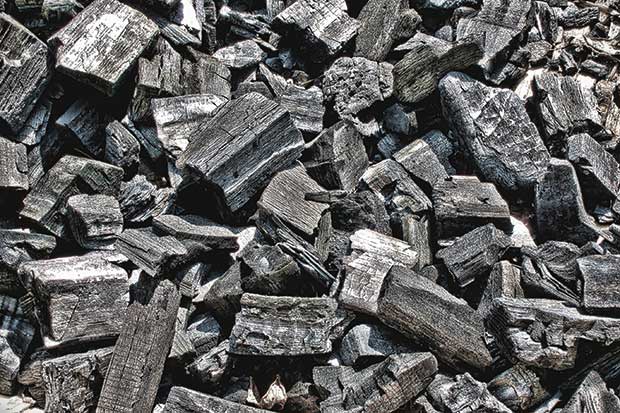
Biochar is a fine-grained, highly porous kind of charcoal. It is made using pyrolysis, a burning method that ‘cooks’ the wood without using oxygen, producing solids (biochar), liquid (bio-oil), and gas (syngas).
This is different from the charcoal you’ll see in a fireplace, where wood combusts (thanks to oxygen), producing heat, light, ashes, gases, and smoke.
Research shows it has other valuable benefits:
• when biochar is mixed into animal manure, compost, urine, or other nutrient-rich organic waste materials, it only takes a few minutes to reduce noxious odours. This indicates nutrient losses (mostly nitrogen, which is released as ammonia gas) from these substrates is at least partially inhibited, very quickly;
• biochar literally soaks up nitrates, phosphates, dissolved organic carbon (DOC), and other easily soluble substances during aerobic composting;
Scientists believe biochar used in agriculture will play a big part in organic nutrient capture and recycling. For example, biochar could be used in manure management systems to decrease nutrient losses, reduce odours, and to improve organic fertiliser efficiency when applied to the soil. It will also reduce greenhouse gas (GHG) emissions during the process.
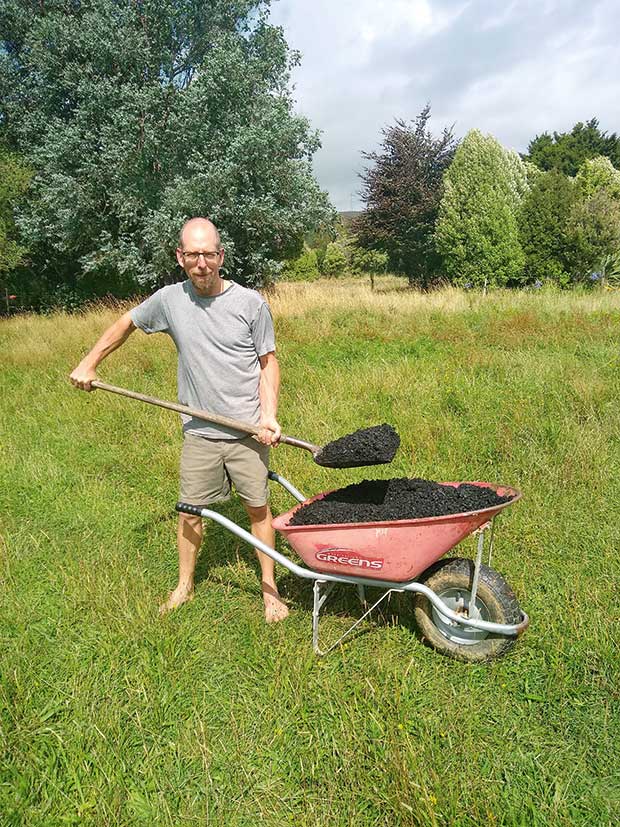
LESSONS FROM A BIOCHAR-MAKER
Making good biochar can be as easy as adding a tin of wood to your winter fire. Phil Stevens shares his tips for making your own biochar, and how to use it in your garden.
Phil Stevens has spent many years working to combat climate change.
“It’s soul-destroying to see the effects first-hand,” he says. “The biodiversity loss and social disruption. I wanted to
take action.”
Phil now works part-time as an energy and carbon consultant to businesses wanting to reduce their ecological footprint. He volunteers with transformation-oriented community groups.
At home, he has planted hundreds of trees. He’s continually looking for new ways to reduce his family’s emissions from transport, direct energy use, and material consumption.
But he wanted to do more.
“The answer was beneath my feet, getting more carbon into the soil and keeping it there.”
His first step was to adopt no-dig gardening and no-till cropping. These methods minimise carbon release while preserving soil structure, helping plants expand their root zones, and storing carbon.
Seven years ago, he began experimenting with simple, inexpensive ways to make biochar. It involves cooking the ‘biomass’, usually waste-wood material, using a special burning process called pyrolysis.
To use biochar in your garden, it’s best to ‘pre-charge’ it with microbial lifeforms. If you add biochar straight into your soil, without ‘charging’ it, soil micro-organisms can migrate into the highly porous char, reducing crop yields for several months, up to a year.
Eventually, micro-organism populations will increase and migrate out again, re-charging your soil. To avoid this delay, you can ‘pre-charge’ biochar with microbial organisms.
Step 1: Choose your biomass
The best ingredients (or feedstock, as biochar enthusiasts call it) to turn into biochar is woody material (biomass), already on your block or close by. This is material that would otherwise be left to decompose, or burnt.
Phil makes biochar from slash from firewood trees, nut shells, coppiced new-growth willow, pruned branches, wood chip, corn cobs, and woody weeds. Overseas, biochar experts are experimenting with animal manure, often mixed with sawdust or wood chips (to help dry the manure).
Phil’s tips:
• use fast-growing woody plants which rapidly sequester atmospheric carbon while growing – converting them into biochar keeps carbon in a stable form;
• avoid fuels that release toxins, such as treated timber, rubbish, and bleached paper;
• dry biomass completely before cooking.
Step 2: Cook your biochar
METHOD: IN YOUR FIREPLACE
What you need: tin cans/roasting pans, wood burner/fireplace
Phil’s favourite approach for small batches needs no special equipment. All you need is a fire-worthy container and a clean-burning wood fire (with adequate airflow).
Fill the containers with biomass and place in the fire as it dies down overnight. In the morning, it will be biochar.
-

- Before
-

- During
-
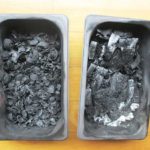
- After
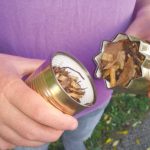
Phil made his first containers from matching soup tins. He used needlenose pliers to ‘crimp’ the open end of one tin so that it would fit into the open end of another. Once joined, the tins formed a tall, closed cylinder that opens in the middle.
But after about a dozen trips through a hot fire, the cans rusted so much they developed holes.
He now uses two stainless steel steam-roasting dishes (176mm × 108mm × 65mm). These tolerate much higher temperatures, and are robust enough to use for a second winter. The lids also fit better than the soup tins, limiting gas exchange, for a higher-quality char.
“It’s just like adding another log to the fire,” says Phil. “In winter, we use our wood burner daily for home heating and stove-top cooking. By spring, (the amount of biochar) really adds up.”
PHIL’S TIPS FOR MAKING BIOCHAR IN A WOOD BURNER
1. build up a good bed of coals;
2. make sure the fire is burning hot;
3. pack containers with biomass – make sure the containers close properly but don’t seal them as gases must be able to escape;
4. place filled containers directly on top of coals, then shut the fire door, but make sure there’s a good draft – if the wood burner has a glass door, you’ll be able to see the pyrolysis taking place as flames come out from under the lid;
5. allow the fire to burn down overnight;
6. remove the containers the next morning, once the biochar is fully cooled – if the containers are opened when the char is hot, the inwards rush of oxygen may start a fire.
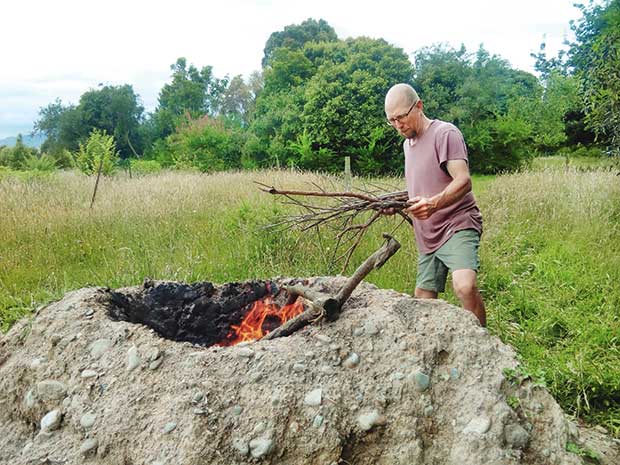
METHOD: IN AN OUTDOOR PIT
Phil recently wanted to make a larger batch of biochar quickly, using a mound of subsoil left behind after a pond excavation. He and a friend dug out the top to make a cone shape, creating what looked like a mini-volcano.
How a cone pit works
A well-built cone fire burns hottest in the centre, driving a rolling air flow. Gases released during the burn rise along the sides of the cone, then fall back towards the centre of the flames where they re-burn. This ensures a clean fire.
Over time, a bed of coals builds up in the cone’s bottom. In a hot fire, very little oxygen penetrates this bed. Heat continues to drive off all the volatile components, leaving carbon behind as biochar.
“A balanced burn takes practice,” says Phil. “Continually adding more biomass prevents the top coals turning to ash. Adding too much, too quickly, lowers the fire temperature, creating smoke.”
If the biomass is not sufficiently hot for long enough, it won’t pyrolyse completely.
“It’s best to use smaller ‘feedstock’, especially when it’s almost time to douse the fire.”
PHIL’S TIPS FOR MAKING BIOCHAR IN A CONE PIT
1. Build your cone in a sheltered spot, from soil containing minimal organic matter. Topsoil must be lined with a good layer of subsoil, or it may catch fire.
2. Dig a cone with a minimum diameter of 80cm at the top and a minimum depth of 55cm in the centre. A small or narrow and
deep cone will cool too quickly through its earthen walls. If in doubt, always go wider.3. Make your cone’s sides as regular as possible for smooth airflow.
Phil uses small ‘feedstock’ like branches removed while pruning, which is easier to manage, especially when it’s time to put the fire out. These are up to 5cm in diameter.
3. Choose a calm burn day. There will be smoke if the wind blows away evolved gases before they pass through the entire fire column.
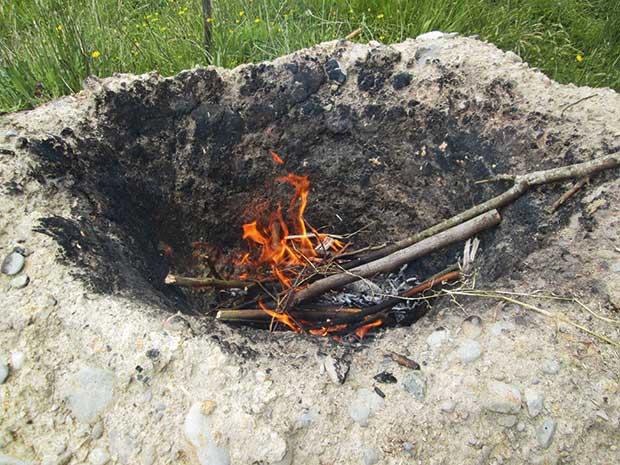
4. Start the fire with a tower of twigs and fine kindling. Leave plenty of air gaps. At the top, build a tinder ‘bird’s nest’ using dry leaves, very fine twigs, and palm fronds. Add a bit more kindling on top. Light the tinder. The fire will burn down the tower to create the initial bed of coals.
5. Add kindling, then gradually add larger material as the coal bed develops. Phil’s cone can handle branches up to 5cm diameter.
6. Burn until the cone is full, although you can stop earlier if you run out of feedstock.
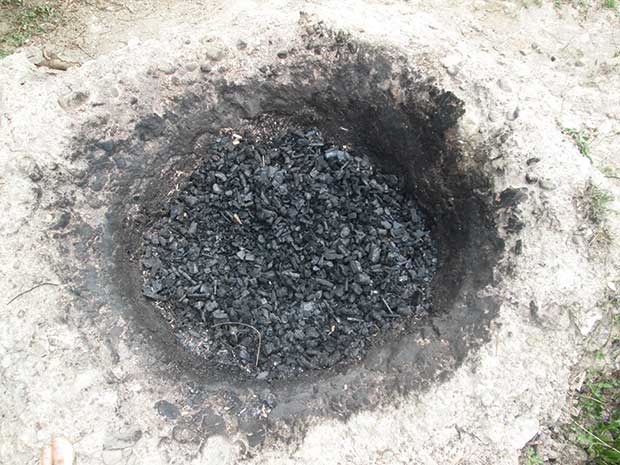
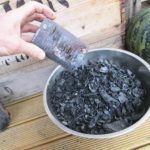
7. Douse the pit with water as soon as the flames die down. This prevents the top layer from turning to ash, and steam will open pores in the biochar. After a few burns using this pit, Phil inserted a 25mm galvanised steel pipe at the bottom of the cone to drain off and save the ‘quench’ water.
8. Alternatively, cover the pit with dirt when the burn is complete, then wait until the following day to unearth the finished product.
THE HISTORY OF BIOCHAR
Biochar is a durable form of carbon that changes very little in the presence of chemical and biological activity (recalcitrance). Ages for black carbon in some grassland soils have been reliably pegged to more than 7000 years in the US-Midwest, and more than 12,000 years in Russia.
Scientists have found areas of the Amazon where soil up to 2m deep has high concentrations of charcoal and organic matter.
These dark-coloured soils – known as ‘terra preta’ (dark earth) – are highly fertile and have supported agriculture for centuries.
Analysis of the soil has found it’s made up of burnt plant and animal remains, manure, bones, and fish. The soil also has good nutrient retention and a neutral pH in areas where it’s generally acidic.
These soils are only found in populated areas, suggesting humans are responsible.
Sources: www.slowfarm.co.nz; The basics of biochar, www.aph.gov.au
HOW TO MAKE A TINCAN BIOCHAR CONTAINER
-

- Step 1
-

- Step 2
-
- Step 3
-
- Step 4
Who: Phil Stevens
Where: Ashhurst, 15km north-east of Palmerston North
Land: 1ha (2.5 acres)
Web: slowfarm.co.nz
