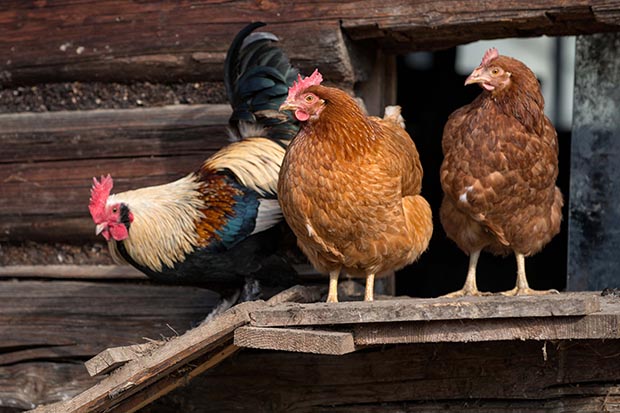
How to clean your chicken coop
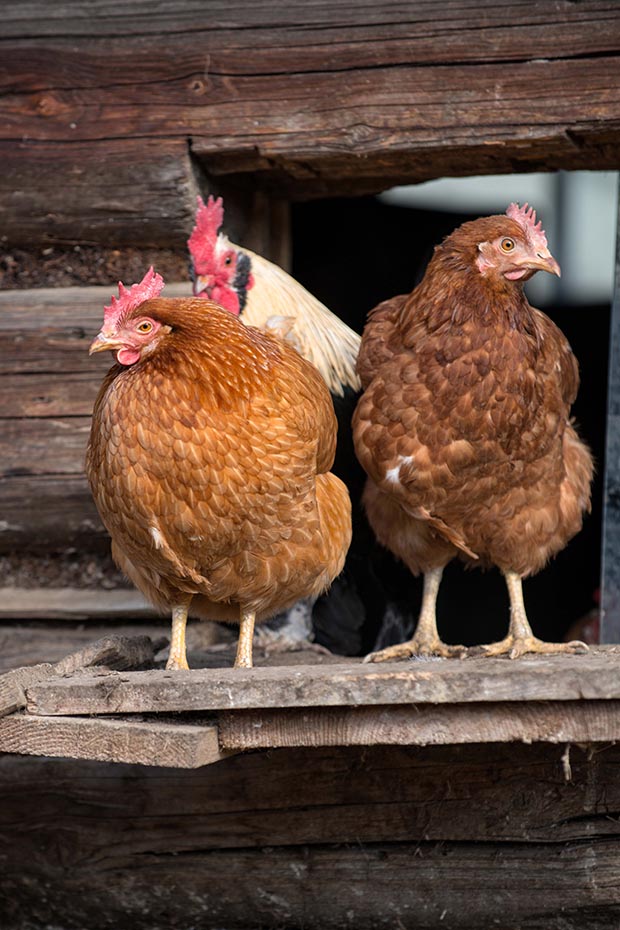
Everything you need to know to thoroughly clean your coop and chicken run to help keep it smelling sweet and healthy.
Words: Sue Clarke
Whether you clean your chickens’ living quarters once a year, in spring and autumn, or even more often, there are a number of important steps to go through or you won’t achieve what you set out to do.
There are good reasons why you should clean out your coop on a regular basis. Regular can mean anything from monthly, or six monthly to annually, depending on the type of coop, the type of birds (chicks or layers) and what sort of environment they live in, eg deep litter shavings, dirt floor, or moveable chicken ark-type house with no floor.
When should you do a thorough clean?
1. Before you put new birds, either young chicks or new pullets, into a coop which has previously housed older birds;
2. After you have had a disease outbreak, eg scaly leg or red mite, a respiratory disease like Infectious Bronchitis, or several unexplained deaths;
3. When the droppings are piling up and the floor is becoming damp and smelly attracting flies and rodents;
4. At least once a year.
Over a period of time a coop will become dusty and possibly festooned with cobwebs which hold even more dust. The nests and perches become ingrained with droppings and dirt from the birds’ feet, feather dander and shed feathers and skin, and grease from their preen gland and the food they eat. The flooring medium becomes more faeces than litter and it all leads to a build-up of bacteria, virus and fungal particles that is likely to be a source of infection.
This can cause problems for younger birds newly introduced to the flock, any birds that may fall sick from an unrelated infection that has suddenly appeared, or even older birds coming into the environment which is different to where they were previously kept.
A thorough cleaning will reduce this bug population back down to a manageable level and enable vulnerable individuals to better cope, stay healthy and build immunity. You are never going to make a coop or run bug-free but at least you can reduce the level of contaminants to one the birds can handle.
While you should clean the feeders and drinking equipment once a week as a bare minimum - daily is best, especially for the drinkers - the major cleanout of the house perches and nests should be done at least once a year. A hot summer’s day is perfect as it will get everything dried out quickly.
13 STEPS TO COOP CLEANING
1. Take out anything which is removable like perches, nest boxes, feeders and drinkers and thoroughly clean them. Soak them first to loosen dirt.
2. Put on a respirator - you want a respirator, not a dust mask, you’ll find cheap disposable ones in hardware stores - and eye protection. Sand sweep down the ceilings and walls of cobwebs, then use a misting bottle or a spray attachment on your hose to dampen down dust before removing litter, even in small hen houses. This is extremely important so you don’t breathe in dust particles from the litter which can carry all kinds of bacteria and fungi. The greatest risk is from the fungal spores of aspergillus (also known as farmer’s lung) which can grow in the lungs of humans and birds, but there is also the possibility of other infections like campylobacter and salmonella.
3. If your coop has a dirt floor, it may pay to use a spade to skim off the top layer of soil with the last of the litter debris.
4. Before power hosing, spray everything with a detergent - any household dish washing liquid will do. This helps dissolve the greasy surface layers which otherwise will not be washed off with plain water. Many pathogens are protected from the elements beneath this layer made up of fats and proteins from the feed and the birds themselves. If you use a detergent leave it on for a few minutes to dissolve the grease.
5. Once litter is removed, wash out the interior with a high pressure water. A hose with a fitting to create high pressure is fine, but a water blaster makes it a lot easier.
6. Leave to dry out.
7. Spray out with a sanitiser. The surface must be clean for it to work as you can’t sanitise dirt. There are several available including Virkon, Farm Fluid S, or others that are MAF- approved, eg those used in the dairy industry (usually quaternary ammonium compounds or QACs). These will be available from rural supply stores or your local farm vet. Other options include household sanitisers like Jeyes fluid if you can find it, or the specialist poultry products like Poultry Shield. These products do not kill insects like mites, lice and fleas.
8. Leave to dry out.
9. Once dry, spray an insecticide like Ripcord or neem oil everywhere including the door/s and window frame/s, nests, floors, ceilings and equipment, especially below the perches. If you can (and it’s recommended), remove the perches and spray in the crevices where the perches sit. Red mites live on the wood frames of hen houses and perches and come out at night to suck on the blood of your birds and they love little gaps to hide in.
10. Leave the hen house empty and clean for as long as possible to break any possible disease cycles. Having two hen houses that can be alternated is a good idea (and a good excuse, you can never have too many hen houses!).
11. Before you allowing birds back in, treat them for lice with something like Pestene powder or flowers of sulphur. Also treat for parasites with either an off-label product like Eprinex cattle pour-on drench (0.1ml per kilo bodyweight, withholding of eggs period is 14 days), or one you put in the water supply like Aviverm (for large birds). Other organic preventatives for mites include painting a chicken’s legs with neem oil (diluted as per instructions), and hanging cuttings of wormwood from the perches.
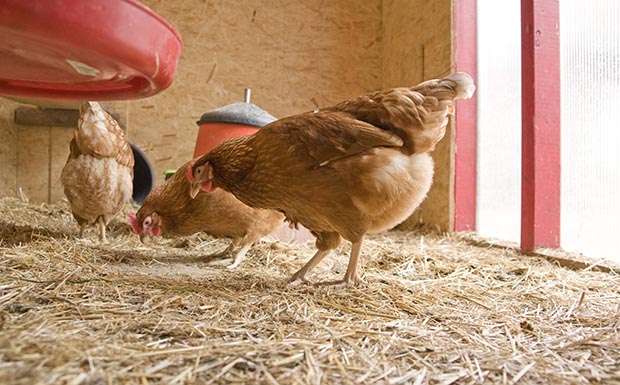
12. Restock with new shavings, preferably untreated wood chips or shavings to a depth of at least 10cm. Don’t use hay as it stays wet, or straw if you can help it. By adding a new layer every week or so you will keep down the smell and flies. Sprinkle grain onto the floor litter so birds will keep turning it over, which will also assist in keeping down the smell.
13. Lastly, the soil surrounding the run where birds congregate to get in and out or wait to be fed can be given an acidifying treatment to reduce the bacterial loading. Sodium metabisulphite (available at home brew stores for sanitising equipment) can be sprayed around in these areas to help kill off any salmonella or other pathogens carried by wild birds, and lower the level to below the infective level for your chickens.
Coopy choice makes a big difference
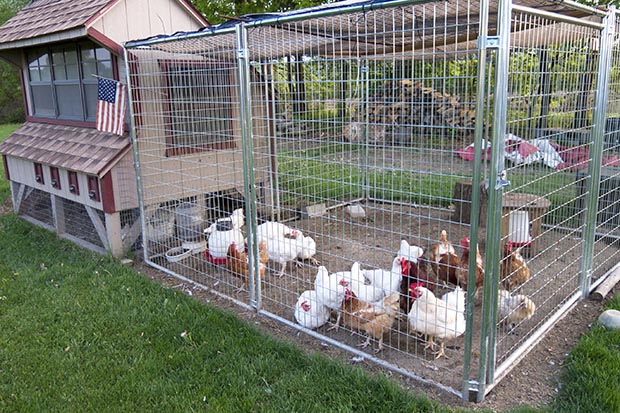
One of the most important factors for an easy clean-out is to build your coop from easily cleaned materials.
• Wood is ok, but better if painted.
• Metal is even better as it’s less likely to provide comfortable hideaways for mites than wood.
• Perches and nests are better if they are removable.
• Nests are better if they have a removable base board that can be taken out and scraped to remove dried egg and faeces.
• Concrete floors are the best, but a smooth wooden floor can be scraped and soaked.
• A dirt floor is almost impossible to clean so a layer of earth should be removed during a clean-out to at least get rid of some bugs.
In one case I know of, salmonella was found 10cm down in a concrete floor of a scrupulously scrubbed hatchery. The more you can clean, the better it will be for your chicken’s health, but know also that sterilising is almost impossible in the backyard coop.
2 THINGS YOU SHOULD ALWAYS DO WHEN CLEANING OUT A HEN HOUSE
The dust in a hen house will be contaminated by chicken skin cells, which can carry campylobacter and other bacteria and fungi.
This is why it is very important to:
• Always wear a dust mask when cleaning out a hen house - we’re not being overly cautious or PC here.
• Use a misting bottle of water or a sprayer or hose to dampen down the interior before cleaning so dust particles are not flying around in the air.
TREATING YOUR HEN HOUSE FOR PEST INSECTS
The products approved for the control of insects, mites, lice and fleas in poultry in NZ include:
Chemicals
Ripcord diluted as per the label and sprayed on to walls and nests has some residual activity.
Organic products
Diatomaceous Earth (DE) can be used in the floor litter, in the base of the nests or in special dust baths. It damages the insects’ exoskeleton causing it to dehydrate and die.
Neem oil is a botanical oil extracted from the seeds of the neem tree, a relative of mahogany, and is useful as a fungicide, insecticide and against nematodes, bacteria and viruses. The active ingredients are many but include Azidirachtin. It certainly seems to have some wonderful properties in the control of a range of pests, especially insects as it inhibits their developmental stages. It appears to be non-toxic to mammals, earthworms and birds but can be toxic to fish, crustaceans and tadpoles.
Herbs
Leaves of various herbs such as rosemary, oregano, and lavender may be a useful addition to the nests as an insect repellent.
3 STEPS TO THE DEEP LITTER SYSTEM
1. The principle of leaving the litter comprising of a litter base material plus faeces to build up over a period of months, rather than cleaning it all out weekly, is the same as that of a compost pile. To start the combined material ‘working’ you aim to form a litter base which breaks down the faeces due to the action of aerobic bacteria and warmth. This will reduce or eliminate smells, reduce insect activity, and create an enriched form of dry compost.
2. Add a good depth of fresh litter. Wood shavings are best. Wood chips, bark waste or mulched garden twigs or pine needles would work although may take a long time to break down. The pine resin in shavings and bark also helps with the smell and sanitising.
3. The litter needs to be at least 10cm deep to start with and can gradually build up to double this with the addition of more shavings, manure mixed in from under the perch areas and regularly cleaned-out nest material. It must be allowed to warm up and be regularly stirred, either by the hens or by you turning it over with a fork to prevent a wet ‘skin’ of droppings forming on top. Once it is warm and the good bacteria are working it will break down the fresh droppings quickly and the ‘good bacteria’ should triumph over the ‘bad’ or anaerobic bacteria.
Hay or straw have their disadvantages as litter because they mat rather than break down quickly, and harbour moulds. Very dry straw would work if shavings are unavailable. The resultant deep litter, removed after 12 months, is a beneficial, composted garden fertiliser. It will have leached some of the nitrogen to the air over the year, but is still a valuable soil conditioner.
