DIY: How to make a cute macramé keychain
Learn how to make this cute macramé keychain before moving on to larger projects.
Words and video: Jade Parkinson, founder of Bleubell Macrame
Macramé is the art of creative knot tying and, for Taranaki mum Jade Parkinson, it’s a full-time job. Her daily commute is from the bedroom to her sunroom, which acts as a workspace for her online business, Bleubell Macrame. “I just find weaving so relaxing, I love it. It’s not like going to a job where you go and then dread doing the stuff no one likes,” she says. Read about how Jade fell in love with macramé here.
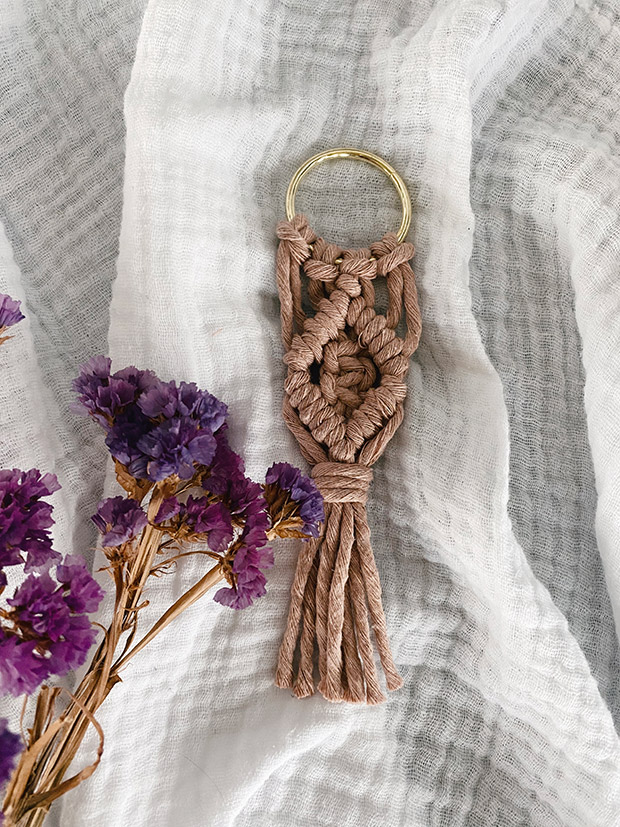
Macramé Keychain
MATERIALS
Keychain clasp / small ring
4 x 80cm of 3mm cotton cord
1 x 30cm of 3mm cotton cord
Pair of scissors
KNOW YOUR KNOTS
1. Lark’s head. The knot used to tie the strings onto the hoop is called a “lark’s head” knot, which is also called a cow hitch knot. For this knot, the cord is folded evenly into half & then looped onto the hoop. To keep them even, when you pull the ends through the loop made on the ring, keep the two ends together when you pull them through.
2. Diagonal half hitch. The knot used to make the diamond shape is called a “diagonal half hitch” knot. For the diagonal half hitch knot, keep the “working cord” (the cord tying the half hitches around) in the direction that you want the line of knots to go. For the diamond shape, hold the working cord diagonal to the way you want that line to go.
3. Gathering knot. The knot used to tie all the cords together is called a “gathering” knot. When you’re pulling the cord around the group of strings you want to be pulling it fairly tight, otherwise the gathering knot can come off of your work — and we definitely don’t want that.
MORE HERE
Behind Bleubell Macrame: Meet the Taranaki mum who’s bringing back macramé in a big way
DIY: Make a classic pompom beanie with this free knitting pattern
