DIY: How to make a beautiful bouquet
A step-by-step guide to creating a pro-looking posy.
Words and photos: Sheryl Burson
“Is there a mum who would like to receive a bouquet, especially one created especially for her?” asks Davina Prankerd, addressing a class of wannabe floral artists.
It’s a rhetorical question, but one that nevertheless gets a chorus of head-nodding affirmations.
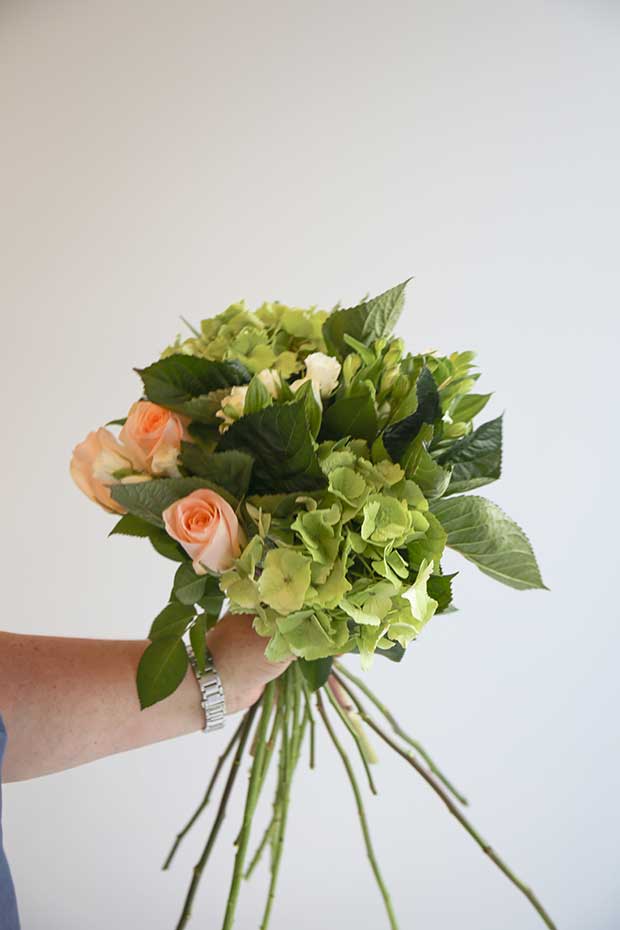
She is holding stems of vintage-esque roses, arm slightly outstretched while demonstrating the “spiral” method, a technique guaranteed to corral an unruly bunch of blooms, store-bought or garden-picked. The room reeks of roses and readiness.
We’re here at Vida Flores, Davina’s airy shop-come-studio tucked away in an off-the-beaten-track part of Auckland’s Newmarket.
The experienced florist, who has been supplying bouquets to the city’s homes and businesses for close on 20 years, runs classes for beginners and those with an established flair for design.
Today is about creating a goof-proof Mother’s Day posy. “Keep your grip firm but not too tight,” she urges, as the group grapples with greenery.
The hands-on instruction continues as the arrangements grow into pro-looking bouquets, proudly carried out into the Auckland sunshine by satisfied students.
Keen to fashion a floral arrangement Mum would love? Here’s how.
Step 1: Cut flower stems to a manageable length and discard excess greenery and any unsightly petals.
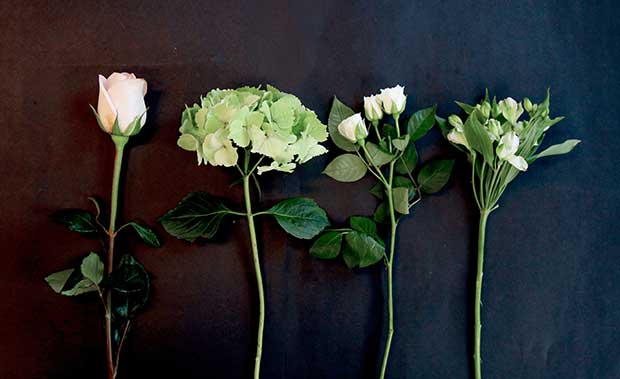
Step 2: Line up blooms and foliage across a counter or table ensuring each stem is visible.

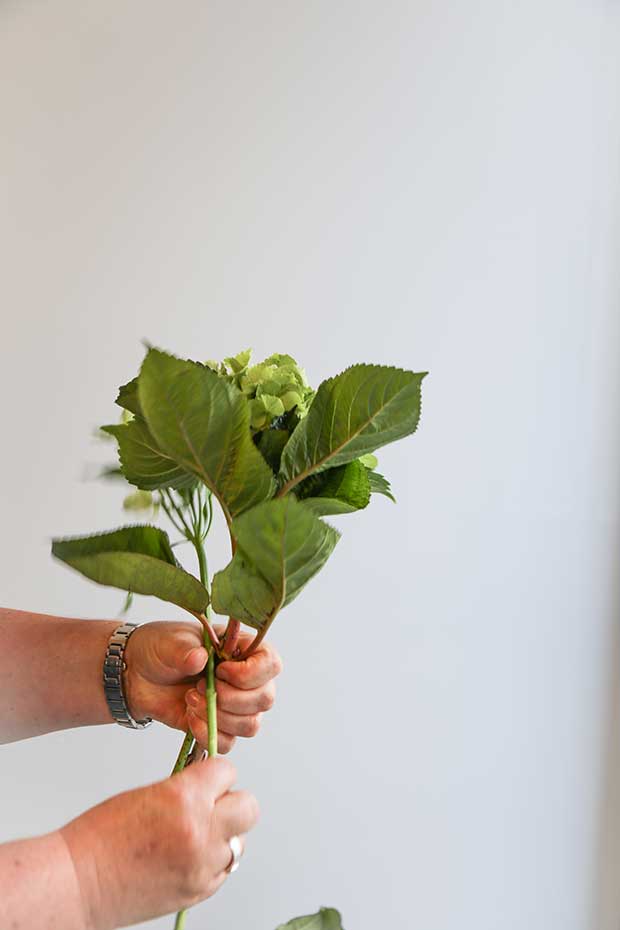
Step 3: Keeping your leading arm outstretched, grip the first stem between the thumb and index finger. The fingers should be free of foliage, only the stripped stem between them.

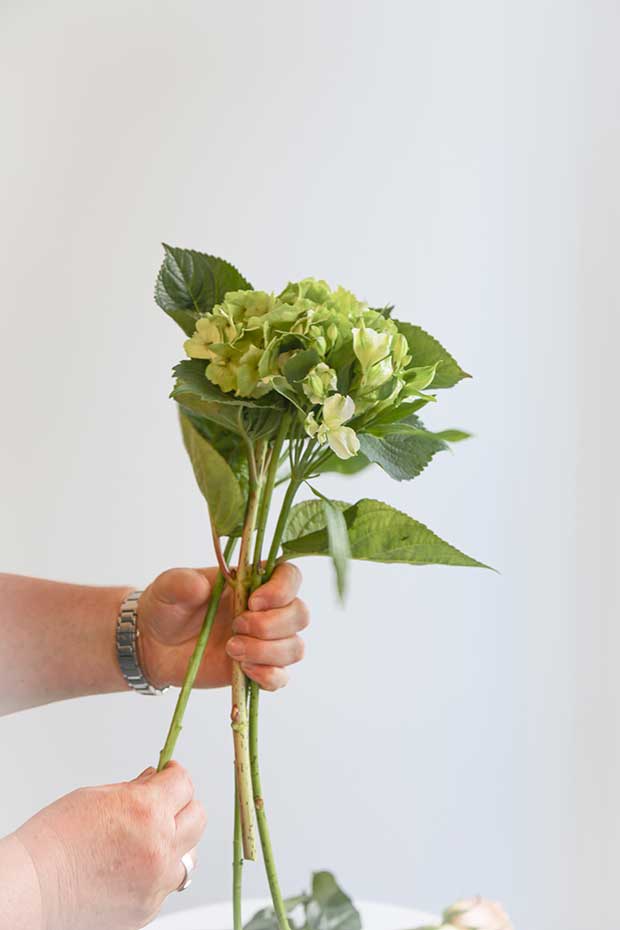
Step 4: Pick up a second stem and, with a roll of the wrist, wrap the second stem behind the first.
The action of placing each stem against the previous one is called “spiralling in” and the more exaggerated the spiral, the sturdier and more professional-looking the bouquet.
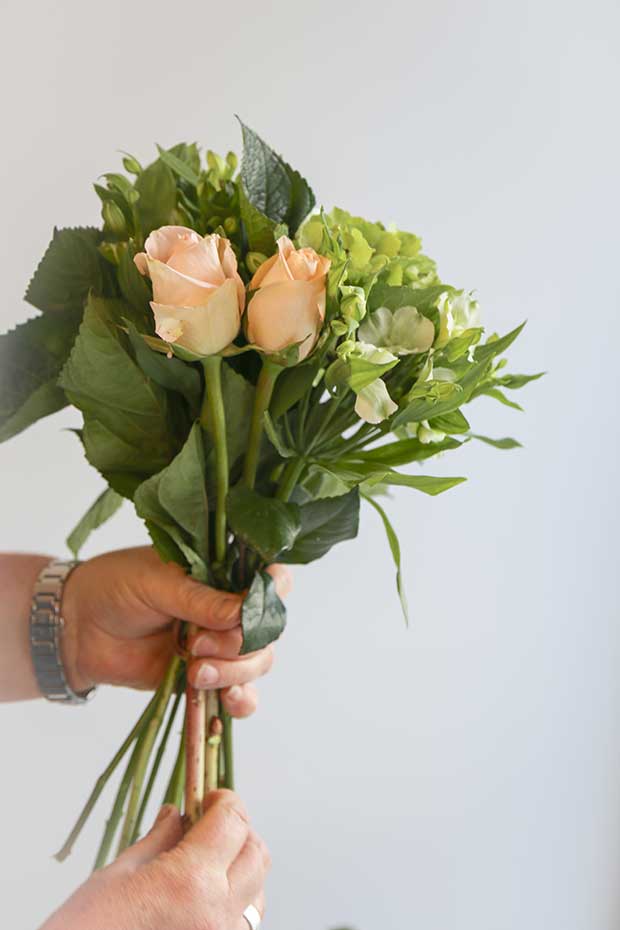
Step 5: Rotate the bouquet as you add more flowers. This may feel slightly uncomfortable at first, but as increasing stems get layered in, it will easier and the bouquet itself more secure.
The idea is not to cross the stems over each other but overlap them so that they all wrap in the same direction.
Step 6: As you get more comfortable with spiralling, add impact to your bouquet by grouping flower varieties together.
Grouping odd numbers of blooms – for example, three roses – will create points of interest. Grouping in even numbers risks square shapes or lines within the arrangement.
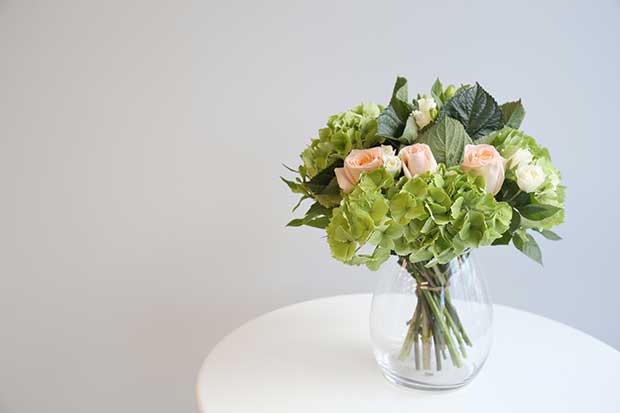
Step 7: Tie the bunch firmly with string and cut stems at an angle before putting the flowers in a vase.
Vida Flores, 12 McColl Street, Newmarket.
