DIY: How to make a tiered herb planter
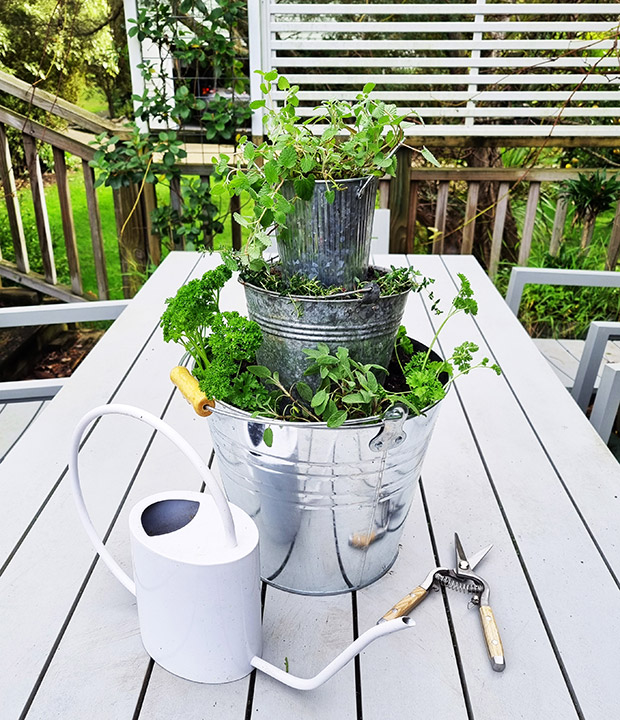
Put your herbs on display with this pretty (and easy-to-make) three-tier planter.
Words and photos: Jane Wrigglesworth
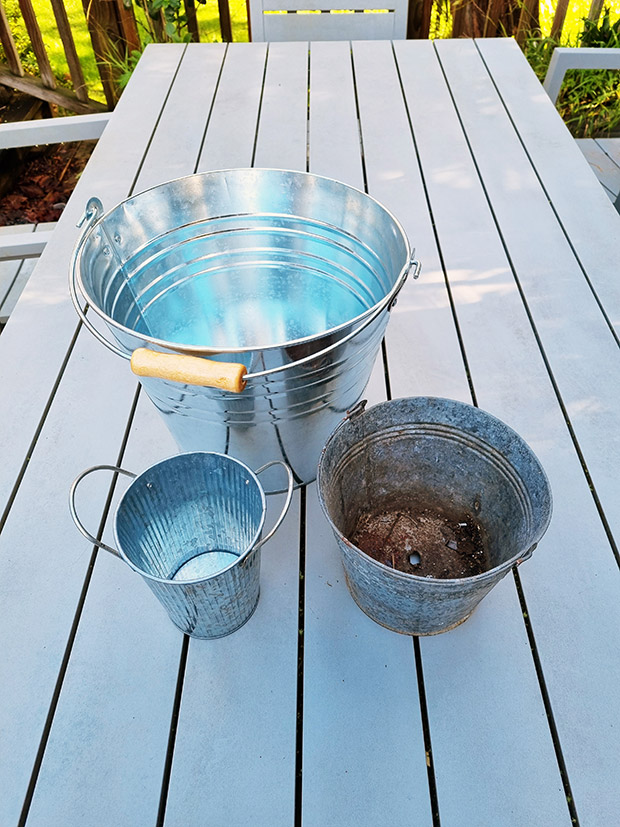
Lacking space in the garden? Make a simple herb planter with recycled galvanised buckets or terracotta pots — you’ll need one large, one medium-sized and one small container. Drill drainage holes at the bottom of each, then plant them up. It’s really as simple as that.
Most herbs are not deep rooting (except for comfrey and horseradish), but if looking to grow larger perennial herbs, such as rosemary and sage, the larger bottom container is best for these. These herbs can be left to grow in containers for a number of years before they need repotting.
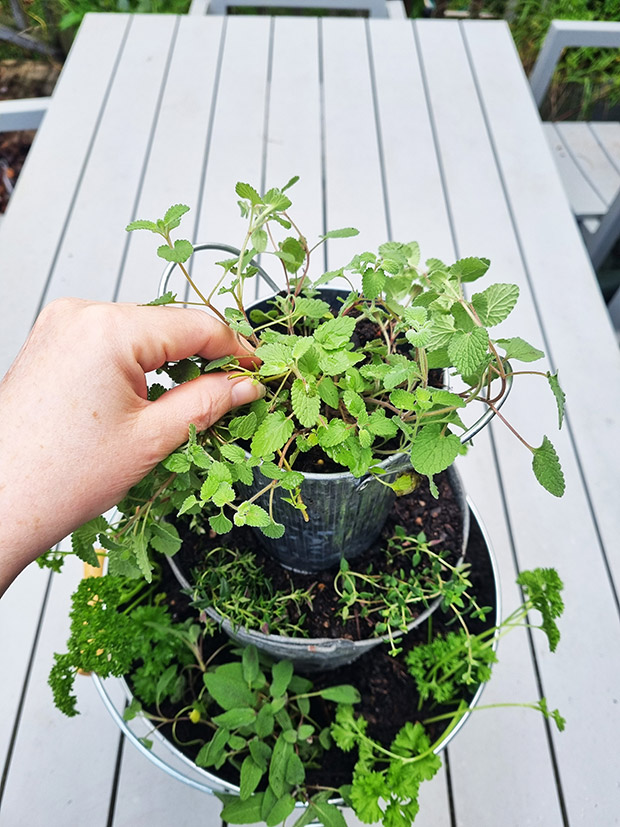
Mint should ideally be kept contained due to its tendency to spread quickly. However, mint actually does better in the ground. When planting in pots, refresh mint frequently by taking cuttings from the roots. Discard the old plant and replace with the rooted ones.
Mediterranean herbs like a well-drained, somewhat gritty soil, so create your own soil mix with three parts potting mix and one part coarse grit or perlite. Thyme, oregano, sage and rosemary are all Mediterranean herbs that love free-draining soil.
Herbs that prefer more moist conditions include chervil, parsley, land cress, mint, chives, coriander and basil. These plants can be grouped together.
MATERIALS
3 buckets or containers in different sizes
Power drill
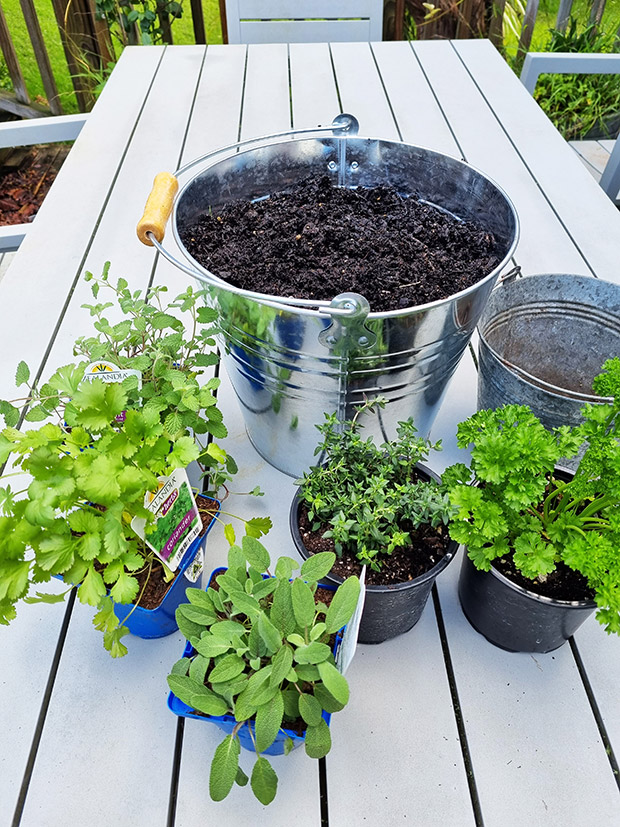
Potting mix
Coarse grit/perlite (optional)
Selection of herbs
INSTRUCTIONS
Step 1: Drill drainage holes in the bottom of each bucket. I drilled six drainage holes in the 12-litre bucket (largest container), four in the middle-sized bucket, and three in the smallest one.
Step 2: Fill the largest bucket with potting mix (and grit/perlite if necessary) to just below the rim.
Step 3: Plant around the edges, then place the middle-sized bucket on top of the first bucket, in the centre. Press down slightly to secure it. If necessary, add some more potting mix around the base of the second bucket. Fill the second bucket with potting mix to just below the rim.
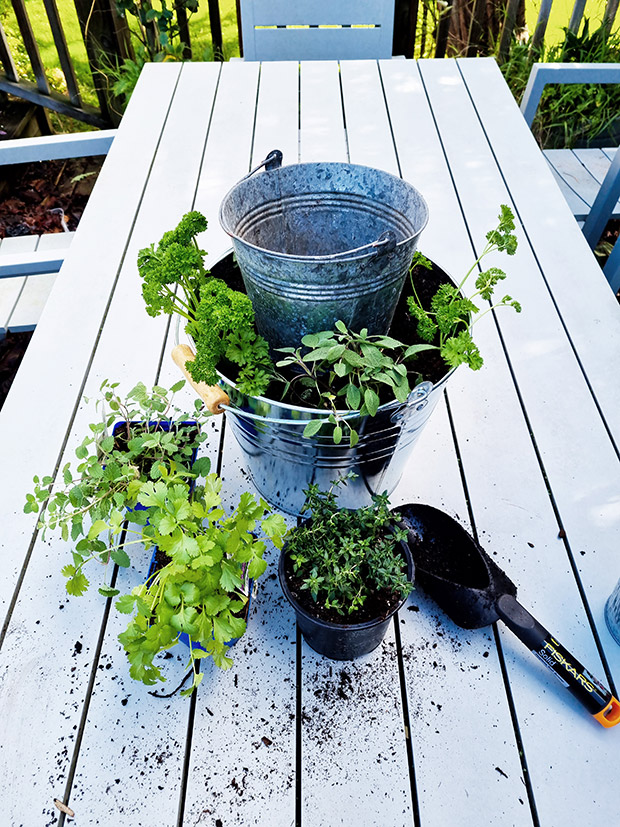
Step 4: Again, plant around the edges, then place the small bucket onto the second bucket. Press down slightly, then fill this bucket with potting mix.
Step 5: Plant up, then water all buckets.
MORE HERE
