DIY project: Build a ‘Bug Hotel’ to attract beneficial insects
Beneficial insects are essential for any garden and bugs will naturally find a home under leaves, bark, stacked wood or within your garden beds. A ‘bug hotel’ is an enjoyable way to celebrate your garden helpers, a fun family project and instant garden art.
Words: Julie Legg
A ‘bug hotel’ is an enjoyable way to celebrate your garden helpers, a fun family project and instant garden art.
Using natural materials works best, replicating a natural environment for ladybirds, slaters, bees, butterflies and other creepy crawlies.
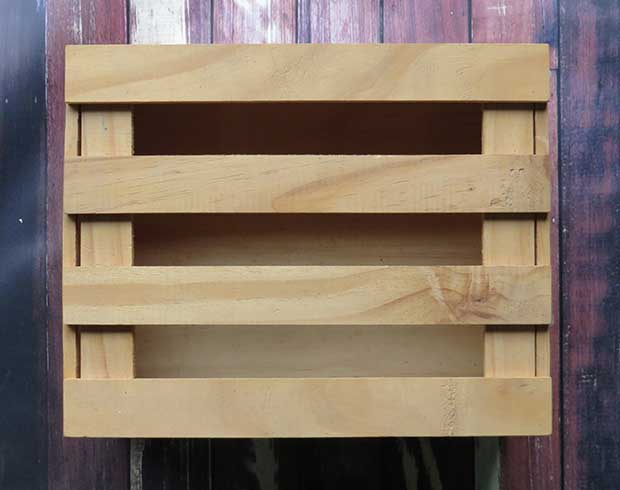
The shelter can be made from upcycling a small wooden drawer, an old letter box or a wooden wine or gift crate, as this project had opted to do. Other insect hotels can be housed in an old car tyre, an aluminum can – virtually anything.
Make it a household challenge to create a bug hotel with backyard and household items, upcycling and recycle wherever possible: spare pieces of fire wood, offcuts from a previous project, and bedding foraged from the backyard.
Although a cute touch, it doesn’t need a roof nor internal dividers – your chosen bug hotel bedding can be layered snuggly within the walls of your chosen box and secured in place by the odd patch of glue.
Dried leaves and moss can be contained by light netting or chicken wire, and carefully stacked ‘bedding’ of twigs and pinecones can form an eclectic informal result.
Due to the garden materials used, natural decay will be inevitable – a perfect environment for bugs!
YOU’LL NEED:
Wooden box
Spare wood offcuts (fence paling or hardboard is handy)
Natural garden bedding, such as pinecones, dried grasses, moss, twigs, bark, bamboo canes
Secateurs
Saw, hacksaw, clamps, drill and screws
No More Nails
Hot glue gun (optional)
HOW TO:
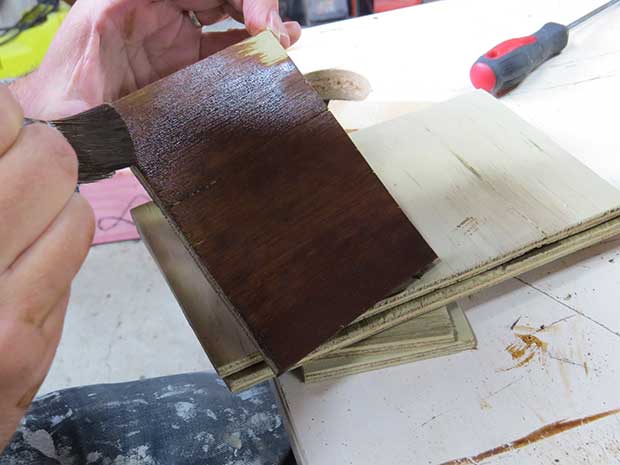
1. Select wooden box. If the wood is untreated, best to give it a quick coat of wood stain (water soluble is best for quick drying). Recoats can be applied over time if required. This helps to give the wood longevity in the outdoor elements.
Step 1.
2. For effect, create feet and a roof line all in one mighty go: measure and cut fence paling to fit the sides of box, allowing for a 45 degree roof protrusion. Clamp wood in place, then screw or affix with No More Nails.
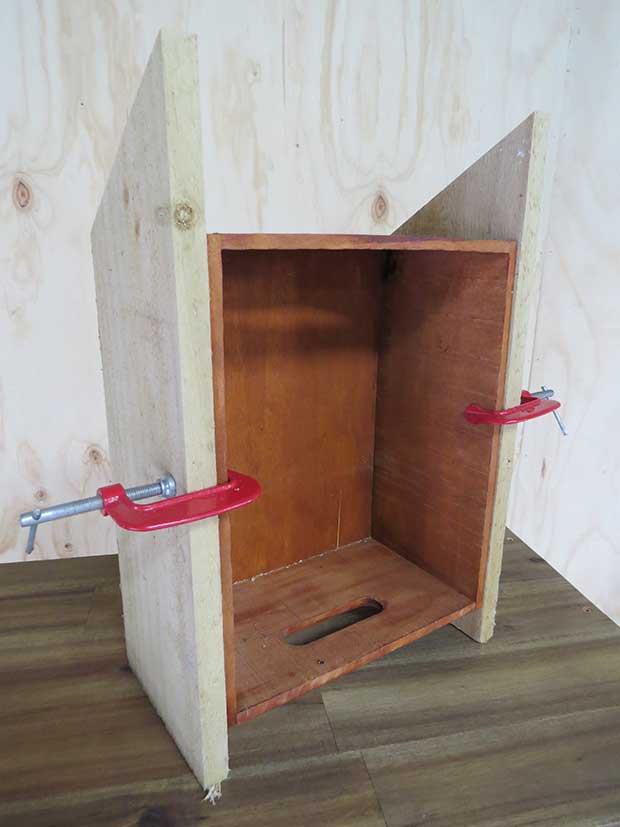
Step 2.
3. Measure, cut and stain spare wood to size to act as a roof.

Step 3.
4. Roughly sand edges, then affix in place with No More Nails.
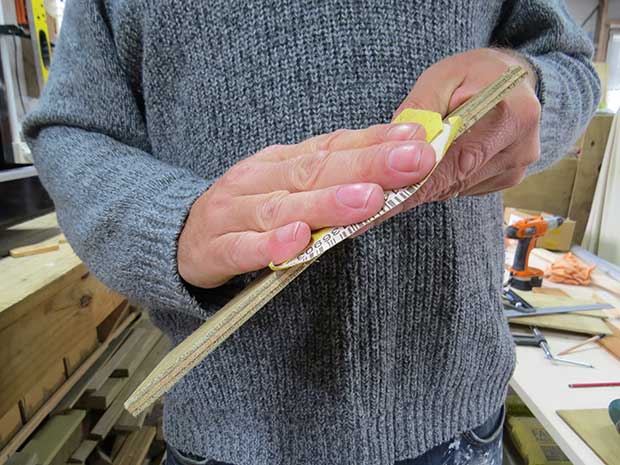
Step 4.
5. Measure, cut and stain offcuts that can be placed within the box to create wall dividers.
Step 5.
6. Affix with No More Nails.

Step 6.
7. Repeat as required until desired dividers are in place.
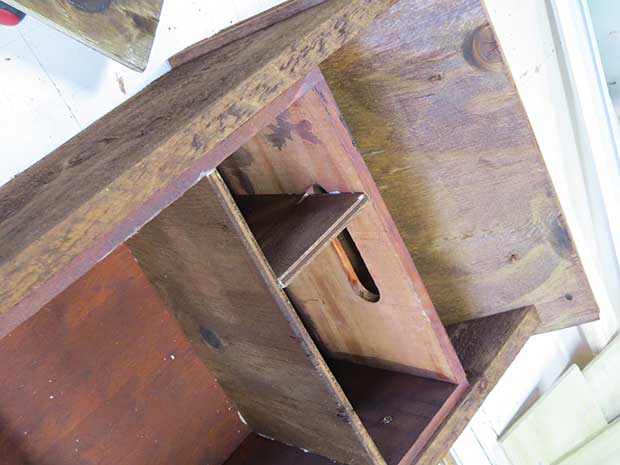
Step 7.
8. Collect a variety of natural ‘bedding’ from the garden.
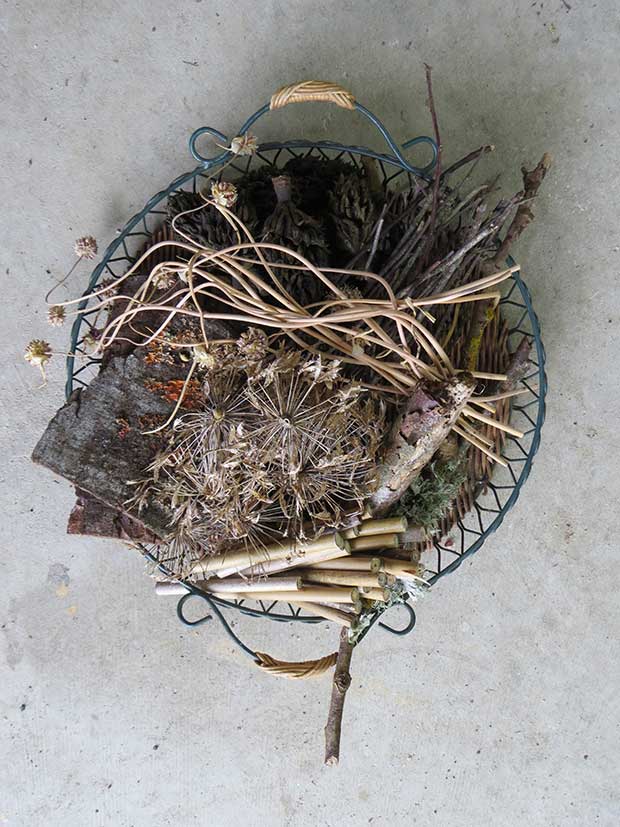
Step 8.
9. Use a hacksaw to cut down bamboo canes to size. Drill holes into the soft centre of the bamboo.
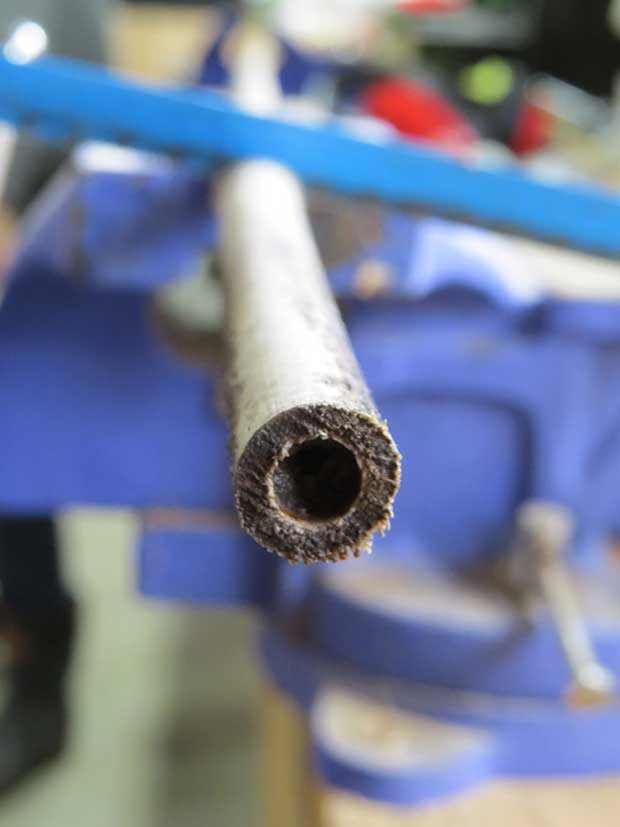
Step 9.
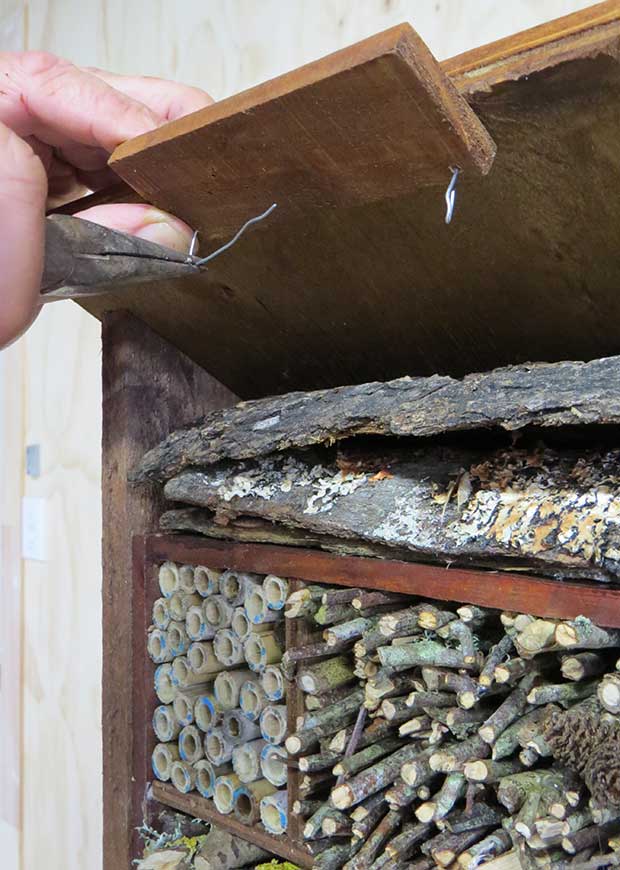
10. Stack tightly in one of the dividing cavities. If loose, a dab of glue will help secure them together.
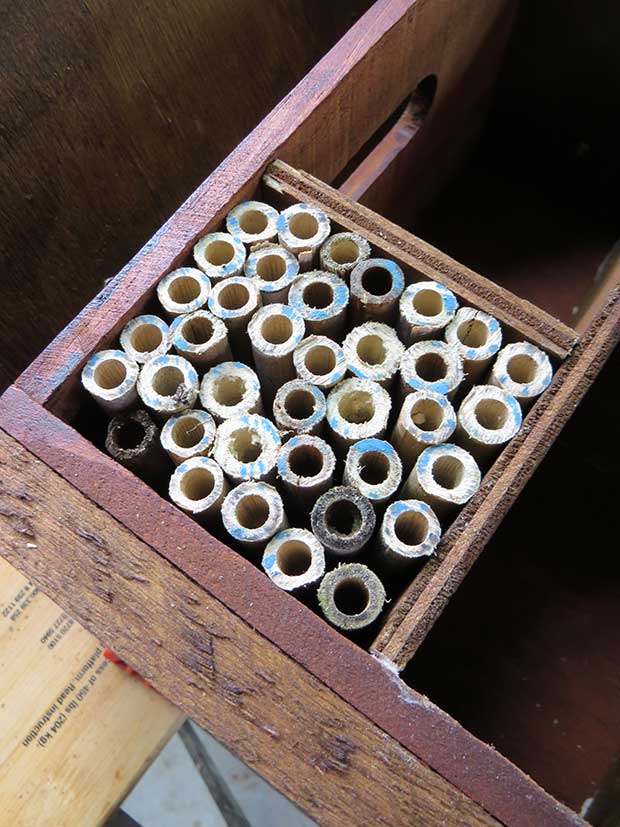
Step 10.
11. Fill other cavities with remaining natural bedding.
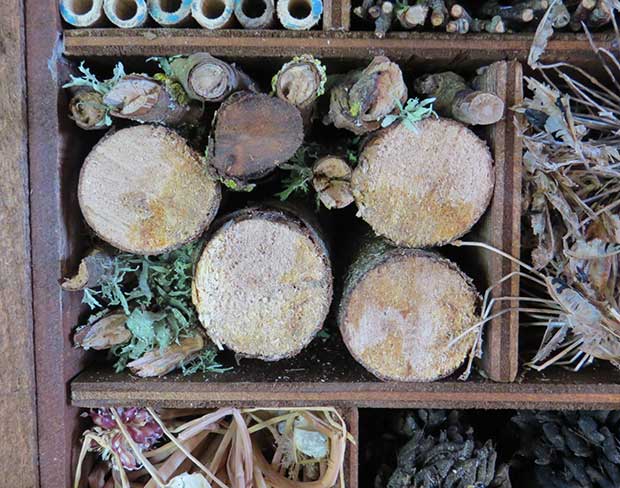
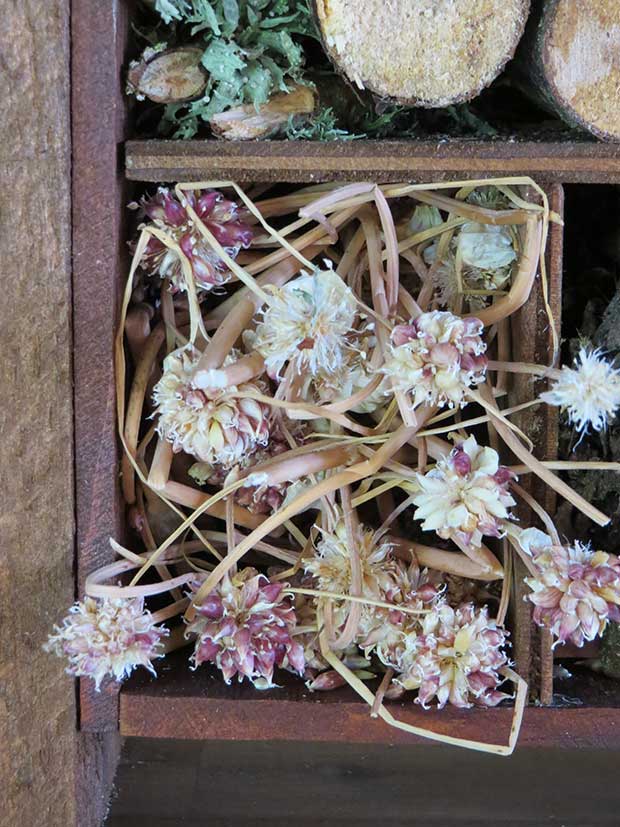
Step 11.
12. For fun, create a ‘vacancy’ sign.
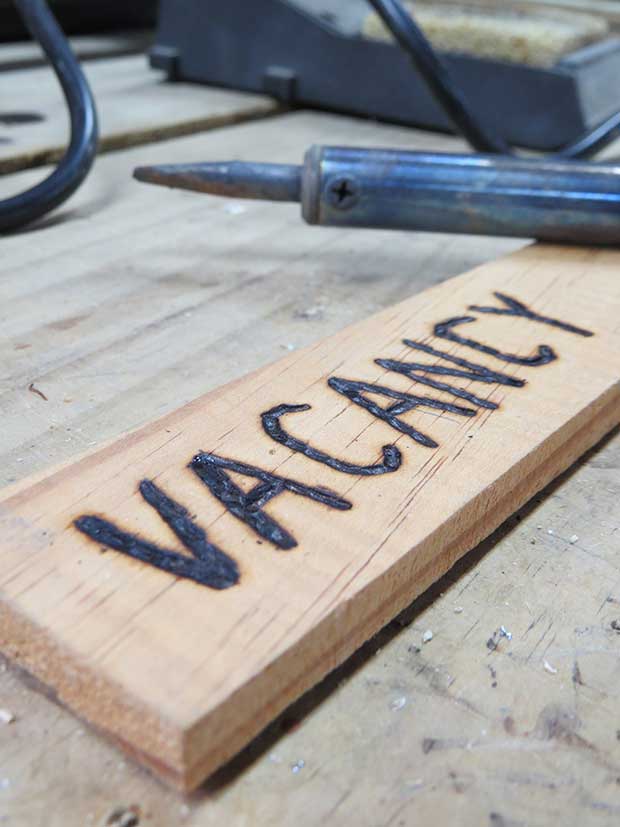
Step 12.
13. This project used a soldering iron to create lettering on a spare piece of wood, although a painted sign would be easy and safer for ‘little helping hands’. Drill a hole in the upper corners and affix to the roof line.
Step 13.
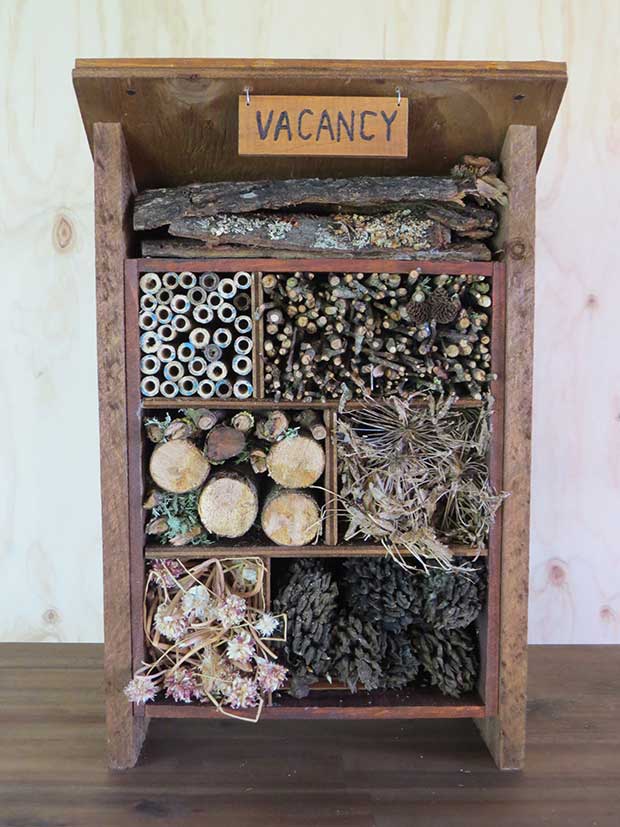
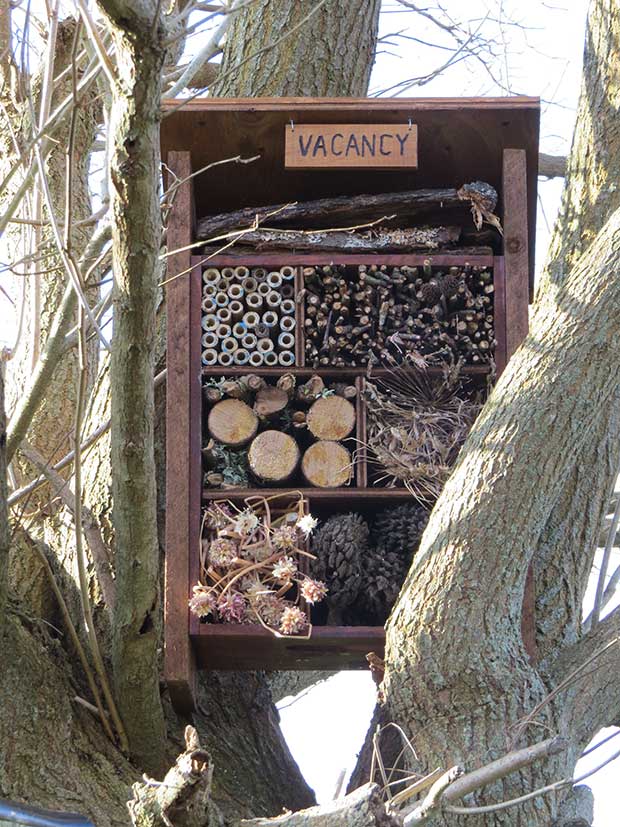
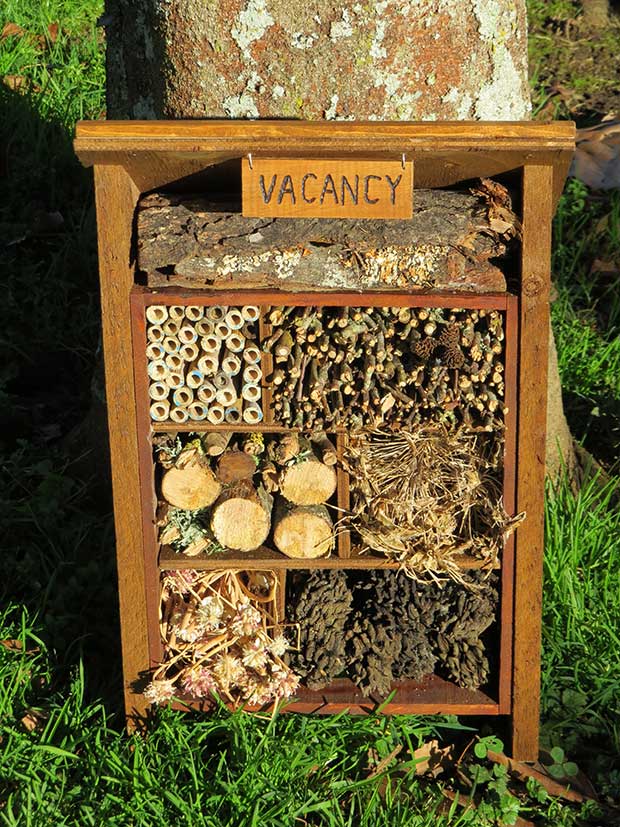
END RESULT