DIY project: Make your own Christmas garland made from natural foliage

Dreaming of a green Christmas? Deck the halls naturally with this fresh festive decoration.
Created by: John Newton Design
With the help of Auckland floral designer John Newton, NZ Life & Leisure art director Yolanta Woldendorp created the star of the magazine’s November/December 2019 cover using Japanese cedar and pine foliage and cones from her rural property to make two 160cm garlands. Here’s how you can make one of your own.
Makes – one garland
MATERIALS
Tape measure
Number 8 wire
Secateurs
Green floral tape
10-15 long (about 30cm) cuttings of one type of green foliage
8-12 short (about 15cm) cuttings of *a second type of green foliage
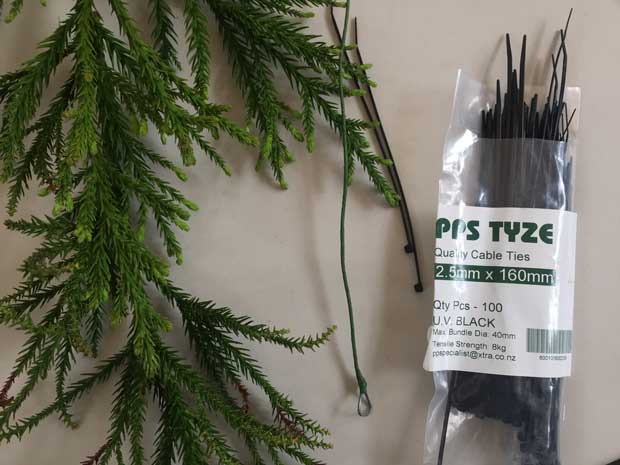
Cable ties (ours were 2.5mm x 160mm)
Berries, ribbons and/or baubles (optional)
String (optional)
Hooks or nails
*Use 2-3 types of foliage. The first will form the spine of the garland; we used Japanese cedar. The second and third varieties can be shorter pieces to add fullness and texture; we used pine cuttings and small pine cones.
INSTRUCTIONS
STEP 1: Measure the length of the place in which you’ll hang your garland (e.g. over the door), then add an additional third to this measurement so you can hang it in wave-like curves. Cut the wire to this length, then bend it to form a small loop at each end that you’ll use to hang up the garland.
A small loop is created at both ends of the wire. This makes it easy to hang the garland when finished.
Step 2: Cover the wire with green floral tape.
Step 3: Lay the covered wire on a flat surface. Use your long cuttings of foliage to form the spine of the garland. Starting at one end and working your way along, take a piece of foliage, then lay another piece on top, overlapping half of the first piece.
Secure together with cable ties, then trim the ends of the ties with secateurs; we used 2-3 ties per piece of foliage.
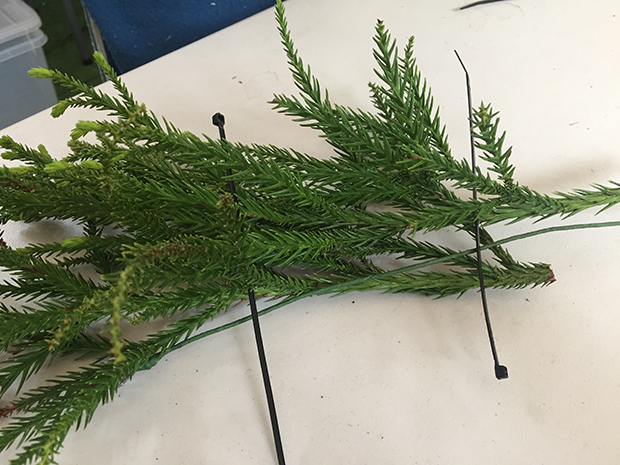
Two pieces of foliage layered over each other across the wire. Two cable ties are used to secure them together.
Step 4: Keep layering the long pieces of foliage on top of each other and securing with cable ties until the full length of the wire is covered with foliage. This completes the spine of the garland.
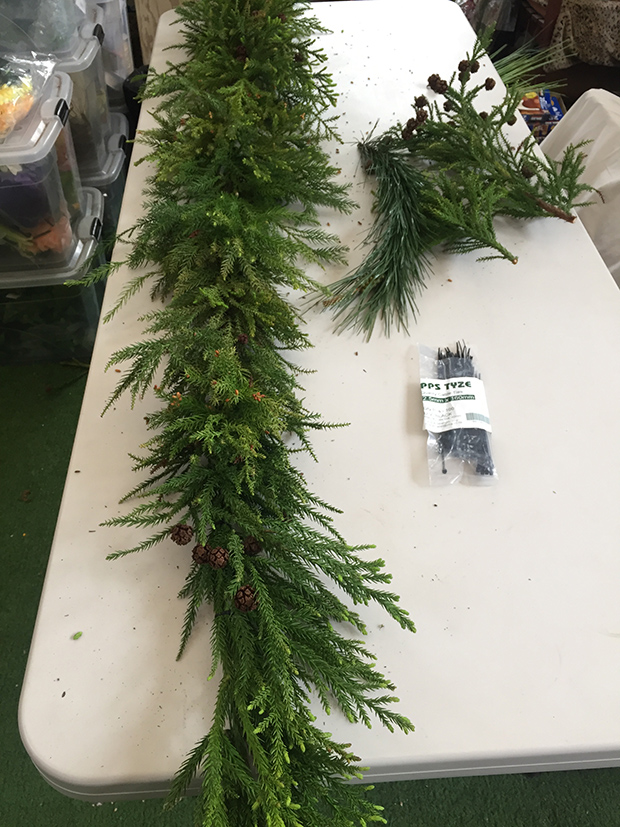
The completed spine.
Step 5: Add your second type of foliage to the spine to provide fullness and texture. Tuck the short cuttings into the spine at intervals to add texture and fullness wherever it’s needed, securing them with cable ties.
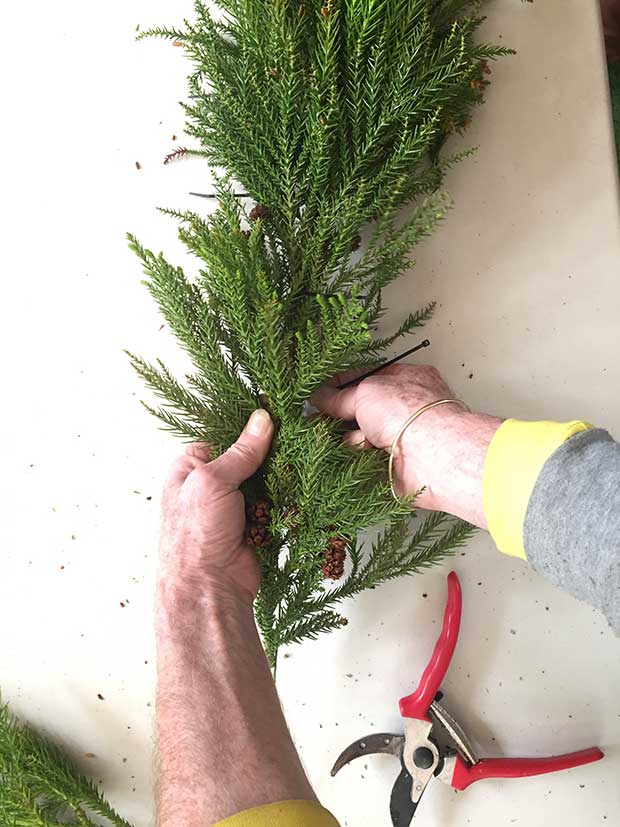
Continue tucking pieces into the garland until you’re happy with the balance of foliage and texture. Trim the cable ties.
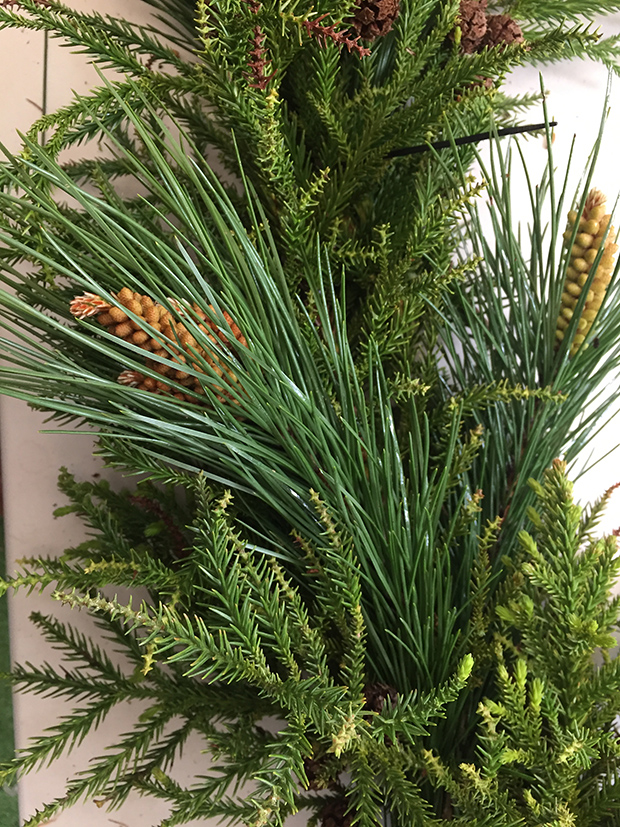
Step 6: If you’re using a third variety of foliage, repeat step 5.
Step 7: Tuck in berries, ribbons and/or baubles, securing them with cable ties or tying them to the garland with string.
STEP 8: Hang your garland using hooks or nails. Trim any pieces of foliage that don’t sit well or tie them into place with cable ties.
TIP:
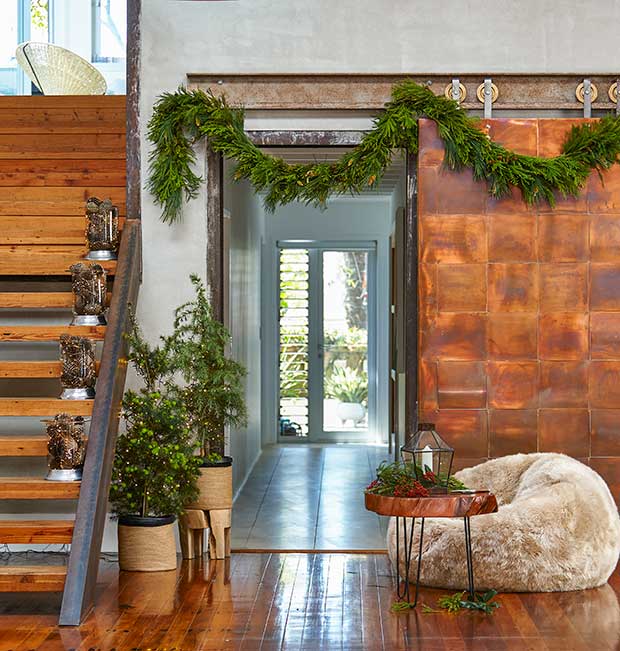
The cover of NZ Life & Leisure features two garlands connected in the middle by a shared hook. To replicate this look, simply make two garlands. Each should measure half of the length of the desired space, with an added third to compensate for draping. Join the two garlands on the same central hook, adding an extra piece of foliage to conceal it.