DIY: Seed-Raising Tray
Have some pallets lying around? Transform them into a practical hub for your seeds to grow.
Words and photos: Extracted from Life on Fodder Farm by Rebecca Stewart.
In this plastic-filled, throwaway world, we often like to create useful items for our home and garden from materials that would otherwise be discarded. Pine pallets are a wonderful free resource, and we use them for many projects. They may not be treated for outside long-lasting use, but this can be a benefit as there are no nasty chemicals to leach into your food-growing areas.
Seed-raising tray
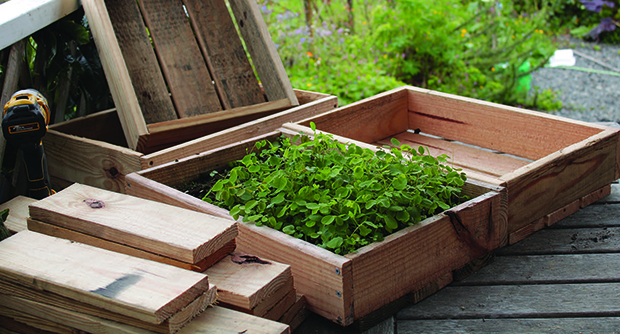
Many seed-raising trays are not deep enough for the larger seedlings we grow, and we find making our own pallet seed-raising trays a much better and easy option. These are especially good for starting the trees that are destined to be planted all around our farm, but we use them for most other seedlings, too. The depth allows for plants to be grown on in the trays till they reach a good plant-out size and they are less likely to dry out than when using plastic punnets to start seedlings.
While the size of these trays is flexible, when full of soil, plants and moisture they can be heavy, so don’t make them too large.
You will need:
• A couple of untreated pallets, the thinner ones are best for seed trays
• Timber screws, or flathead nails, about 30–40mm (depending on the thickness of pallets)
1. Deconstruct pallets or cut off lengths suitable for seedling tray size. We cut five lengths at 500mm and another two at about 300mm.
2. Make a box frame using the two short lengths as the ends and two long lengths as the sides. Screw or nail through the side pieces to secure the ends.
3. Once the box frame is made, position the other three long pieces evenly across the base and screw or nail in place.
If the spacing on the base allows your potting mix to fall through, just line the base with a couple of sheets of newspaper or a piece of cardboard.
NB. Pre-drilling holes before screwing or nailing can help prevent splitting of the timber.
Cold frame
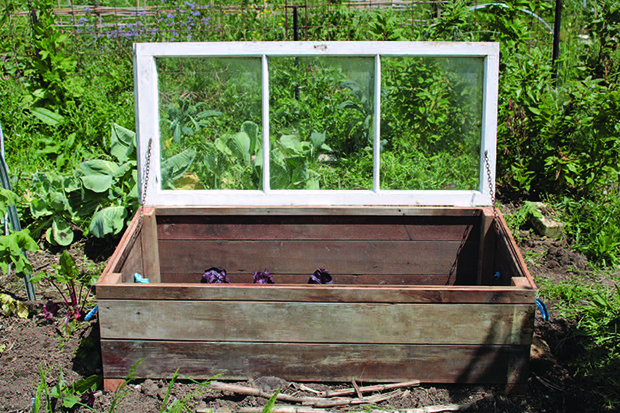
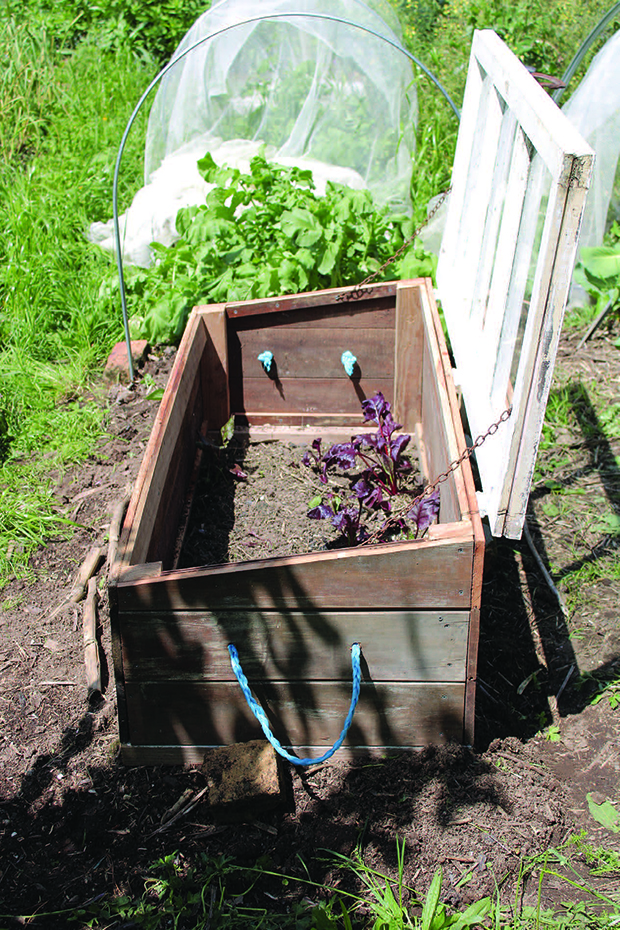
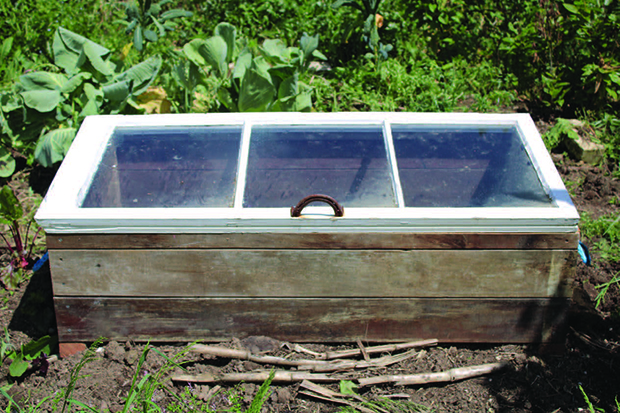
These are a great way to start seedlings direct in the garden or to use as a mini greenhouse for seedlings and plants in pots. We make them light enough to move around the garden to where we are starting the next lot of direct sown seeds. The hinged window lid can be fully opened on warm days or propped open slightly with a bit of wood. We source our timber and old wooden-framed windows from the Reuse Shop at our local rubbish dump, but a building recycler is a great place to find resources, too.
You will need:
• A wooden-framed window
• Timber – 3–5 pieces the length of the window and 4–6 the width of the window (we use any timber we can source for free or cheap; depending on the thickness of the timber, extra bracing timber may be needed)
• Corner blocks – approx. 50 x 50mm and 4 pieces the height of the cold frame • Hinges (if the window doesn’t already have some attached)
• Short length of chain
• Screws or nails (size depends on the thickness of the timber used)
1. Measure the window and cut the bits of timber to run the length of it.
2. The top piece of side timber needs to be cut at an angle and the window needs to sit on all four sides. To work this out we placed the window on a flat surface and then held it at the angle we wanted. We then marked this angle on a piece of side timber by placing it alongside and drawing along the window. This also gave us the measurement of the side pieces, which are attached inside the long length timbers (the width of the angled window minus the thickness of the long front and back timbers).
3. Place the side pieces on a flat surface and position the corner blocks on them to mark the heights and angles. Cut the corner blocks and screw or nail the side timber to them.
4. Stand up the sides and screw the bottom back piece of timber onto the back corner blocks and the bottom front piece to the front corner blocks.
5. Measure and cut the top pieces of timber to the right height, and screw them in place.
6. If thinner timber has been used, bracing may be needed top and bottom to prevent twisting. This can just be a rail attached along the top on the inside of the frame.
7. Place the window on the frame and secure it with the hinges.
8. Open the window to an angle, leaning a little backwards from the frame and attach a length of chain, screwed to the window and the inside of the frame. This helps hold the window open when you are working in the cold frame.
9. Attach a cool handle for easy opening!

Extract from Life on Fodder Farm: A journey to self-sufficiency by Rebecca Stewart $39.99 RRP, Upstart Press. Available now where all good books are sold.
