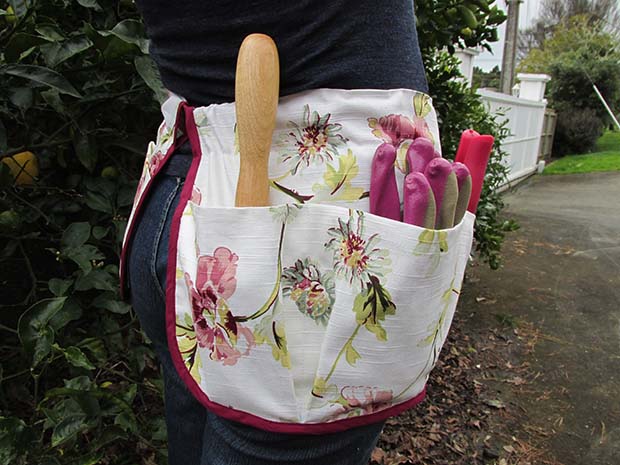
DIY: How to make a fabric gardening tool belt
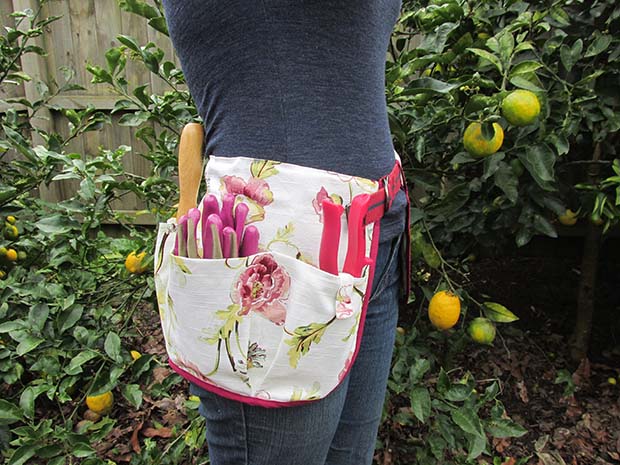
Jane Wrigglesworth’s spring craft project is an easy fabric tool belt for storing trowels, secateurs and other garden tools.
MATERIALS
1m x 1.5m heavy cotton fabric
1 x belt approx 3.5cm wide
Newspaper or brown paper for making template
Bias binding (colour of your choice)
Sewing thread to match fabric
Sewing thread to match bias binding
Velcro dots
Tailor’s chalk
Pins
Dressmaker’s scissors
Sewing machine
Step 1
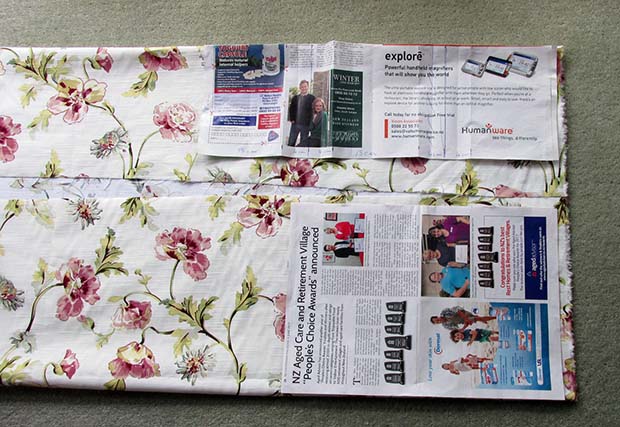
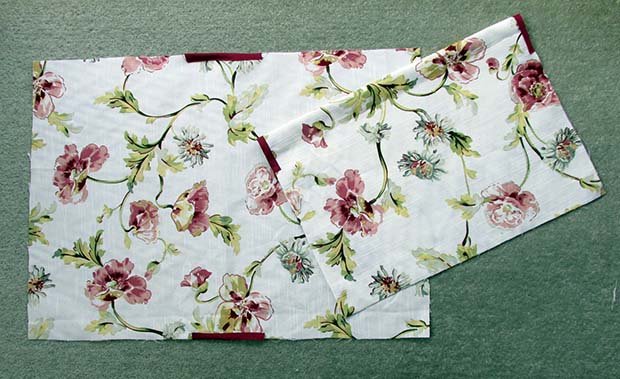
Make a template out of paper. Cut 1 x rectangle 27cm x 39cm. Cut 1 x rectangle 18cm x 55cm. Lay right side (patterned side) of fabric on a flat surface. Fold sides into the middle and lay the pattern pieces on the fold, as shown. Cut out.
Move pattern to the end of the remaining fabric, lay the pattern pieces on the fold again, and cut out two more pieces. You should have 4 fabric pieces (two of each template).
Step 2
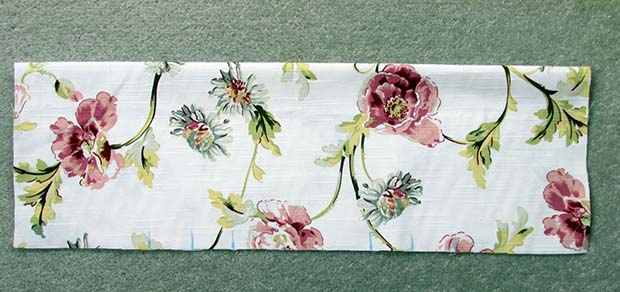
Mark out pockets on fabric. On the 55cm length fabric: Using tailor’s chalk, from the left side of the fabric at the bottom (fold is at the top), mark a line (seen here in blue) at 13cm, then at 17cm, then at 21cm. (The 13cm is the pocket width, and the 4cm is the where the pleats are folded.) Continue on and mark a line at 34cm, then at 38cm, then at 42cm.
Step 3
On the 39cm length fabric: Using tailor’s chalk, from the left side of the fabric, mark a line at 13cm, then another at 26cm.
Step 4
Cut 4 x 12cm lengths of bias binding. With the 39cm-length fabric still folded, measure from the top of fold down 5.5cm on each side, marking with tailor’s chalk. Unfold fabric and sew bias binding to fabric in between marks, as shown.
Step 5
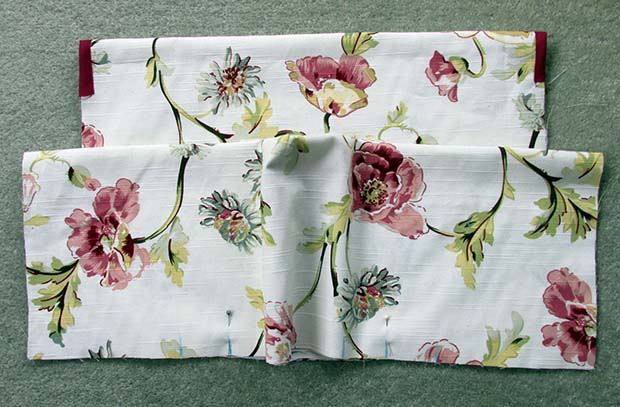
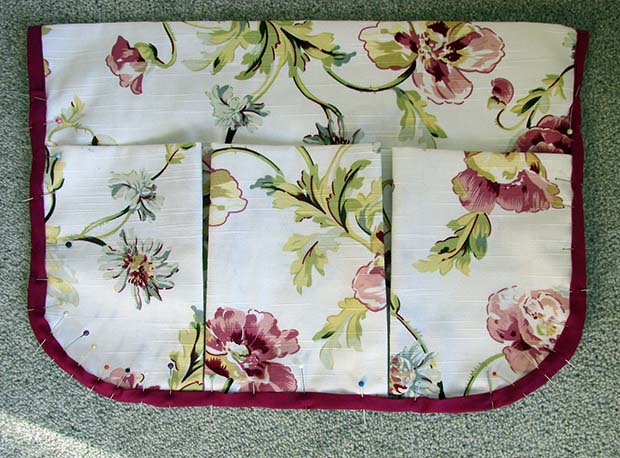
Lay the 55cm fabric over the 39cm fabric, lining the two pieces up at the bottom edge. Pin the 55cm fabric at the 17cm mark to the 39cm fabric at the 13cm mark. Then pin the 55cm fabric at the 38cm mark to the 39cm fabric at the 26cm mark.
Where the fabric is pinned, stitch a straight line up to the top of the fold of the 55cm fabric. These two stitched lines will be in the middle of each pleat.
Step 6
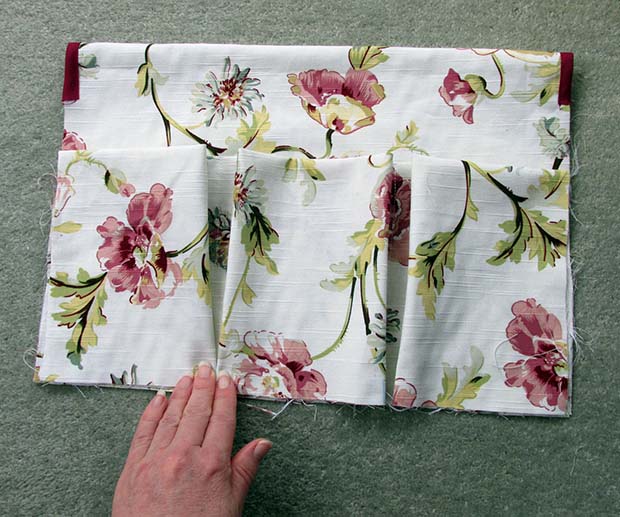
Fold the pleats together to form pockets. The sides of the top fabric should now be in line with the sides of the bottom fabric. Iron the folds, then stitch across the bottom of both fabrics to hold in place.
Step 7
Optional: Place a saucer or bread and butter plate at the bottom corners and mark with tailor’s chalk to form a curve. Cut.
Step 8
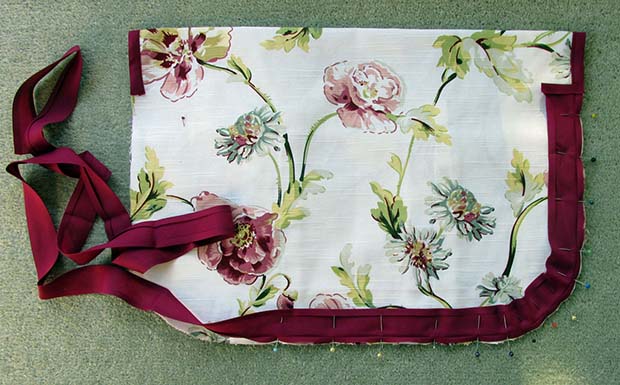
Change sewing thread to match the colour of your bias binding. Fold the end of your bias binding in and iron flat to neaten the edge. Open binding and pin to the back of the tool belt, as shown, right around. Overlap the start and finish to the previous sewn binding (the belt opening) to cover the rough edges. Pin close together right around, especially on the curves, to avoid puckering when stitching. Stitch around the bias binding on the existing fold of the binding.
Step 9
Turn over the tool belt. Fold bias binding over to the front side of the tool belt. Pin in place and stitch.
Step 10
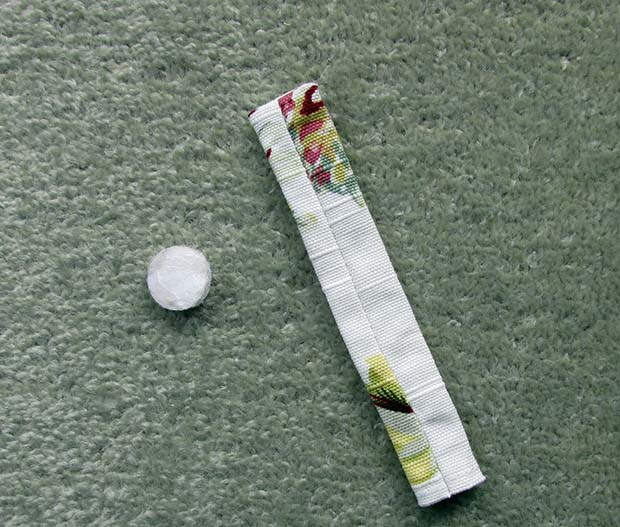
Sew a couple of tabs onto the pockets to keep tools from falling out. To make, cut a strip of fabric 5cm wide x 9cm long. Sew right sides together, leaving one end open. Pull through, so the right sides of fabric are showing. Fold the open end under and stitch closed. Stitch Velcro dot to one end of tab on the underside.
Stitch one end of tab to the tool belt just behind the pocket. Stitch the corresponding Velcro dot to the front of the pocket. The tab can now be closed.
Thread your belt through the belt holes, and you’re done!