Step by step instructions: Build a cute-as-a-button fruit and vegetable stand (part 1 of 2)
In part one of a two part series, learn how to build a mobile roadside stand for selling your farm goods.
Words & photos Julie & Jel Legg
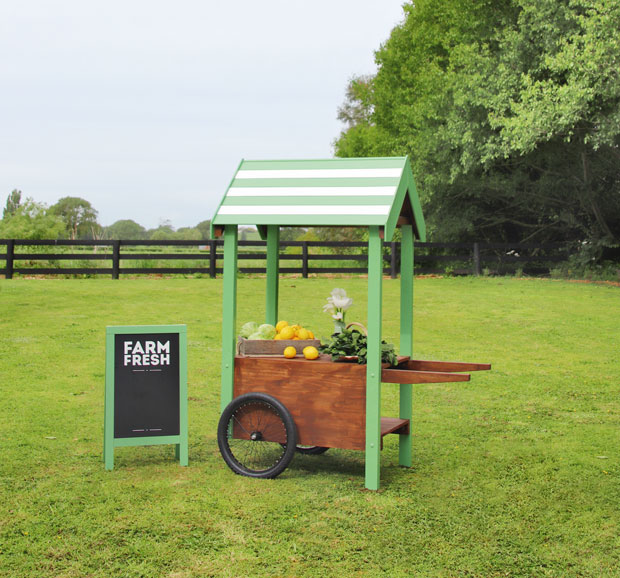
A mobile cart is ideal if you want to sell your own goods at the roadside, or at a market or community event. The design was inspired by old Victorian hand carts that market sellers would use to transport and display their wares. For this project we recycled bicycle wheels from a child’s bike. The wheels we used are 50cm in diameter (approximately 24 inches) but you could upsize the design to suit larger wheels if you have them, or if you want more selling space. The radius of the wheel determines the height of the lower shelf/base of the cart structure. The cart has one covered side, perfect for signwriting or you could paint it with Resene FX Blackboard Paint to advertise daily specials.
MATERIALS YOU WILL NEED
matching pair of bicycle wheels,
50cm diameter
1m x 10mm, threaded, stainless steel rod
8 x 10mm nuts
4 x 10mm washers
3 x sheets 600mm x 18mm x 1800mm laminated pine panels
18m x 70mm x 45mm radiata pine, H3.2
assorted 30mm, 50mm, 65mm and 75mm screws
8 x M10 x 120mm bolts
2 x 63mm corner braces
16m x 90mm x 10mm TG&V* paneling, H3.1 *tongue and groove with a V joint
3m x 135mm x 10mm fascia finger jointed pine
1.1m L-shaped moulding (18mm x 18mm angle fillet)
1.2m 45x45mm pine bannister
Resene Quick Dry waterborne primer undercoat
Resene Lustacryl semi-gloss waterborne enamel tinted to Resene Hippie Green
& Resene Alabaster
Resene Colorwood natural stain, tinted to Resene Bark
HOW TO MAKE
STEP 1
Remove the centre pins from both wheels.
STEP 2
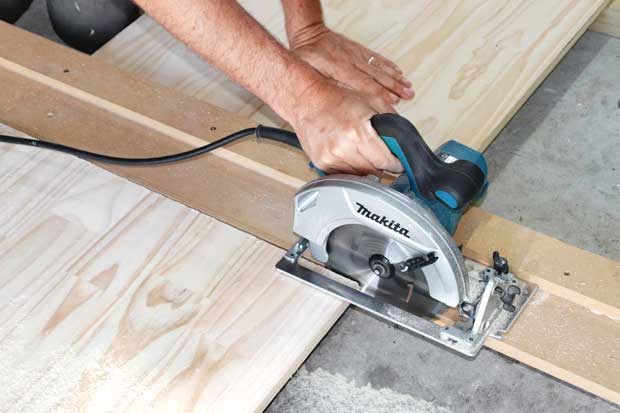
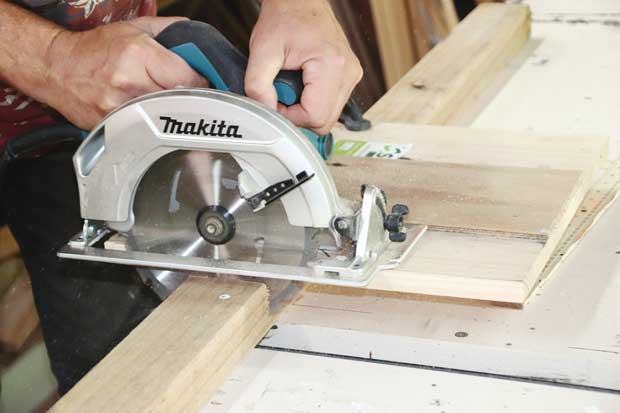
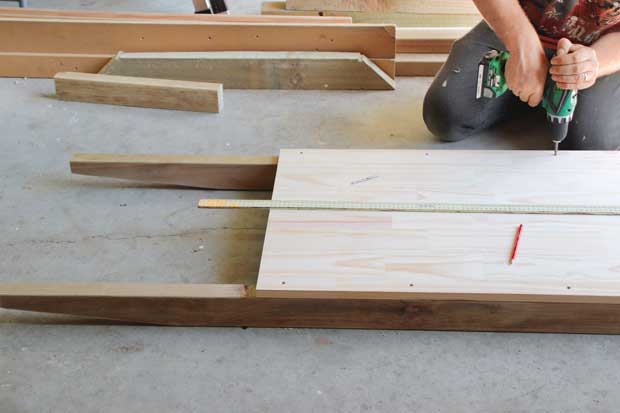
Measure and cut the laminated pine panels into two equal lengths, to the preferred overall width and length of the cart base. We cut two 600mm x 1000mm lengths. These will be the lower and upper shelves.
STEP 3
3a.
3b
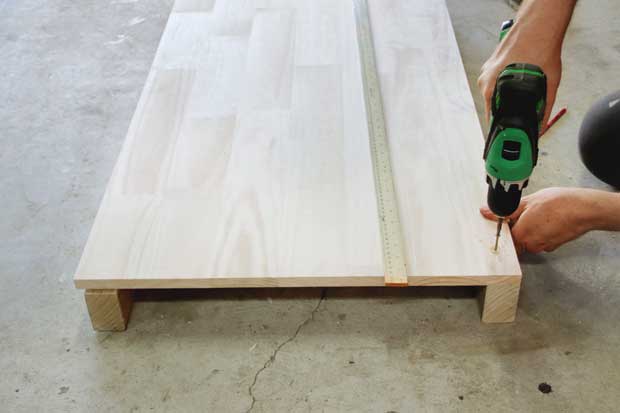
Measure and cut two 100cm lengths of radiata pine, which will act as horizontal supports for the lower shelf. Attach the lengths of pine to the panel using 50mm screws along each side.
STEP 4
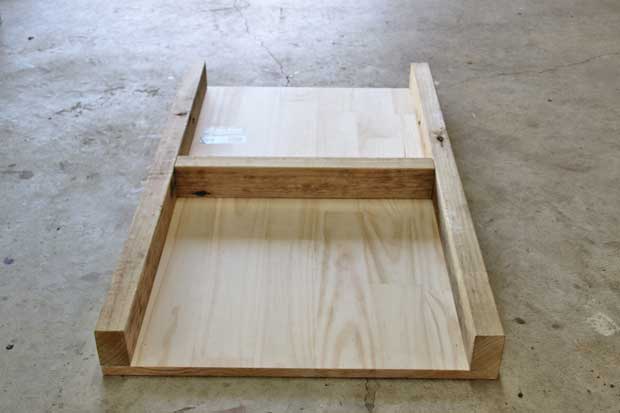
Measure and cut a cross-brace from radiata pine to help strengthen the lower shelf. For our cart, it was 505mm long. Screw into place in the centre, beneath the panel.
STEP 5
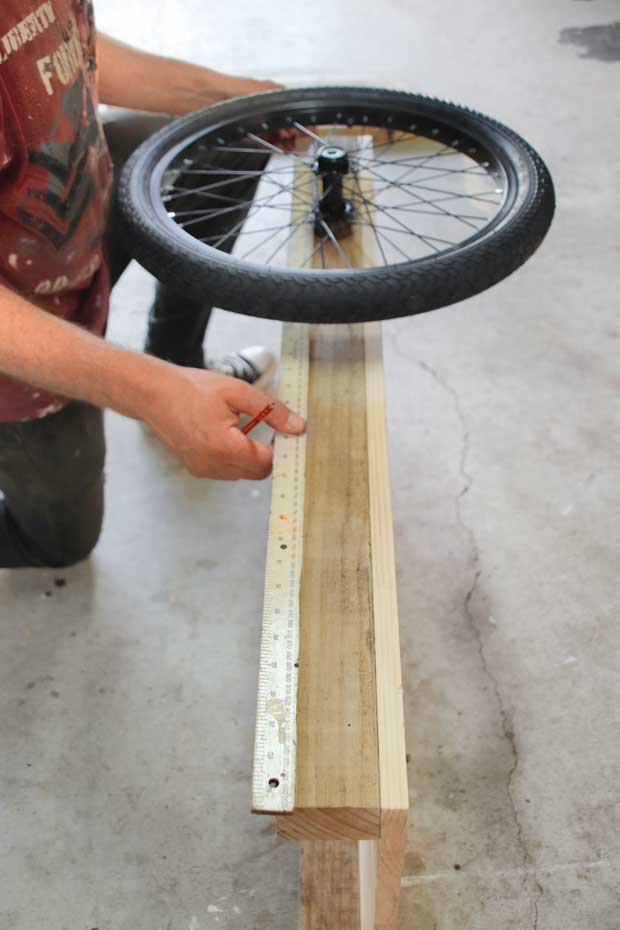
Stand the lower shelf on its side. Position one wheel so its centre is in the middle of a lower shelf support, and the wheel is flush with the end of the panel.
STEP 6
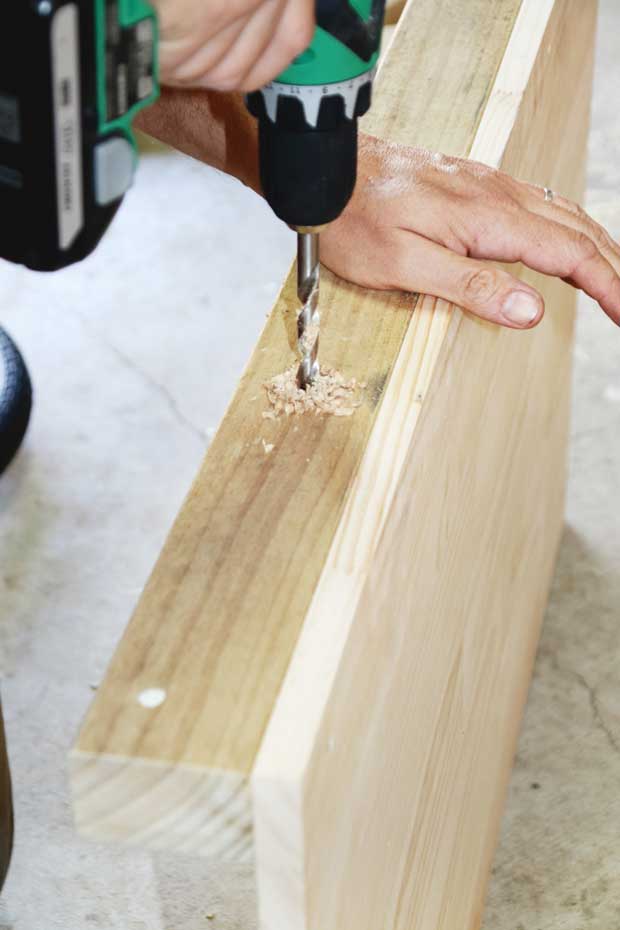
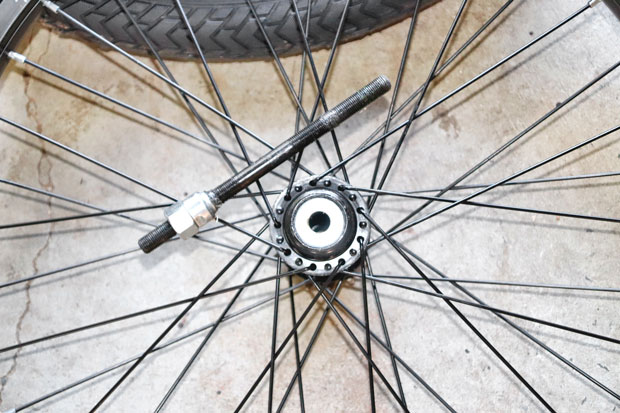
Drill an 11mm hole – this allows for wriggle room for the 10mm threaded stainless steel rod. Repeat Steps 5 and 6 for the wheel on the other side.
STEP 7

7a
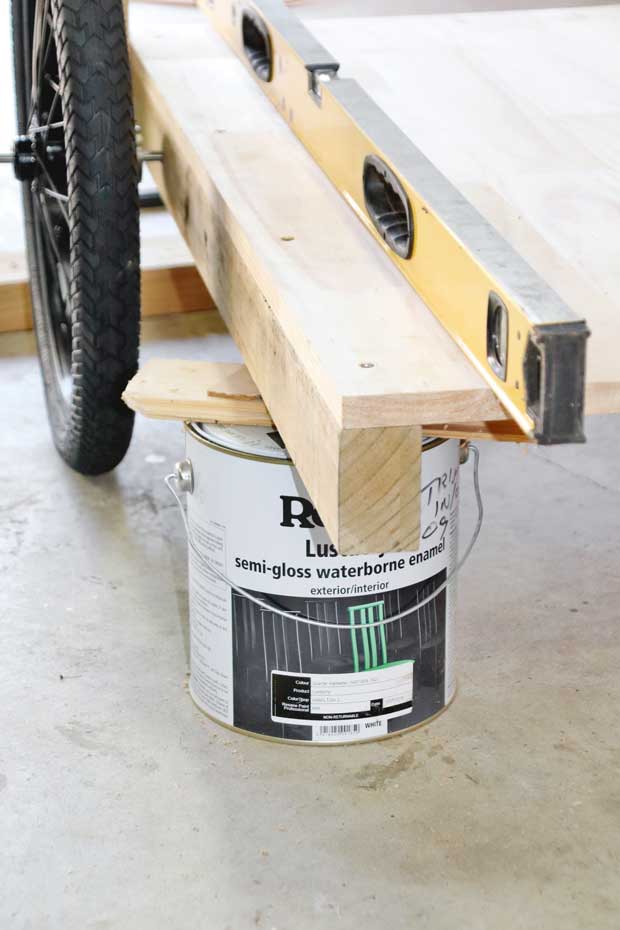
7b
Temporarily thread the rod and secure the wheels with nuts and washers. Stand the partially constructed cart and use chocks to ensure the shelf is square and level.
STEP 8
8a
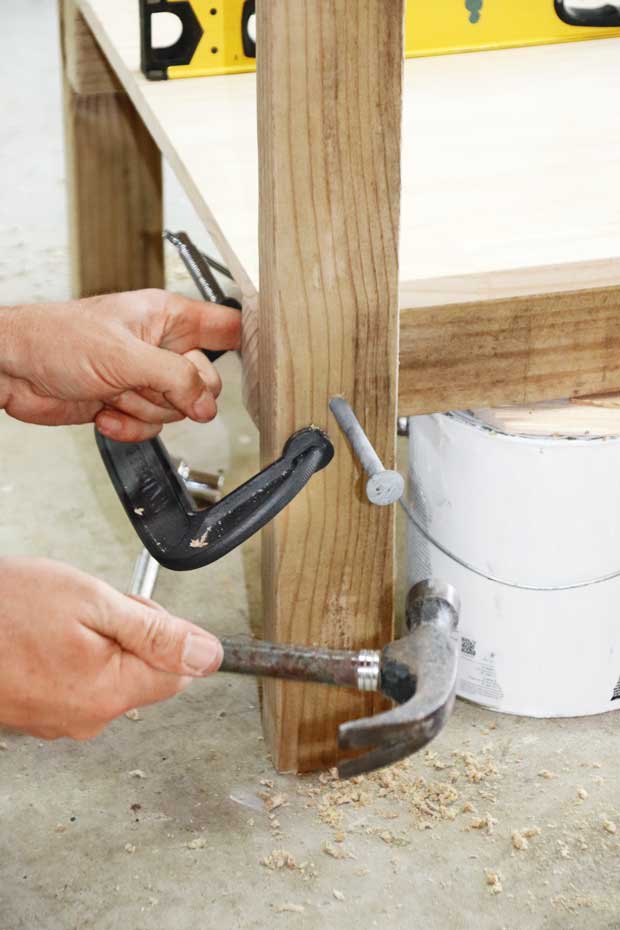
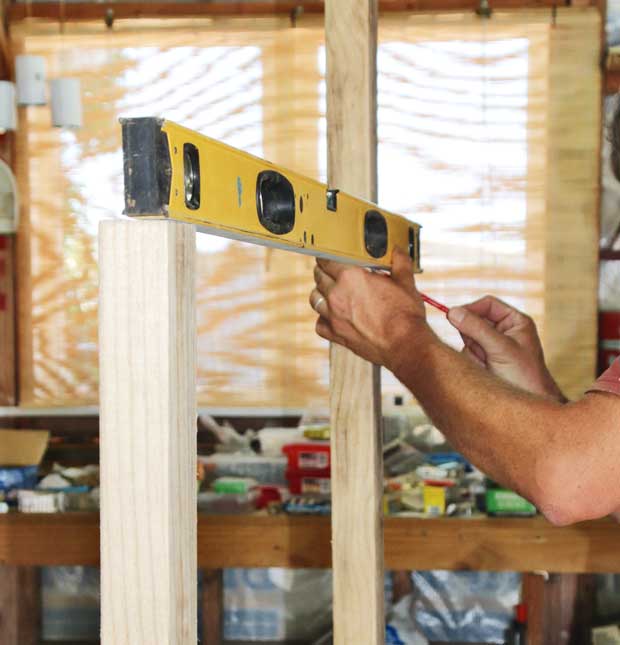
8b
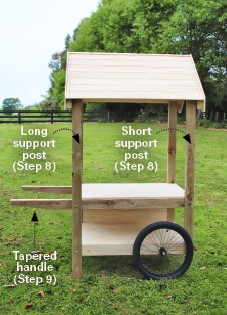
Determine the height of your cart – the A-frame roof will sit above this height. Measure and cut four lengths of radiata pine which will be the upright supports in each corner. One matching pair will rest on the ground; the other pair will be shorter as they stop at the height of the bottom shelf at the wheel-end base of the cart (see diagram on page 39). For our project, the two long supports were 1510mm, and the two shorter ones were 1300mm. Secure the lower shelf to the supports using the M10 bolts.
STEP 9
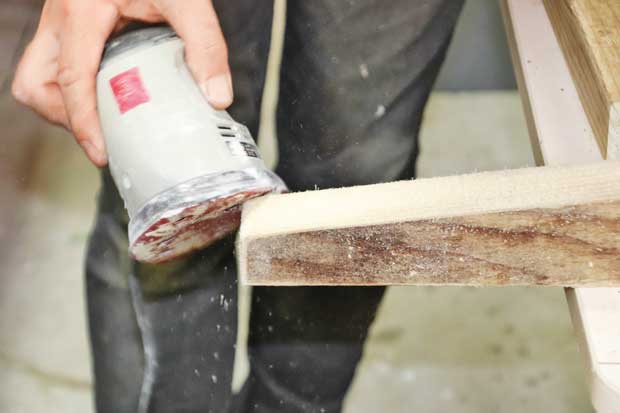
Measure and cut two lengths of radiata pine to 250cm, will become the horizontal supports for the upper shelf and the handles (see image on page 39). Taper at one end to form the hand grips. Sand to remove any burrs from the tapered ends.
STEP 10
Screw the upper shelf to the support-handle pine lengths. Measure and cut a cross-brace from radiata pine (ours was 505mm long) to help strengthen the upper shelf, and screw into place in the centre, beneath the shelf, as you did for the lower shelf in Step 4.
STEP 11
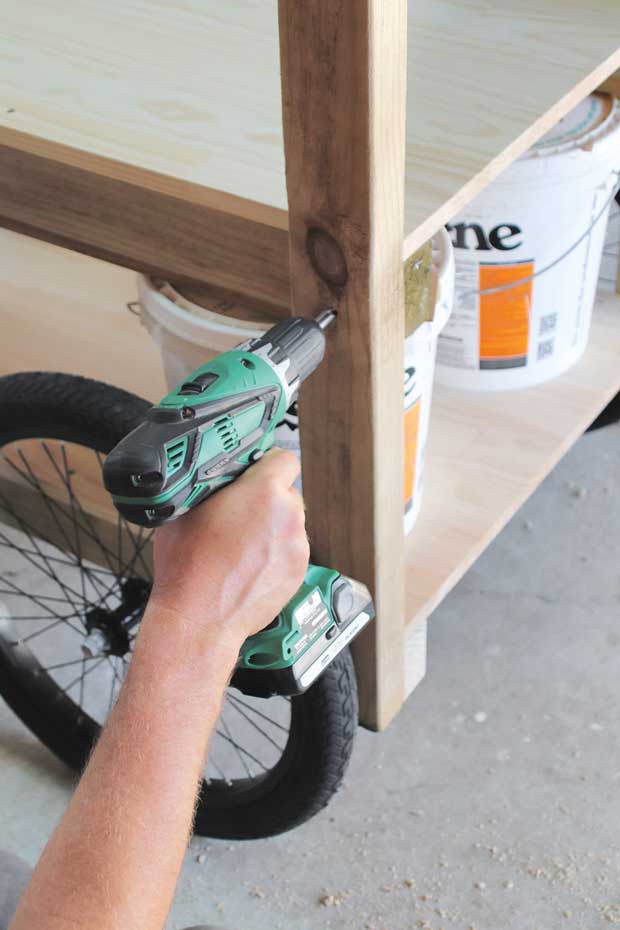
Position the upper shelf at its desired height (690mm for our cart). Make sure it’s level, then drill pilot holes and bolt it to the upright verticals.
![]()
Find the final steps of these instructions in the February 2020 issue of NZ Lifestyle Block
