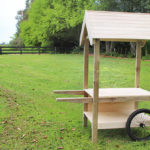
Step by step instructions: Build a cute-as-a-button fruit and vegetable stand (part 2 of 2)
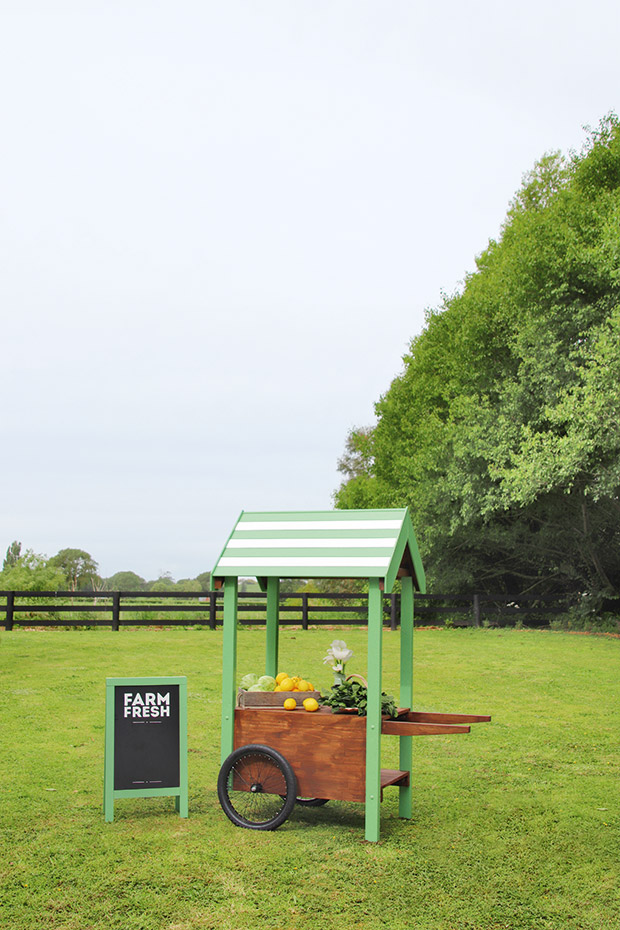
In part two of our series, we finish building a mobile roadside stand for selling your farm goods.
Words & images: Julie & Jel Legg
Last month we started building a cute mobile cart, ideal if you want to sell your goods on the roadside or at a market. This month we finish it, creating the roof and finishing the project with paint and stain.
Get the instructions for Part 1 here.
MATERIALS (for the full project)
matching pair of bicycle wheels, 50cm diameter
1m x 10mm, threaded, stainless steel rod
8 x 10mm nuts
4 x 10mm washers
3 x sheets 600mm x 18mm x 1800mm laminated pine panels
18m x 70mm x 45mm radiata pine, H3.2
assorted 30mm, 50mm, 65mm and 75mm screws
8 x M10 x 120mm bolts
2 x 63mm corner braces
16m x 90mm x 10mm TG&V* paneling, H3.1 *tongue and groove with a V joint
3m x 135mm x 10mm fascia finger jointed pine
1.1m L-shaped moulding (18mm x 18mm angle fillet)
1.2m 45x45mm pine bannister
Resene Quick Dry waterborne primer undercoat
Resene Lustacryl semi-gloss waterborne enamel tinted to Resene Hippie Green & Resene Alabaster
Resene Colorwood natural stain, tinted to Resene Bark
METHOD
STEP 1
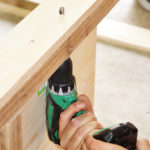
Remove the wheels and lay the cart on its side. Measure, cut, and screw a sheet of laminated pine to fit between the upper and lower shelves to create a backboard.
This solid side helps to keep the cart’s structure stable and provides potential signage space if you paint it with Resene Chalkboard Paint.
You can add another full panel to enclose the cart. If you want an open shelf, as we’ve done, there’s an extra step. We added an extra piece of laminate to prevent the wheel on the open side rubbing against the upright support. We cut a narrow piece of laminated pine and screwed it to the outside of the lower shelf (see picture for placement).
STEP 2
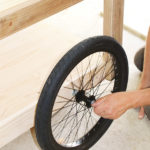
Use the existing drill holes created in Step 6 of Part 1 as a guide and drill through the laminated pine backboard and shelf panel. Push through the 10mm threaded stainless steel rod and firmly secure the wheels with nuts and washers into their final position.
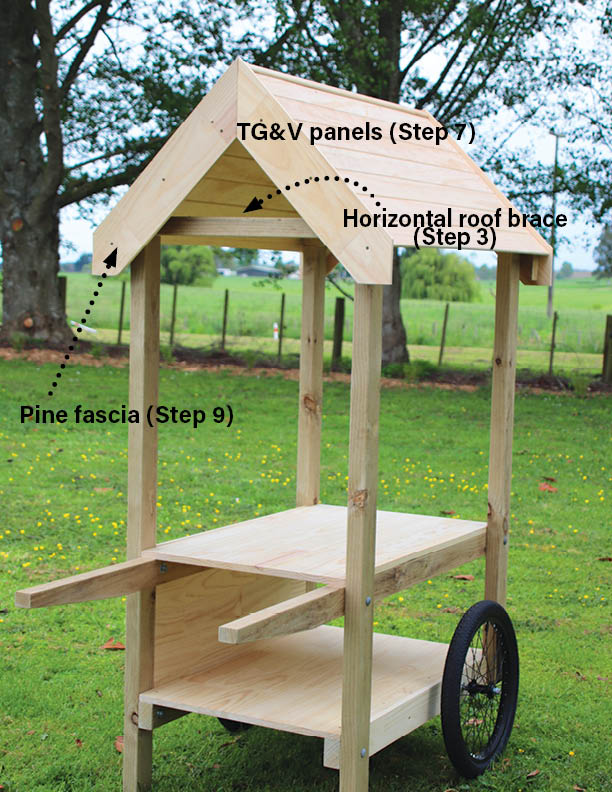
STEP 3
Upright support.
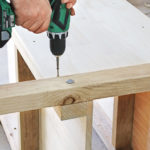
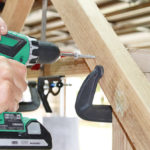
Measure and cut two radiata pine lengths (ours were 690mm), which will be horizontal roof braces (see image on page 39). Sit across the upright supports at each end, then screw in place.
STEP 4
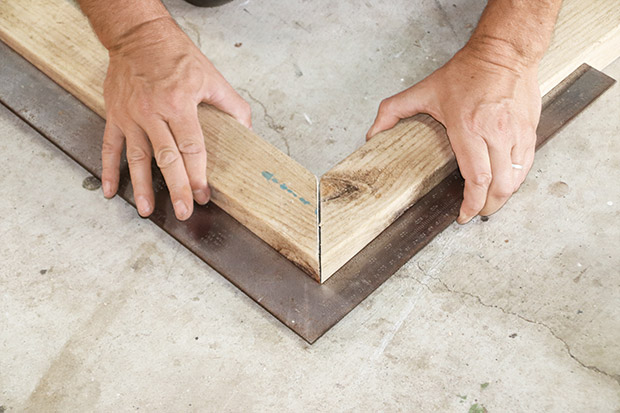
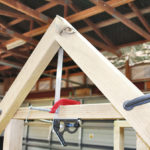
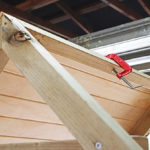
Cut two lengths of radiata pine (ours were approximately 800mm long) with a 45-degree angle at one end to create an A-frame for the roof. Secure together with screws and a corner brace. Repeat to create a second A-frame for the other end.
STEP 5
-
- 340mm.
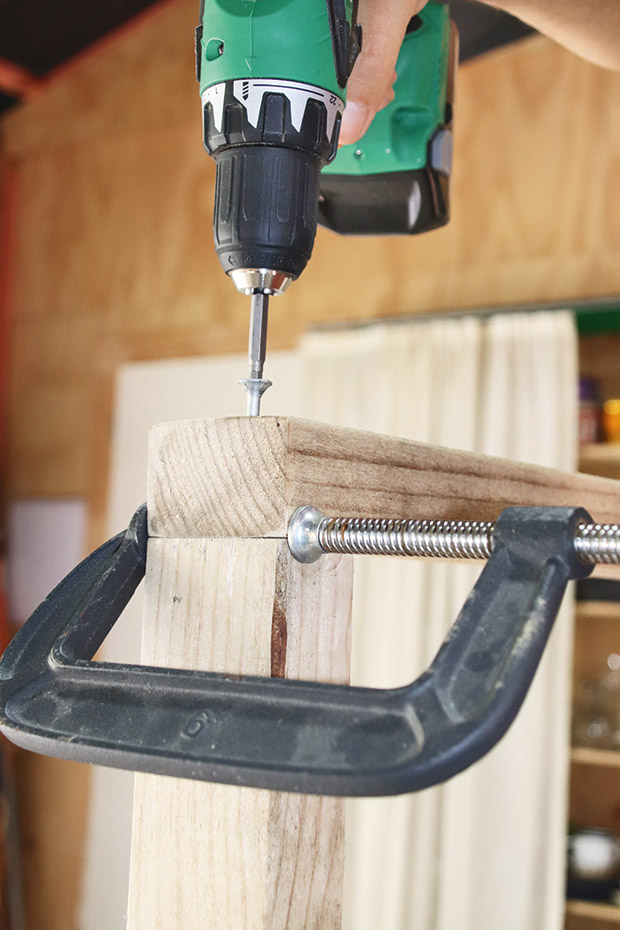
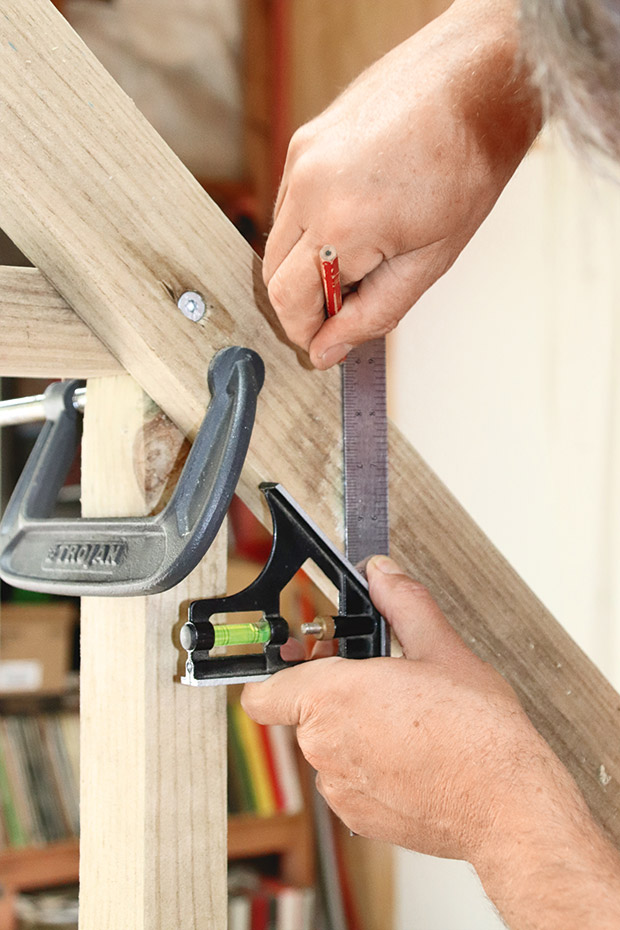
Position each A-frame to the desired height, in our case, 340mm above the horizontal roof brace from Step 3. Use clamps to hold in place, then screw to secure.
STEP 6
Measure and cut the overhangs of the A-frames to your desired length.
STEP 7
-
- TG&V ‘tongues’ should face down the roof.
-
- Ridgeline.
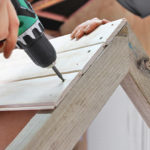
Cut, position, and screw strips of TG&V down one side of the roof. For the final panel, remove the ‘tongue’ edge with a sharp knife to create a flat edge (see Step 8). Next, cut a length pine bannister to create a ridgeline between the two A-frame peaks. It needs to fit tightly beneath the TG&V paneling. Screw in place.
STEP 8
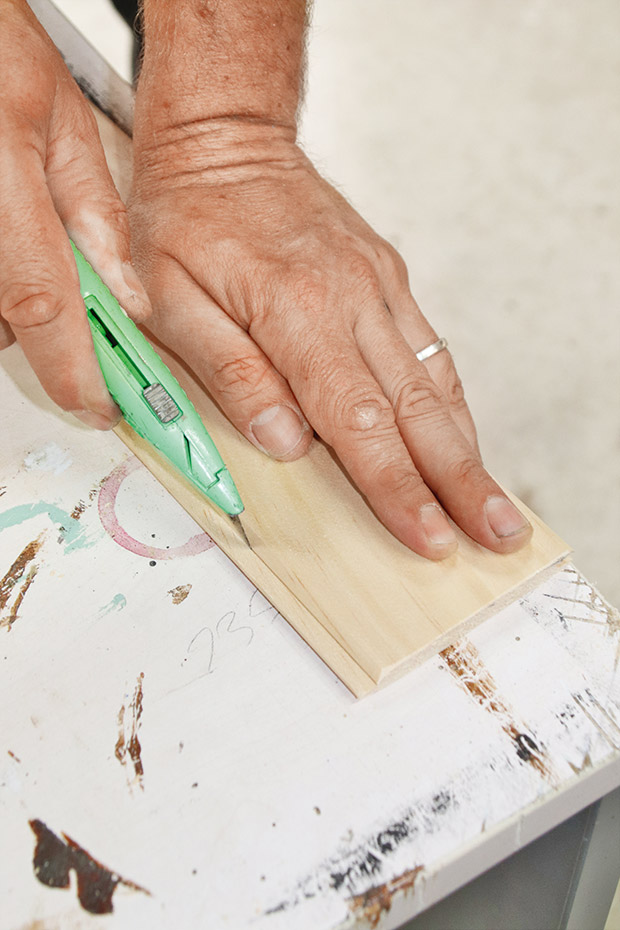
Add TG&V to the other side, working from top to bottom. For the final panel, remove the ‘tongue’ edge with a sharp knife to create a flat edge.
STEP 9

For a finishing touch, cut fingered pine fascia and screw it to each end of the A-frame to hide the rough sawn edges of the TG&V paneling. Tack on the L-shaped moulding to the very top ridge where the top TG&V panels meet at the apex of the roof.
STEP 10

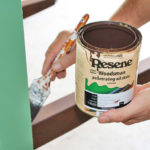
We stained the horizontal surfaces with two coats of Resene Woodsman penetrating oil stain exterior tinted to Resene Bark. For the uprights and roof paneling, we primed the surfaces with Resene Quick Dry waterborne-primer undercoat. We finished with two coats of Resene Lustacryl semi-gloss waterborne enamel, tinted to Resene Hippie Green and Alabaster.
JULIE’S TIP:
Tilt containers so it’s easier for people to see your produce as they drive past.
MORE HERE:
Step by step instructions: Build a cute-as-a-button fruit and vegetable stand (part 1 of 2)
