Why it takes six months to build the perfect garden bed
Permaculture farmer and gardener Nelson Lebo has spent 20 years perfecting the art of creating and managing low-maintenance garden beds. Here’s his six-month guide to save you time and money.
Words & images: Nelson Lebo
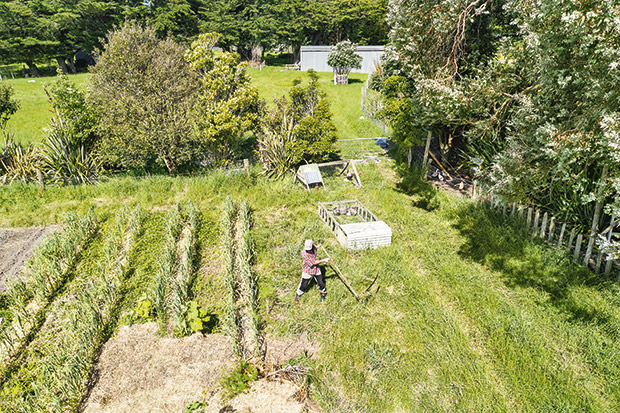
Who: Nelson & Dani Lebo
Where: Kaitiaki Farm, 10km east of Whanganui
What: permaculture, regenerative agriculture
Land: 5.1ha (13 acres)
Many people moving onto a lifestyle block face paddocks full of mixed grasses and weeds growing in compacted soil. Transitioning from these conditions to productive fruit or vegetable beds can be challenging.
Over the last 20 years, I’ve come to learn that a slow approach to building and managing annual beds may be the best. A large, thriving vegetable garden relies on good design and management, or what I refer to as 4-dimensional design. Time is the fourth dimension. Envision how systems can be developed over time with minimal inputs, then managed efficiently and effectively to suit your busy life and its many demands.
There is an optimum bed width – the length of your arm x 2.
We put our emphasis on a holistic and integrated approach to farming and land management. We take into account multiple factors when planning the layout of garden beds, including:
■ the length of the average human arm;
■ the time it takes to smother perennial weeds;
■ using chickens as workers;
■ selecting the best tool for any given job.
LAYING OUT THE BEDS
‘No-dig’ or ‘no-till’ garden beds might as well be called ‘no-step’ garden beds because one of the big benefits of the approach is the pleasure of working with loose, uncompacted soils. By not stepping on the beds, you don’t compact the soil. This eliminates the need to de-compact it, eg tilling. Other joys of working with friable soils include: improved drainage during wet times of the year, deeper root growth (drought-proofing), and easy weed management.
Nelson Lebo is an eco-design consultant and farmer. He lives with his family on Kaitiaki Farm outside Whanganui.
The best width for a garden bed that’s easy to work in comes down to the length of your arm. It’s essential that you can easily reach halfway into each bed from the paths on both sides. In most cases this comes down to a simple equation: 1 arm length (for me, that’s 60cm) x 2 = 1.2m.
We almost always plan our beds to be 1.2m wide (or slightly less) and have settled on an easy-to-build and rugged chicken tractor design of the same width. Although we primarily use the tractors to manage the grass around the garden beds, we also have the option of occasionally tractoring birds over the top from time to time if we need help with weeding.
GET THE RIGHT TOOLS FOR THE JOB
Time and money are our most valuable assets. Weighing up how to spend them often comes down to opportunity cost – the loss of other alternatives when one alternative is chosen. A good illustration is in your choice and use of tools. For example, I don’t use (or own) a rotary hoe because I don’t believe the opportunity costs stack up.
Purchasing a rotary hoe requires significant cash upfront, ongoing running costs, a dry place to store it when not in use, and occasional maintenance or repair. Hiring one means the loss of at least a full day’s work to get a trailer (if you don’t own one), a drive to town and back, busting your ass for a couple of hours trying to get your money’s worth out of the hire, then cleaning it, loading it back on the trailer, and driving to and from town again.
They also create a lot of noise and are sometimes difficult to handle when first working compacted soils. There’s usually a few days needed to recover from sore muscles. What I use to build a garden bed is a little different:
■ sheets of heavy-duty black plastic;
■ a DIY broad fork (see below);
■ a garden fork;
■ a rake;
■ a pile of bricks;
■ 4-6 months.
WHAT IS FOUR-DIMENSIONAL FARMING?
Physicists define our reality in dimensions: width, height and length.
Time is the fourth dimension. My definition of four-dimensional farming means focusing on using time to your advantage to save effort, money, and fossil fuels while establishing and operating efficient and regenerative systems. Designing in four dimensions doesn’t require you to have a fat wallet. It maximises the value of available resources, minimising waste and the need for heavy equipment.
How to build a garden bed in 6 months
My goals are healthy, abundant kai and easy weed management. Getting to the start line can take 4-6 months but the results are worth the effort for years to come.
1. SMOTHER THE COMPETITION
You want to eradicate pasture grasses and perennial weeds. You can do this by covering them for 4-6 months with a light-occluding layer, anything from roofing iron to old carpet. We use heavy-duty polythene sheets (known as builder’s plastic), because:
Heavy-duty polythene sheets, also known as builder’s plastic are a crucial tool.
■ it’s large enough to cover significant areas without having to worry about gaps and overlaps where couch and kikuyu grasses can emerge;
■ it’s easy to shift from one bed to another;
■ it can be dried, folded, and easily stored when not in use;
■ it’s inexpensive – around a dollar a square metre when you buy 100m².
Smothering the grasses and weeds kills them and effectively turns them into a ‘green manure’ or in situ compost, so soil is already improved when the cover comes off.
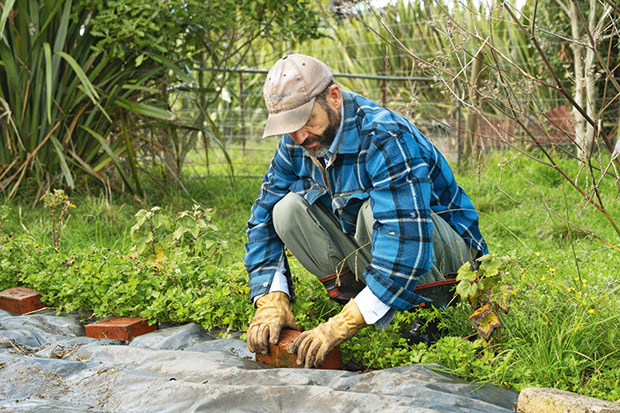
Nelson’s tips:
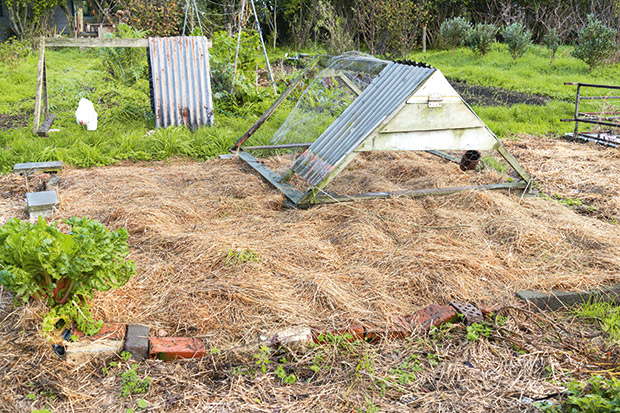
■ It’s windy here, so we place concrete blocks and old chimney bricks around the perimeter of the polythene.
■ If a polythene sheet is too big for a given area, fold the excess under rather than over. Although this requires more work upfront, it eliminates an extra edge that could potentially catch the wind.
■ We cover the polythene with straw or hay or other lightweight organic matter to protect it from UV damage, helping it last years longer.
■ If weeds ever get out of control again, re-cover the area with polythene and mulch until you’re ready to use it.
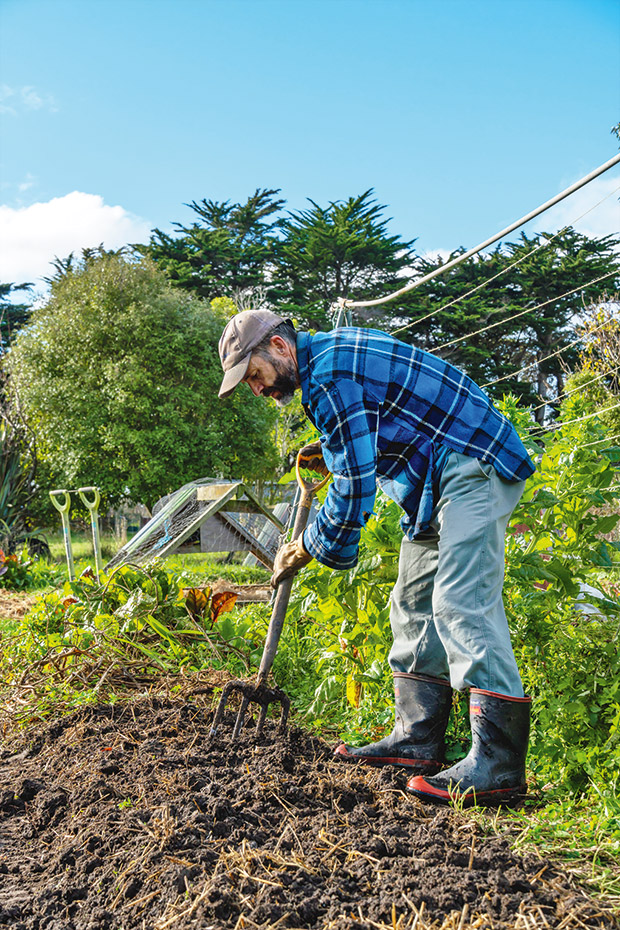
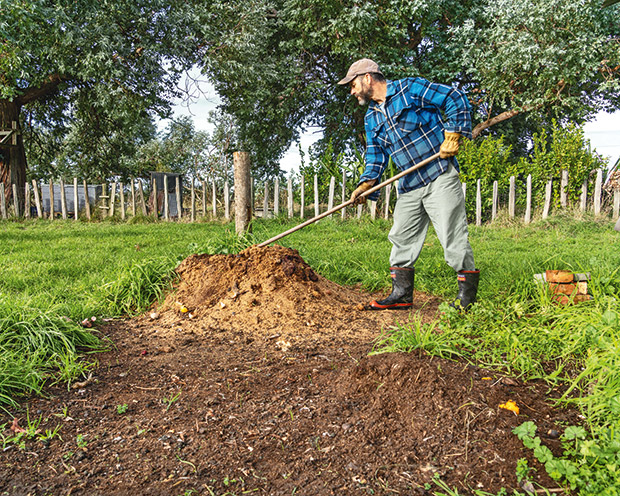
2. FORK IT
Soils in paddocks or backyards are likely to be compacted due to decades of stock or lawn mowing. They’ll be wet in winter, dry in summer, and root growth will be stunted, which isn’t ideal for a vegetable garden.
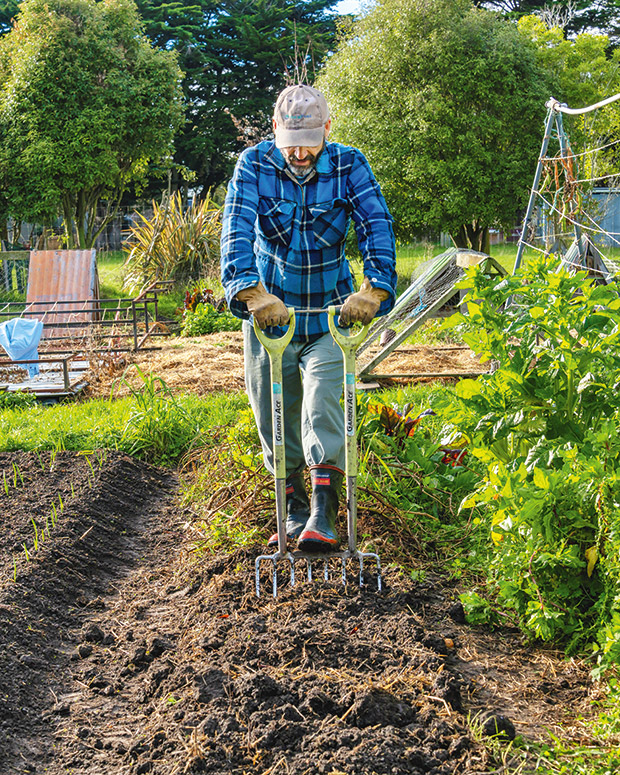
After removing the polythene, we use a broad fork to begin the process of loosening the soil. We work backward so we’re not stepping on newly-worked ground, and fork it lengthwise, then width-wise. The tines are forced into the ground as far as comfortable. The handle is then pulled back 45 degrees, which lifts the soil slightly and creates fissures.
While my DIY broad fork (pictured above) is great to work with, you could also use a garden fork. Note: The bed in these photos is narrower than our usual 1.2m and used for demonstration purposes only.
3. SMASH IT!
After two passes with the broad fork, the soil is likely to be in blocks, which hold together. You need to break up these blocks, usually the most tedious step in the process. Tools we use include:
■ a hoe with a short handle to chop up the soil;
■ a rake, used similarly;
■ a lightweight garden fork thrust downward;
■ a lightweight spade (used similarly to the fork);
■ the ‘claws’ of a framing hammer.
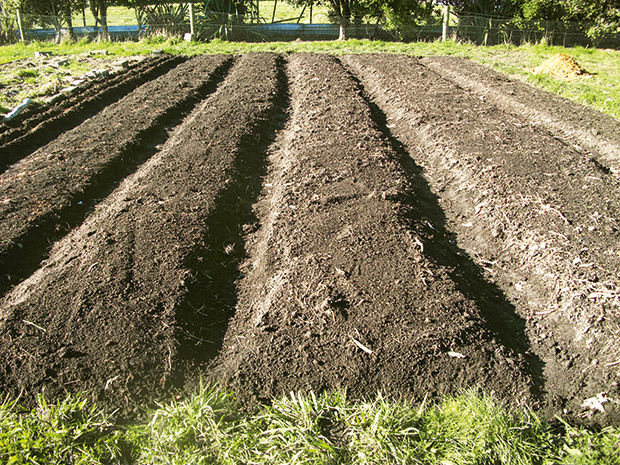
4. FORM IT
Step 3 is tedious. Step 4 is strenuous. It involves forming beds by either raking or shoveling soil from where the paths will be to where the beds will be. If the soil is moderately workable, I like to stand on one side of the bed and rake the soil up and toward me. I then go around and stand in the low path I’ve just formed and rake up the opposite path. Given the length of the rake and good technique, you can usually build a 120cm-wide bed with 30cm pathways in between.
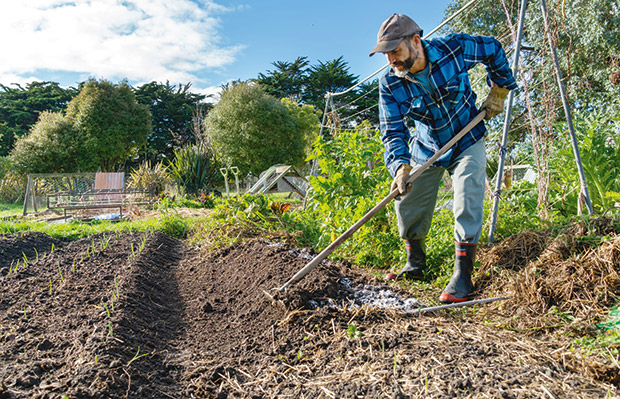
However, if the soil is heavy or very damp on the day you’ve set aside to build beds, then you may need a shovel to dig the path one scoop at a time as you work forward. Either way, the overall result is a set of beds about 10-20cm higher than the paths.
Benefits include:
■ adding topsoil to beds without importing it;
■ improving drainage;
■ designated walking areas so the beds are truly ‘no-step’;
■ soil which warms up earlier in spring;
■ soil that’s easy to weed with a stirrup hoe.
5. BE ZEN
At this point, the hard work is done and it’s just a matter of leveling and smoothing the surface in preparation for planting. While the soil crumbs may not be fine enough for direct seeding yet, you can transplant seedlings or plant garlic or potatoes into the beds straight away.
Over time, the tilth of the beds will improve with the addition of organic matter such as compost and mulch, working the soil surface with a stirrup hoe, and the activity of soil organisms.
Eventually, you’ll have the ultimate garden bed: loose friable soil; well-drained; easy to weed.
Nelson’s added extras:
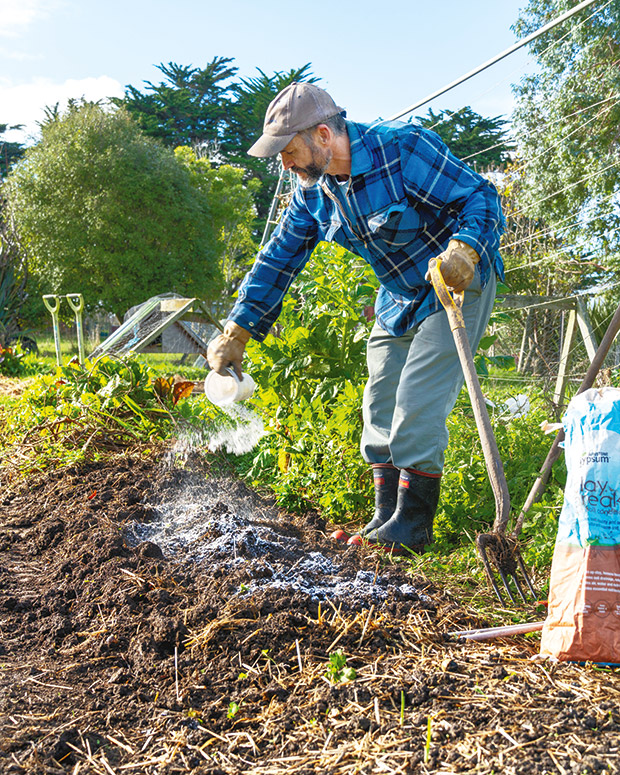
■ Depending on soil type and condition, you may want to add supplements to your beds. Because of our heavy soils, we add clay breaker during steps 3 and 4.
■ As a rule, we don’t fork in or top dress with compost. Instead, we apply it directly to transplanted seedlings or rows of garlic. This concentrates the soil’s fertility only where we have placed food plants, not the spaces between where weeds are more likely to grow. It’s another small detail that helps us meet our overall goal of abundant healthy kai and easy weeding.
CREATING COMPOST
We use a rough translation of the Berkeley 18-day Hot Compost Method, with three piles on the go at any time:
■ one that we’re adding to;
■ one actively ‘cooking’;
■ one that we’re using.
Turning a pile takes four minutes, two to three times a week with the right tools (a stiff rake and a manure shovel). A pitchfork is the wrong tool for turning compost.
THE BASICS OF THE BERKLEY 18-DAY HOT COMPOST METHOD
■ The heap must be at least 1m x 1m wide and 1.5m high to avoid heat loss;
■ Each pile is built in one go (although Nelson doesn’t follow this) with a carbon-nitrogen balance of 25-30:1;
■ High carbon additives, such as tree branches, must be mulched into small pieces (2-5cm);
■ The temperature needs to be 55-65°C – turning starts on Day 4, and must be thorough, from outside to inside to avoid overheating, and repeated every two days for about 14 days or so.
To get the full instructions, click here.
NELSON’S WEED PHILOSOPHY
On almost any scale, productive agriculture relies on effective weed management. Weeds in this context are defined as any plants that compete with a food crop for water, nutrients, and sunlight.
I was lucky enough to have an inspiring friend and mentor when I lived in the US. Rick Estes once told me the time to weed is when the neighbours look over the fence and think you’re crazy because they can’t see any weeds in your beds.
Later, I met a market gardener in Colorado called Chuck Barry who’s weeding philosophy was “once a week - every week.” His weed day was Tuesday. These wise men knew that regular management is the key to success, and I couldn’t agree more. My weeding catchphrase is ‘tools, timing, technique’.
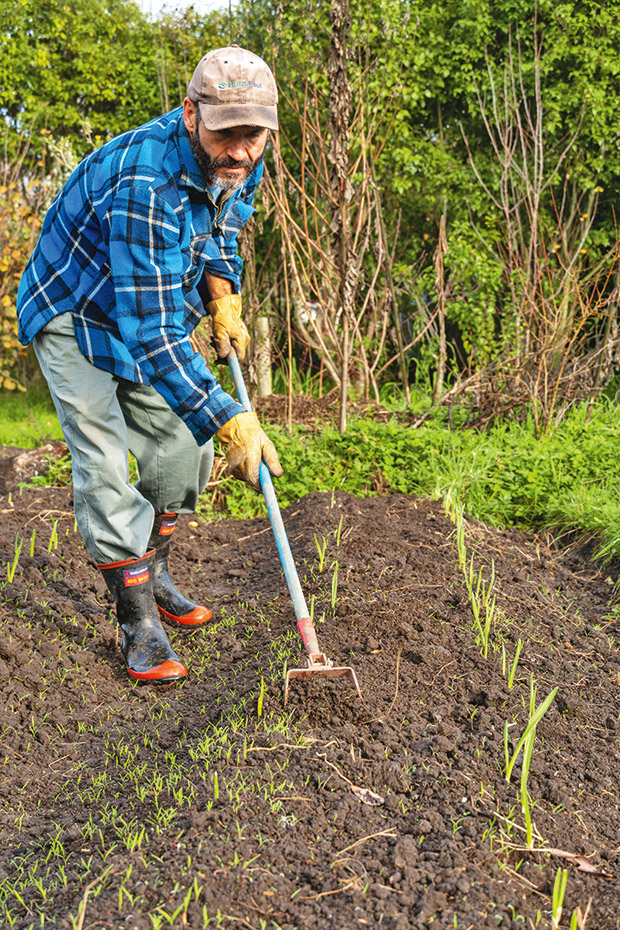
Tool: stirrup hoe
Timing: weekly or bi-weekly
Technique: Lightly scratching the top 10-15mm of soil
The back and forth pivoting motion of the stirrup hoe means it works both coming and going. A torpedo hoe and Dutch hoe are used in a similar way, but I’ve found they’re not as efficient, especially in heavier soils.
The regular use of a stirrup hoe in the annual beds takes care of 95%+ of weeding, and you rarely need to bend over. As seeds germinate, they’re uprooted, then desiccated by the sun and wind. If weeds are growing close to your plants, they’re easily pulled from the loose soil. After 6-8 weeks, the seed bank in the soil surface has been exhausted, and you have a weed-free garden.
