30+ lessons from the Sherry River Project
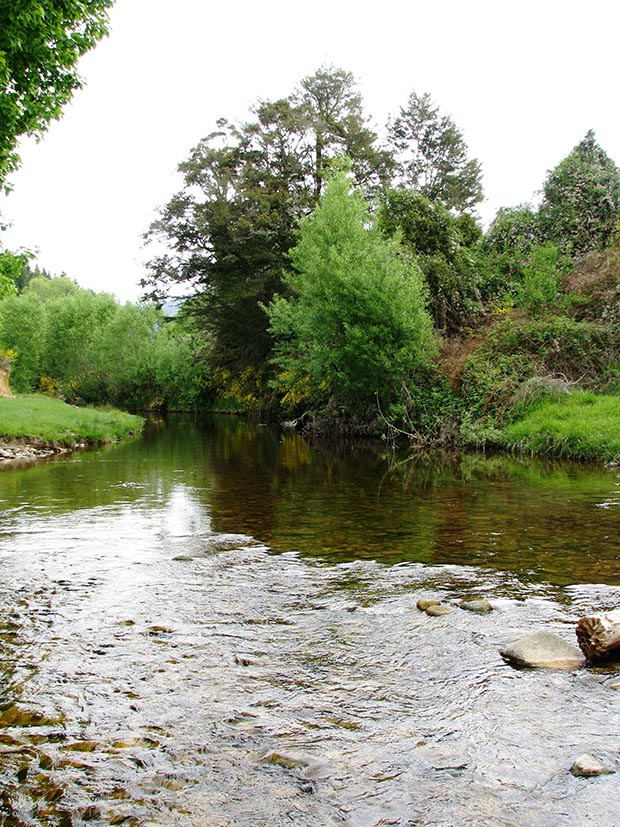
The tannin-coloured Sherry River at the Bensemann’s property in 2010
Ten years ago, a project began to improve the water quality of the Sherry River near Nelson, and there are a lot of practical lessons to learn from their hard work
Photos: Nick Ledgard and NZ Landcare Trust
What: The Sherry River Project
Where: The Sherry River catchment, in the upper reaches of the larger Motueka River system, 70km south-west of Nelson
Web: www.landcare.org.nz/Landcare-Community/Sherry-River-Group
In 2001, the Sherry River was in trouble. It is named for the gold-sherry colour of the water as it flows through 7800ha of the upper Motueka River system, but testing showed its E. coli levels exceeded safety standards for bathing and stock drinking water, a lack of shade was threatening fish habitat, and it had issues with suspended solids and sedimentation.
“This news was a shock to landowners who felt hurt and surprised by the information. Long term residents thought that the water quality was much improved on how it had been in the gold mining past. Locals and their families have always used the river for drinking water and recreation without harm. The problem of unwanted bacteria and sediment had quietly arrived as farming and forestry became more intensive.”
Source: The Sherry River Story, NZ Landcare Trust
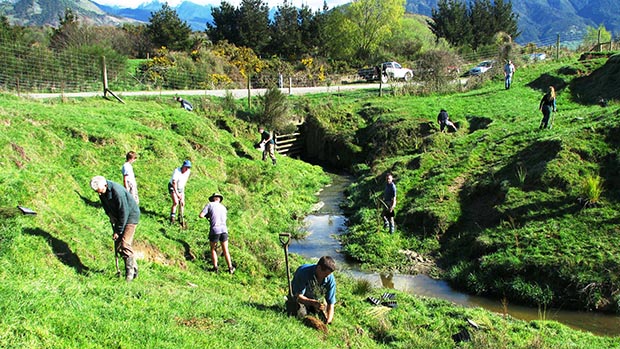
A work group of locals planting a side stream on a farm, to filter run-off
The NZ Landcare Trust facilitated a three year Sustainable Farming Fund Project to help the local dairy, sheep, beef and lifestyle farmers improve the water quality. Its first step was to stop cattle crossing the river by building bridges. Water quality improved by 50 per cent very quickly.
This success spurred the locals to do even better, using riparian planting, improved stock and effluent management, and soil conservation activities.
The end result was:
• 3 bridges (for livestock and vehicles);
• 4000 plants along the waterways;
• 5180m of fencing along waterways.
The Sherry River’s water quality has improved over time, but efforts to maintain and improve it further are ongoing. There are still spikes in quality at certain times of year that don’t met standards for bathing, but thanks to the project, the community is working together to share the workload.
Nick Ledgard is a retired Scion researcher who specialised in revegetation techniques. He and colleague David Henley wrote the planting guide for the farmers of Sherry River, and says he plans to go back there to see the progress.
“When last seen, they were well established, but in that growth environment, sprawling weeds such as old man’s beard and muehlenbeckia could well suppress them if given a chance.”
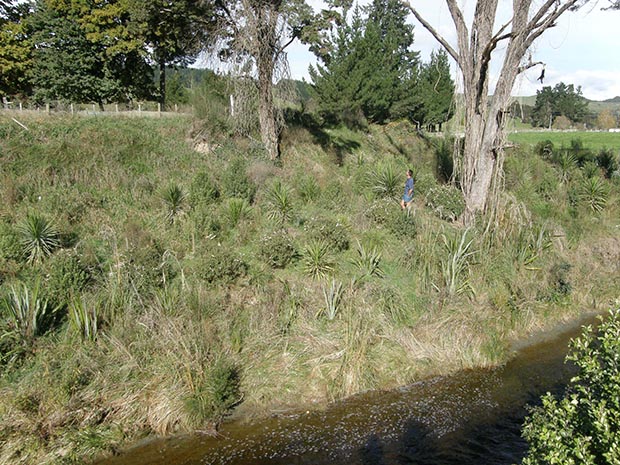
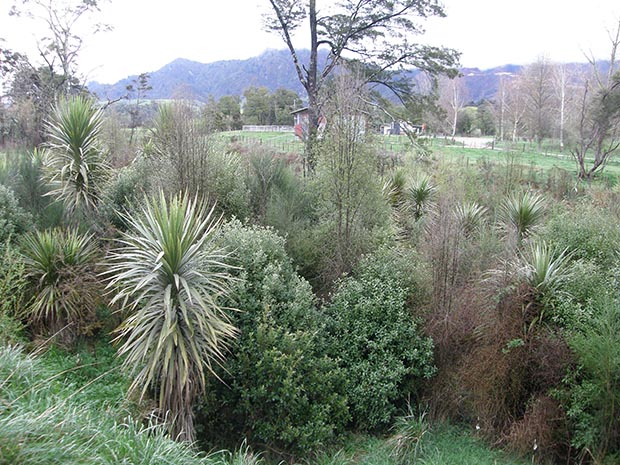
Early on plantings on the Sherry River
Before you begin
• Do not begin any plant establishment unless you are capable of implementing all the following steps as success is like a good chain – only as strong as its weakest link.
• The main consideration for Sherry River farmers (and a common issue for anyone undertaking a riparian planting project) is keeping on top of weeds. In this case the worst were sprawling/climbing weeds like old man’s beard, blackberry, ivy, honeysuckle and convolvulus.
How to choose a good site to plant out
• Try not to take on a large area as it’s better to do small areas well.
• Selection of a good site is important. Avoid areas with sprawling, woody weeds or bare soil as these are too much of a challenge when you start. The best site has a good cover of grass, preferably long and rank. Once sprayed out, it creates a dead mulch, providing valuable soil moisture retention and supressing weed establishment, and means seedling trees can be planted with minimum soil disturbance.
• Site preparation should be to spray out the grass using a herbicide, such as glyphosate, or a mixture of Gardoprim® and Versatill™.
• If tall existing weeds have to be removed first, then clear to mineral soil as cost-effectively as possible (most likely by machine), and be prepared with labour and a budget for weed control (most likely chemical) for at least two years. Alternatively, you can sow an area with vigorous grasses (plus fertiliser) to suppress woody weeds, then spray this sward prior to planting. Ideally, this sward should be dense, at least two years old.
Animal control
• build permanent fences (never temporary) for domestic animals, and don’t plant too close to it unless an electric outrigger is used.
• shoot or poison rabbits, hares and possums before planting, especially if numbers are high.
• tree repellents (eg Treepel, Liquid Shotgun) can be useful if pest numbers are low, but must be applied the same day as trees are planted.
Selecting good trees
• Many native species do well in flood zones in most areas of NZ, including toe toe, NZ flax, cabbage trees, kanuka, and (lowland) totara, however choose species of trees that suit your climate and growing area. There are excellent, free regional guides to the best trees to plant here: www.dairynz.co.nz/environment/waterways/planting-waterways/#guides
• In weedy (or harsh) environments it is imperative that seedlings start well, and to do this they must be of high quality at planting – always buy according to quality, not price.
• Tell your supplying nursery the minimum seedling specifications you need when ordering stock. The main specification criteria are root collar diameter (a minimum of 5-6mm) and size of fibrous root mass, eg not compacted. Root collar diameter is the best indication of a plant’s reserves and resilience. Those with small diameters will suffer first when conditions get tough which is why it is important to give specifications when ordering from nurseries.
• Shoot height is not so important – stocky plants are often best, around 25-30cm. Tall stock is more susceptible to wind damage and moisture loss from larger leaf surface areas.
• Keep plants moist and cool once they arrive, and don’t leave them out in sun. If plants are allowed to dry out or suffer stress between the nursery and planting time, survival will be lower. Always try to give protection from prolonged extremes of wind and heat when transporting and storing seedlings.
• Don’t hesitate to cut seedlings back to a more suitable height.
Tips for planting
• In the case of the Sherry River area, spring planting is best, and plants bought from lower altitude nurseries need to be hardened (with no fresh spring growth) before planting. Planting timing may be earlier, depending on what part of NZ you are in, and your climate.
• Aim for canopy closure as soon as possible (to deter weeds), so plant with spacing of 1.5m (or less), or around around 4000 trees/plants per hectare.
• When planting out larger areas, spend extra time marking spots (with spray paint) before planting to reduce the likelihood of gaps. Regular spacing also enables easier location of trees during subsequent release spraying.
• Most soils alongside the Sherry are not compacted so cultivation of planting spots wasn’t important in this case. Too much cultivation can expose bare soil and create better sites for weeds to establish.
• Container-grown stock need to be removed from the container. Check for compacted or tangled roots (which leads to future instability) and use a sharp knife to remove any tangled roots from the base (cut off the bottom 1cm), and slit down the sides in three places to encourage new roots to grow out from the root mass.
• For root-trainers, cut 2-3cm off the bottom of the plug before planting, again to encourage new outward root formation.
• It is most important to plant container-grown seedlings deep enough to cover the surface of potting mix, as in-fill soil will compact after planting. If the potting mix is exposed, it can act as a ‘wick’ which promotes faster loss of soil moisture.
• Well-prepared bare-rooted stock will not have contorted roots. These need to be planted in ‘freed-up’ soils to just above the depth at which seedlings were growing in the nursery (known as the root collar); however, in dry, free-draining sites, seedlings should be planted deeper (around 3-5 cm above the root collar).
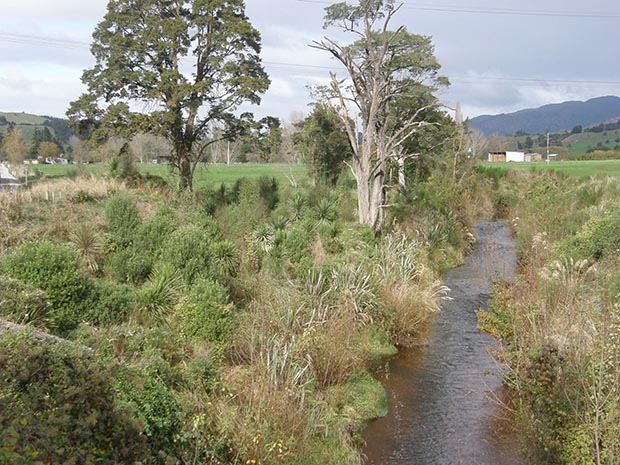
Plantings in this area used 1.5m spacings (or closer) to help quickly create a thick canopy
Post-planting weed control
• Poor weed control is the most common reason why seedlings die. Mulches rarely control all weeds so some additional weed control is likely, even if weeds were controlled on a site before planting. Weed control is also the best way to retain soil moisture.
• Mulch in the form of dead vegetation (killed prior to planting) is ideal. Grass cover is a great weed controller where rainfall is reasonable (as on the Sherry) as it can prevent more vigorous weeds such as broom and old man’s beard.
• Artificial mulches (weedmat, carpet, imported waste material such as bark and wood chips) can be very labour-intensive to install, prevent light rains reaching soil, and create anaerobic soil if too deep.
• Chemical herbicides are most commonly recommended and usually give better weed control, but require careful application and must be repeated 2-3 times annually for at least the first two years.
• The amount applied is important, so your sprayer must be correctly calibrated to deliver the label rate.
• A pre-plant spray of glyphosate only gives short-term control. A number of chemicals (such as Permazol SDA) will give longer-term control, but at planting you can’t allow sprayed soil to come in contact with planted roots. For post-plant spraying, the same chemicals can be used.
Creating a thick canopy
Fertilisers, irrigation, staking and tree guards
• If used, mix slow-release fertilisers with soil at the bottom of the hole when planting.
• Irrigation may be needed if there is a very dry summer during the first season, but good weed control means all soil moisture is available for the planted seedling. Any species requiring water for long-term survival are the wrong choice for that site. If water is essential for early survival, ensure it goes deep (use a pipe), so that roots seek water at depth and do not stay near the ground surface.
• Staking should not be needed with robust, quality stock less than 1.5m tall. If staking is needed, it should only support one third of the tree’s height so that the mid/upper stem can move and strengthen itself over time.
• Tree guards or shelters are expensive and should not be needed if stock quality, site preparation and animal control are properly addressed. However, small ‘special’ plants can benefit from use of shelters.
Text source: Sherry river native plant establishment: ‘Best bet’ guidelines by Nick Ledgard and David Henley, Scion www.landcare.org.nz/files/file/81/sherry
