A 6 step guide to giving your coop a thorough clean out
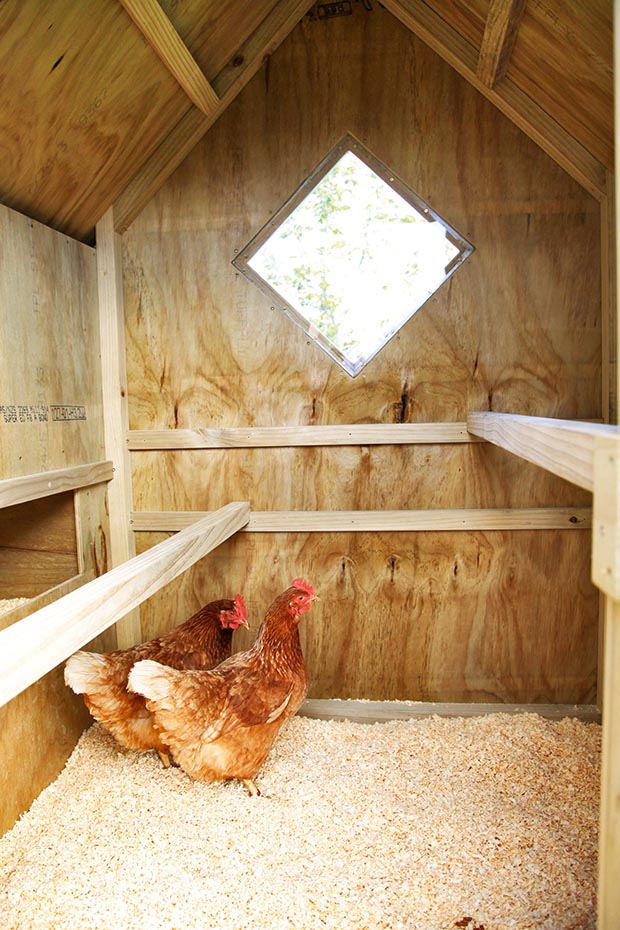
The best time to clean out a hen house is the beginning of summer and mid-late autumn so there’s enough daylight hours and warmth to let it thoroughly dry out.
If you want an excuse to get another coop, having a break between coops will interrupt many growth stages of insects and diseases (which need live birds in their environment to survive). By having two coops, you can move your flock between them, giving the unused one a good cleanout and then leaving it for half the year while you use the other.
1. Put on a dust mask, mist the walls, ceiling and floor, then remove the dampened litter. Use a high pressure hose or water blaster to wash it down. You may find greasy layers left behind on commonly-used surfaces so wash with detergent or dishwashing liquid to dissolve them. If it’s particularly stubborn you might need to give it a good scrub.
2. Leave the coop to dry out for a few hours. Spray out with a sanitising product. Note, for these products to work, the surface must be clean. Options include:
• Virkon S
• Vetsan Super Concentrate
• Virucide
Virucidal products are available from rural farm stores and farm vet clinics.
3. Leave to dry out – don’t rinse sanitising/virucidal products off.
4. Spray with your choice of insect-fighting product. Make sure you get your chosen option everywhere including on door/s and window frame/s, nests, floors, ceilings and especially on and around perches. If you can (and it’s recommended), remove perches and spray into holes or crevices where perches meet the wall.
5. Leave the hen house empty and clean for as long as possible to break any possible disease cycles. Again, having two (or more!) coops is a great idea.
6. Before you allow birds back in, treat them for lice and parasites. Fill the coop with fresh bedding to a depth of at least 10cm, preferably untreated pine wood chips or shavings. Hay or straw is much cheaper but is more likely to stay moist once wet, and to harbour mould and bacteria.
Add a new (10cm) layer of bedding every week or so to keep down the smell and keep it dry, which means less flies. If you sprinkle a small amount of grain onto the bedding, the birds will keep turning it over, which will also assist in keeping down the smell, plus you’ll have a fantastic compost to use when you clean the coop out again.
2 CRUCIAL PIECES OF EQUIPMENT YOU NEED TO KEEP SAFE
These may not look like typical safety equipment, but when it comes to cleaning a coop they’re going to protect you from nasty, very real threats that will be all around you.
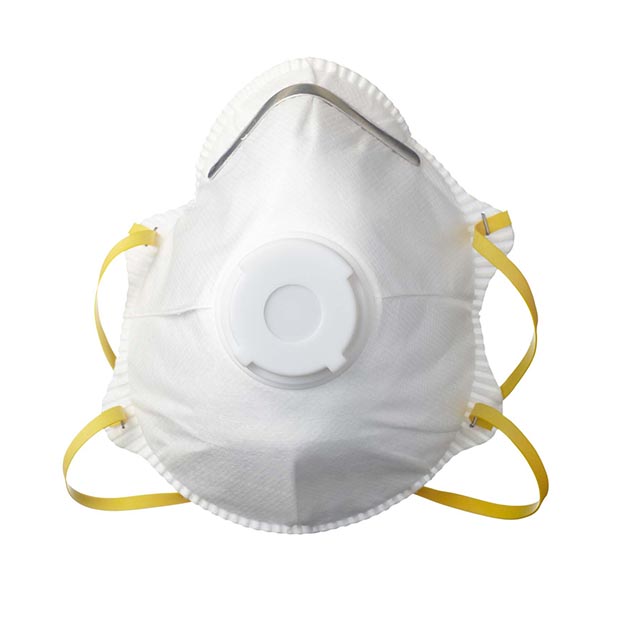
The dust in your coop that you’ll find stuck to the walls and puffing up into the air when you move around is not normal dust. It is a build-up of fine particles of dander (skin cells, feathers) and manure and it’s teeming with all kinds of bacteria and fungi that can cause you huge problems if you breathe it in.
The risks include:
• salmonella
• campylobacter
• aspergillus, an allergic reaction to bacteria in the dust
• histoplasmosis, a fungal infection
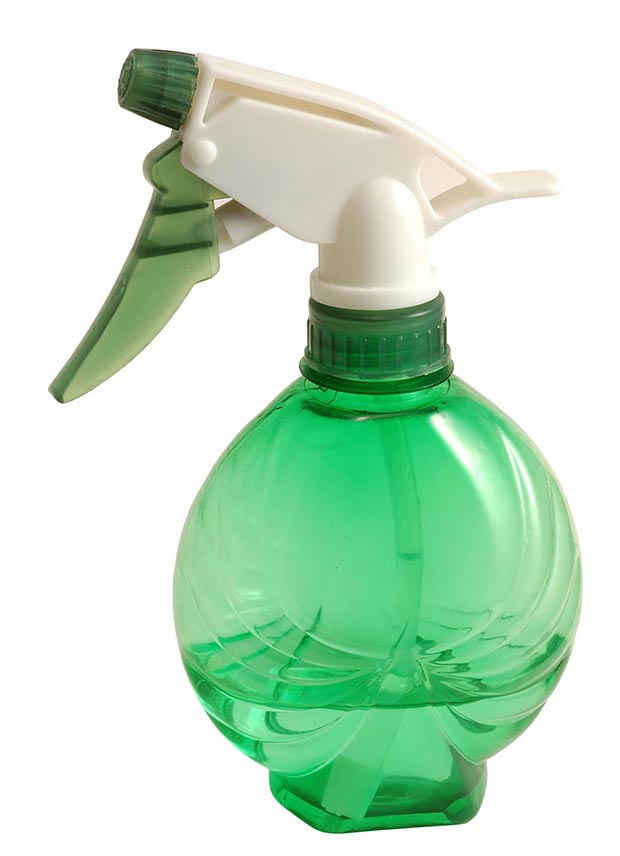
The best defence is to wear a dust mask or respirator and to use a fine mist of water to dampen down the interior of a coop before you start removing litter, to reduce the amount of dust in the air. You may also want to wear goggles as this dust can be extremely irritating to the eyes.
FOR MORE INFORMATION
www.dermnetnz.org/topics/aspergillosis
www.dermnetnz.org/topics/histoplasmosis/
