How to make a wet-felted beret
Turn your wool into a nice, cosy felt hat for winter.
Words: Jane Wrigglesworth
Felting may look complicated, but the process is relatively easy. It’s a little time-consuming, but once you’ve got the hang of it, you’ll be hooked. I certainly am.
I’ve made everything from slippers and scarves to table runners and rugs. If you have access to plenty of wool, there’s no stopping you.
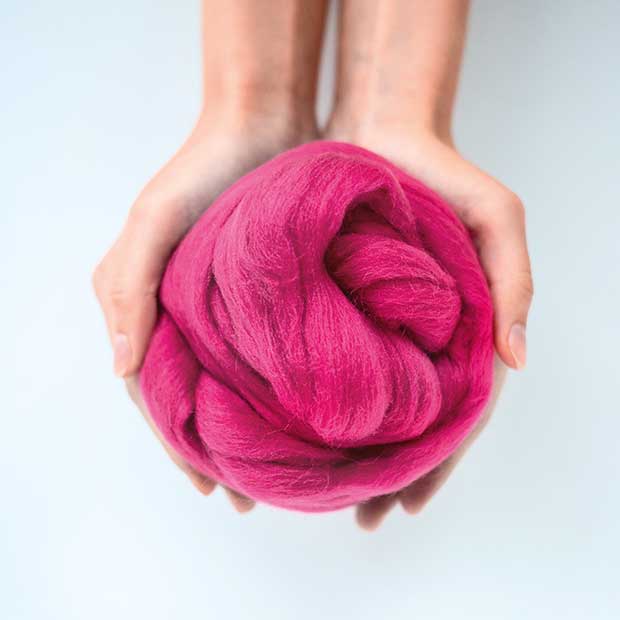
The wool can be dyed with home-harvested plant materials or commercial dyes to create different colours. If you’d rather have a quick option, you can buy wool rovings online or at craft stores. Roving (pictured below) is wool that has been brushed until the strands are mostly sitting side-by- side, but not quite, so the strands are still a little fuzzy and will ‘grab’ each other when agitated, perfect for felting.
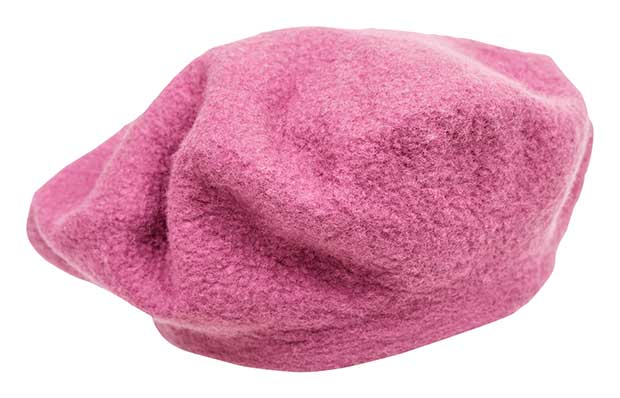
Felt-making is an ancient craft used to make everything from tents (yurts) to clothing. It’s produced when wool or other animal fibres are matted, condensed and then pressed together.
Legend has it that Saints Clement and Christopher, when fleeing persecution, stuffed their sandals with wool to prevent blisters. By their journey’s end, the movement and sweat had transformed the wool into felt and that’s how socks were invented.
Heat and moisture cause the outer scales of the fibre to open, and repeated agitation and compression causes the fibres to hook together. That results in a permanent bond between the fibres, creating a single piece of fabric which is irreversible.
In the modern-day process of wet-felting, we use soap or detergent with hot water. The soap enables the fibres to slide easily over one another, allowing them to become tangled and hooked together.
HOW TO MAKE A BERET
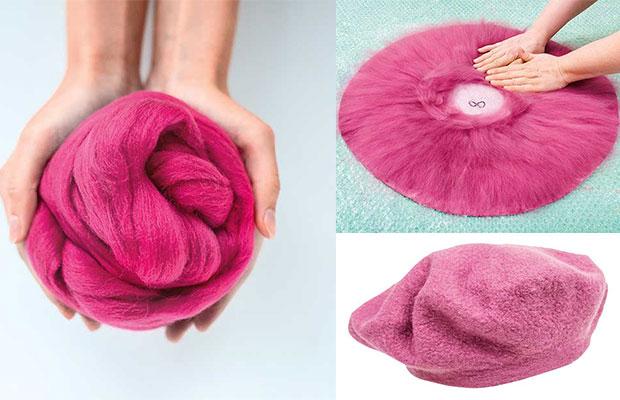
When making anything using the wet-felting technique, the pattern is made larger than the desired outcome to allow for about 30 per cent shrinkage during the felting process.
MATERIALS
• Large plastic sheet (to waterproof your work surface)
• Plastic sheet or tracing paper (at least 40cm wide) for template
• 250g wool roving or top (like Corriedale, merino or merino-silk blend)
• 1m x 60cm piece of tulle
• 80m x 60cm piece
of bubble wrap
• Corrugated cardboard, about 60cm x 60cm
• Plastic squeeze bottle
• Dish detergent
• Bar of soap
• Large towel
• Spare towel
• Hat block or polystyrene head
STEP 1
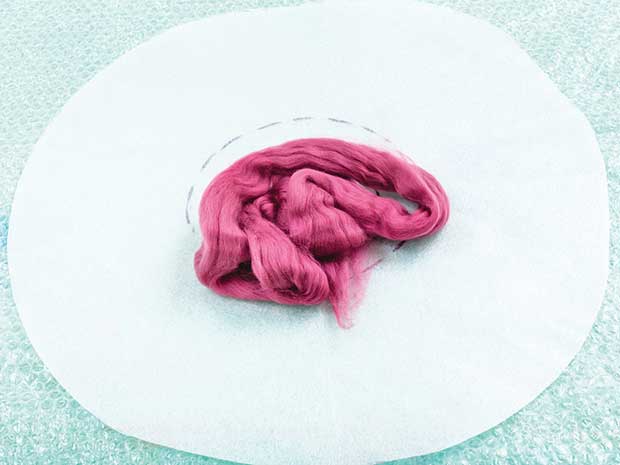
Lay the large plastic sheet down on a large work surface or the floor. Make a circular template (which is also a ‘resist’) out of the plastic sheet or tracing paper with a 40cm diameter. The template is your pattern, but also a resist, a barrier that creates the interior of the beret. Mark one side of the resist with a circle in the centre that has a diameter of 12-15cm. You can mark another circle just outside of the first circle if you wish, as you can see in the image in Step 2, as a guide as to where to lay the roving in a later step. Make two even piles of roving, one for each side of your beret.
STEP 2
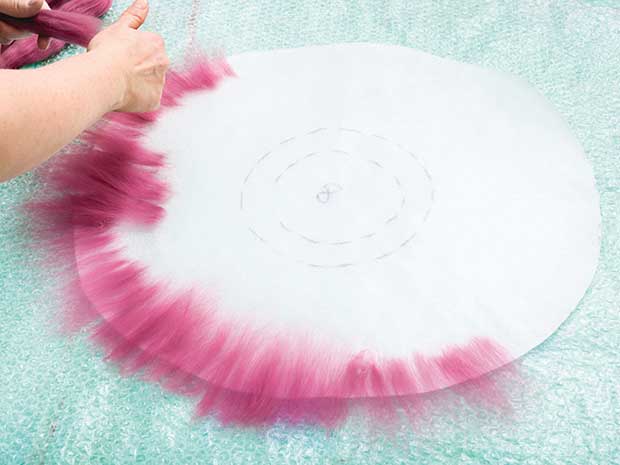
Work one of the piles of roving, pulling off small pieces between your fingers and palm of your hand. You don’t want them to be too chunky, but also not too wispy, or the fibres won’t mat together. Start on the underside of the template (which will form the top of the beret) and lay the fibre onto the paper resist with the pieces pointing into the centre for the first layer. Let the wool hang over the sides by about 5cm.
STEP 3
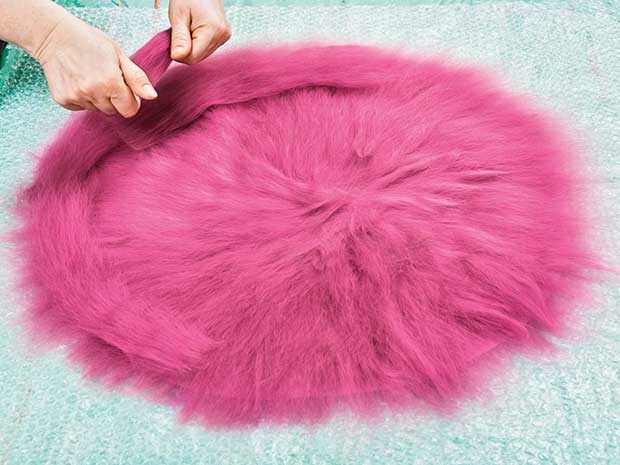
Continue to add fibre, overlapping the pieces slightly, until the circle is complete. Don’t add them too thickly – it’s ok to see some of the template through the wool. Add a second layer, placing the fibres in the opposite direction, this time going around the circle. Then add another layer in the opposite direction (the same as the first layer), then another in the opposite direction again (the same as the second layer). You want four layers in total.
STEP 4

Once you’ve finished the four layers, press your hands onto the fibre to check for any weak spots, which may form holes in the felting process. Fill in if necessary.
STEP 5
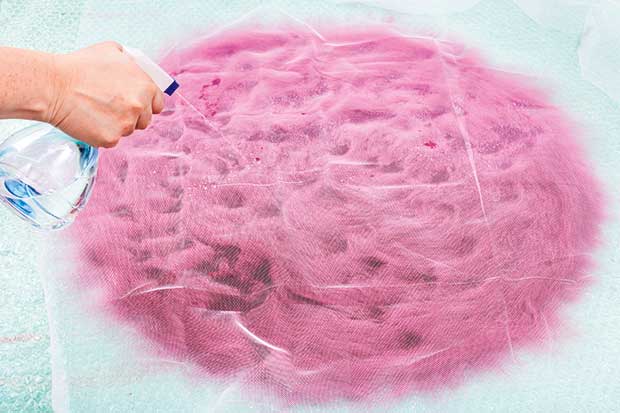
Lay the tulle over the fibre. Position it so there is enough to cover the other side as well. Fill your bottle with hot water, add 2-3 drops of detergent, shake and squirt some soapy water onto the fibre. Press down gently, smoothing the fibres out. Don’t rub energetically at this stage or the fibres may move. Lay the bubble wrap on top, bubble side down. Place the cardboard on top to help you flip the beret over.
STEP 6
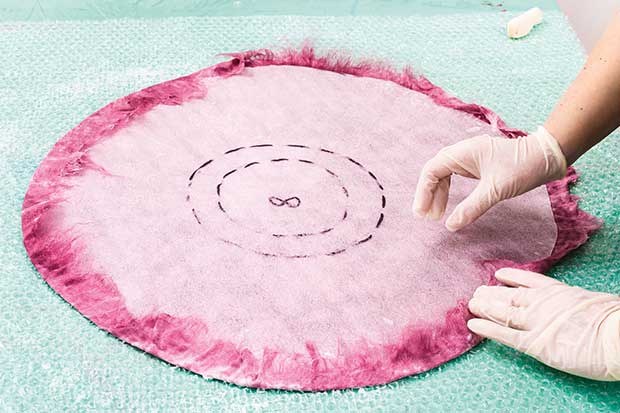
Turn the beret over. Fold the overhanging wool in, over the resist. Use your other pile of rovings to add pieces of fibre as you did the first side, but for this first layer go around in a circle. Leave the centre circle free from fibre. Add a second layer, placing the fibres in the opposite direction, with the pieces pointing into the centre. You don’t need to let the fibre overhang the edges this time. Just place it right up to the edge.
STEP 7
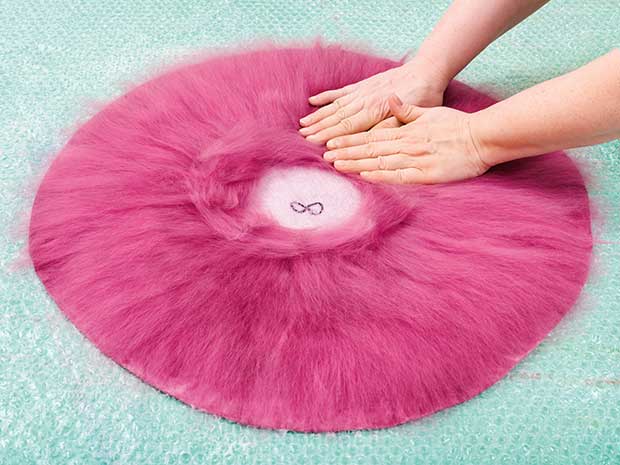
Continue alternating layers until you have completed four layers. Add a small ring of fibres just outside the opening circle. Pat down on the fibres to check for any weak spots. Fill in, if necessary.
STEP 8
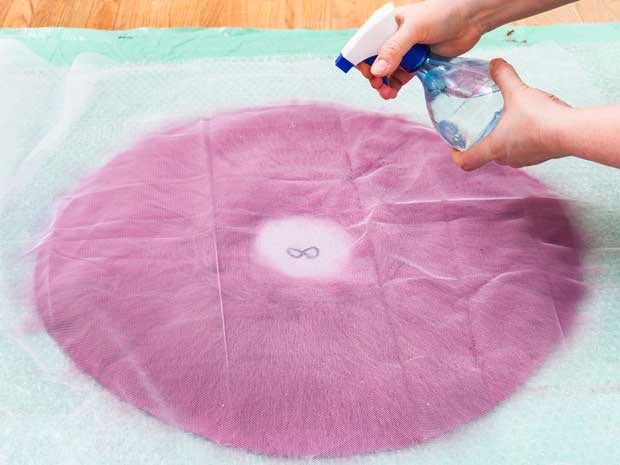
Cover with the tulle. Sprinkle with hot soapy water and press down with your hands. Don’t add too much water. You know you’ve added too much if water pools between your fingers when you press on the fibre. Pat with the spare towel, if necessary, to get rid of the extra water.
STEP 9
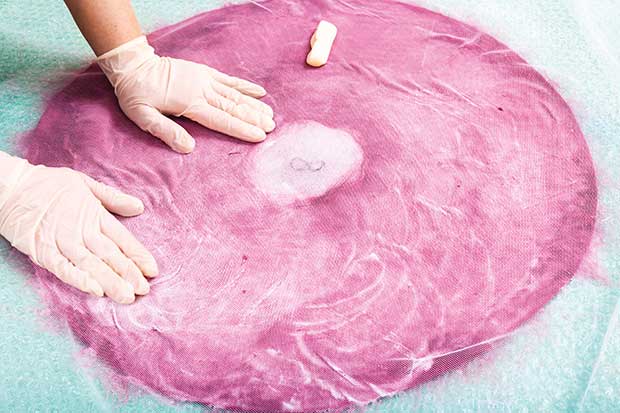
Lather up your hands with the bar of soap, then gently rub up and down then sideways over the netting for several minutes. You want to make sure the fibres are sticking together. Don’t rub overly hard in the beginning, or the fibres may move.
STEP 10

Remove the tulle and turn the beret over. Remove the bubble wrap. If the fibres at the edges of the circle are a little baggy, push them back inwards so they sit flush with the edges again. Put the tulle back in place. Lather your hands with soap and rub up and down then sideways over the netting, as above. If you see wrinkles, just gently rub them out. Place the bubblewrap back over the beret, and turn it over again. Repeat step 9, then turn over again and repeat step 10.
STEP 11
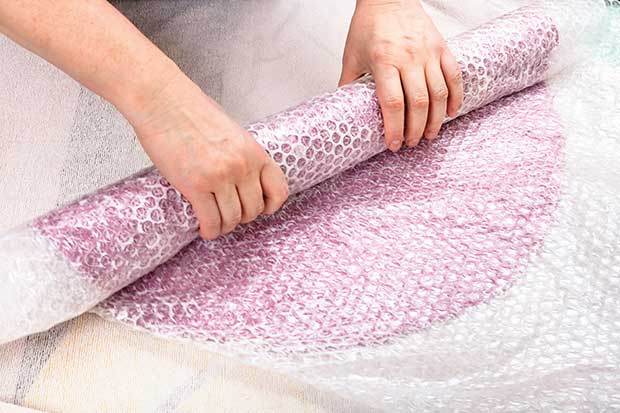
This is the hard felt or fulling stage. Fold the bubblewrap in half, with the bubbles inside. Place the beret in between the folded bubblewrap. Roll the bubblewrap with the beret inside until it forms a cylinder. Place on the large towel.
STEP 12
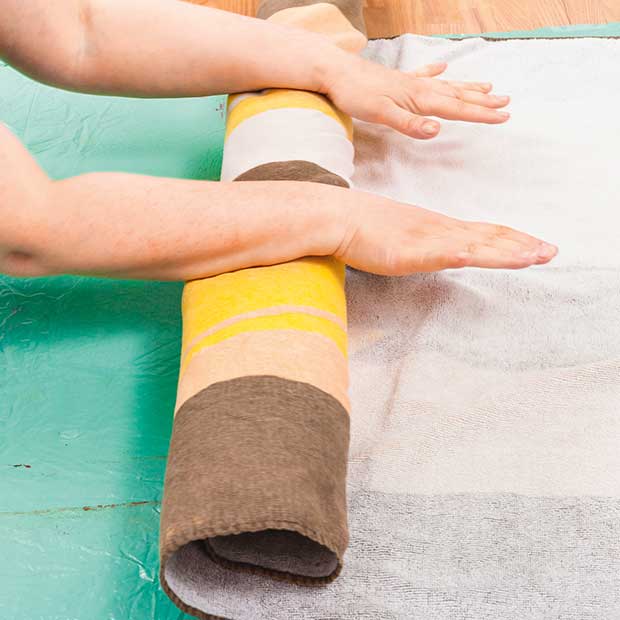
Roll the bubblewrap and beret up inside the towel. Roll backwards and forwards, like a rolling pin, about 50 times. It’s easier and less tiring to roll using your forearms. Unroll the towel and bubblewrap, turn the beret to another position, then roll up again.
Roll backwards and forwards another 50 times. Do this 5-6 times, turning the beret each time, as well as turning it over. The fibre shrinks in the direction it’s rolled, so you need to turn the beret so it keeps its shape.
STEP 13
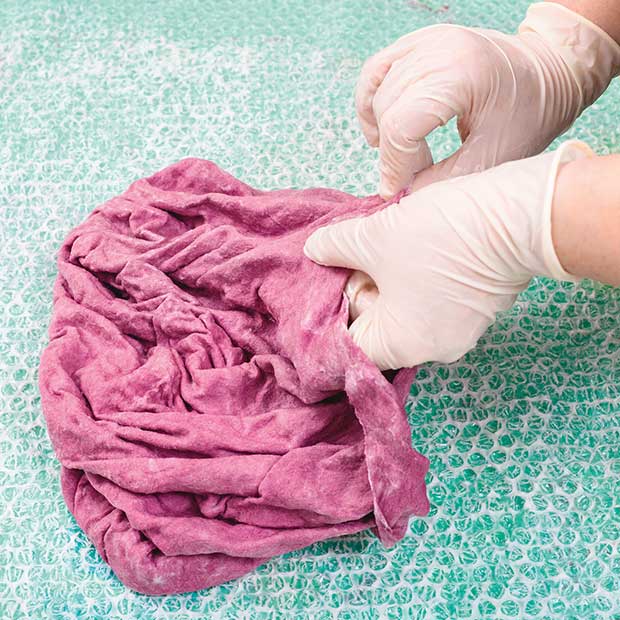
Once you’ve finished rolling, do a pinch test. Pinch the fibres together and lift slightly. If individual fibres come away on their own, the felting process is not yet complete. You will need to roll some more. If, when pinching the fibres, the entire piece lifts (the fibres stay together), it’s ready.
STEP 14
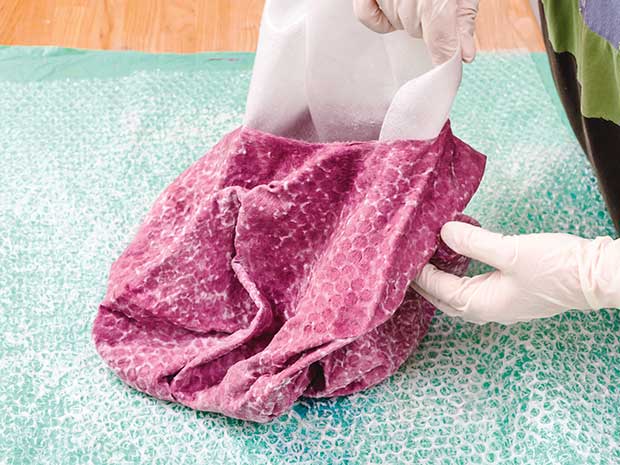
Remove the resist from the inside of the beret. To remove the creases on the beret, add a bit more soapy water and massage them out.
STEP 15
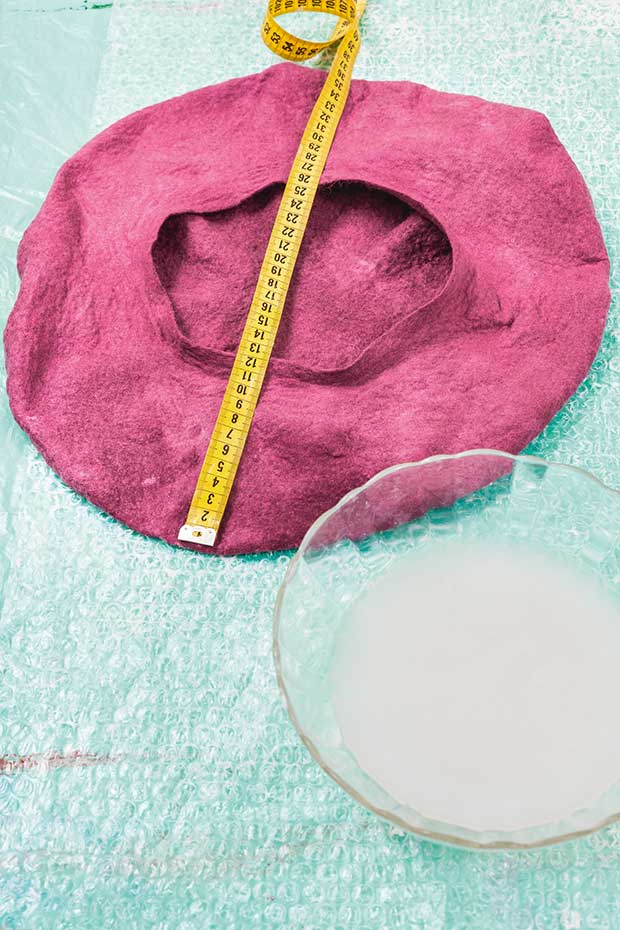
When the creases are removed, add more soapy water and rub the beret against itself (like you are hand-washing something). Then rinse the beret under warm water, then hot water, then cold water. Soak the beret in 2 litres of cold water and 2 tablespoons of white vinegar for 15 minutes. This gets rid of any soap residue.
STEP 16
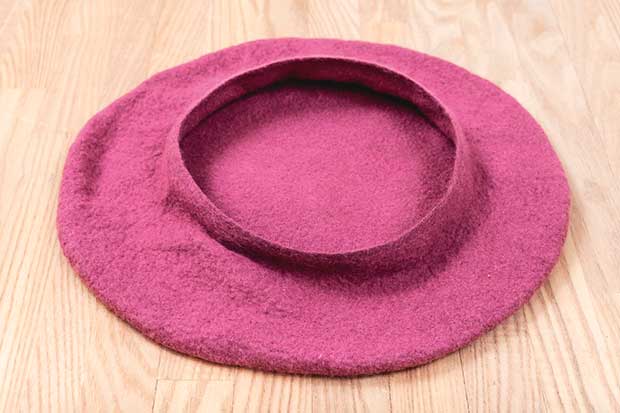
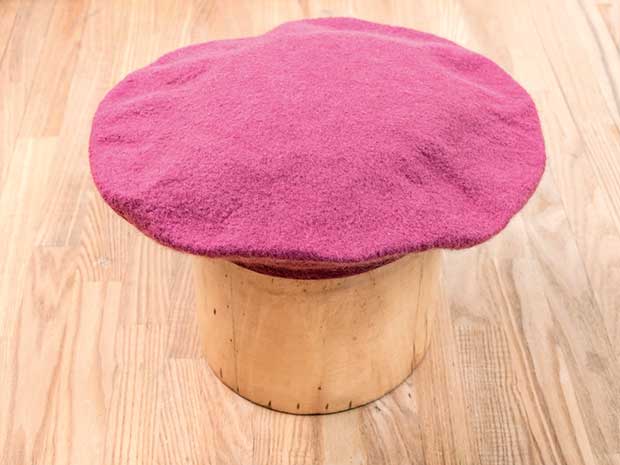
Place the beret on a hat block or polystyrene head to dry.
Felt is ready when it feels smooth and dense. The longer you agitate it, the stiller the felt becomes.
Love this story? Subscribe now!
 This article first appeared in NZ Lifestyle Block Magazine.

