DIY: Make your own soap
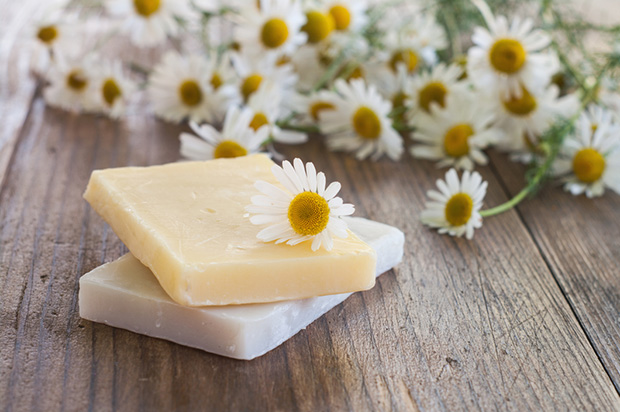
Making your own soap is easy, affordable, doesn’t require any special equipment and is quite addictive. Expert Soap-maker Gina Roberts explains the process.
Words: Nadene Hall
If avid soap-maker Gina Roberts could tell you one thing, it’s that you shouldn’t be worried about the ingredient that seems to put off a lot of people who are thinking of giving it a go.
“The lye, also known as caustic soda, sodium hydroxide – that’s the one everybody is scared of and there’s no need to be.”
As she demonstrates, so long as you treat it with care and respect, caustic soda is easy to handle and it’s just a small part of what is a fun, addictive and gratifying hobby where you can make dozens of different soap products.
“It’s a self-supporting hobby too - you can put in a little money or a lot, but you do get your money back on it because you’ve got it to use, to give as gifts, to barter with, it’s a great way to thank you to people.”
There’s no need to buy expensive soap-making equipment. Everything Gina does in the following demonstration can be done using basic kitchen utensils, although she does suggest you have bowls, spoons, spatulas, a measuring jug and moulds that are for soap-making use only.
The great thing is, even if you make a mistake, soap-making is a very forgiving kind of craft.
“Most soap is saveable, even if you’ve wrecked it you can reuse it, you can rebatch it, you can fix your mistakes which is great. Very rarely is it not - I think I’ve chucked out three batches in 16 years which were un-saveable.”
PREPARATION
This is what takes the most time, and is also a big part of the creative process of soap-making.
“Planning it, thinking about the scents you want, what colours you want it to come out - putting the soap together is pretty quick.
“I can use the same basic mix and create something different every time. The colouring, if you’ve decided to split the mix and colour it differently, the moulds you pour it in.”
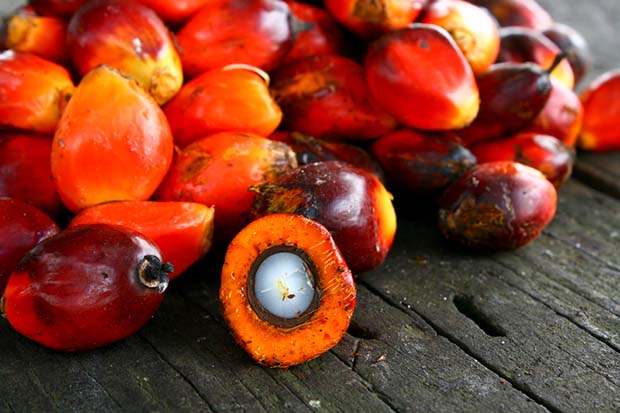
Palm oil is derived from the seeds of oil palms. Gina buys her palm oil from a sustainable source. Photo: Tan Kian Yong | Dreamstime.com
OILS
Oils can be hard (creamy/buttery) or soft (liquid) but a mix of both will give you a soap that lathers well but is hard enough to last a long time.
“You can make 100% olive oil soap (soft), but it needs 6-12 months of curing time (vs. most soaps which take 4-6 weeks) or it will be soft and gooey. That was the first soap I ever made and I thought I’d done it wrong.”
The palm oil Gina uses is from a sustainable source and she likes using it because it’s a great filler that is cheap but also creates a lovely soap and can be used in cooking (it’s great for frying).
“And this is crude coconut oil… it has been deodorised – they use it in cooking, it’s edible.” Mixing oils tend to give you a soap with better qualities.
“You couldn’t make it from 100% sweet almond oil for example - it just wouldn’t set.
Coconut and palm are great for creating lather and hardness. You could do 100% coconut which will lather in seawater but it dissolves very quickly - that’s why we add other oils - and it can be a little drying although I must say I’ve never found any of my hand-made soaps drying.”
Home-made soaps contain glycerine, unlike most of the ones you commonly buy in a supermarket.
“They (commercial producers) take all the glycerine out because the glycerine is valuable and is used in cosmetics… and it’s a shame as it does make for a beautiful soap.”
Oils should be measured out in grams on a scale, but there is some leeway, unlike with the caustic soda. For the 900g of oils used in this recipe, you get a lot of soap.
“I sell (oils) in blocks, the smallest is a kilo, and if I’m using 900g of oils, I’m going to wind up with about 1100-1200g of soap, or just a bit more.”
During summer some oils are liquids but in winter, they may go solid. That’s the case for the palm and coconut oils in this recipe, so Gina melts them down in a stainless steel bowl over a gentle heat on the stove. She will then leave them to cool until they are between 30-40°C before making the soap.
SCENT
Essential oils are extracted from plants, have a therapeutic value and don’t affect the soap as you’re making it. Fragrant oils are made in a lab (some do contain compounds of natural scents) and cause a different chemical reaction, often speeding up the process and making the mix go too thick too quickly.
“I recommend people start off using essential oil rather than fragrant oil as fragrant oil can affect the batter. It can cause your soap to ‘seize’ (thicken up).”
For the soap in this example, Gina chooses a bergamot essential oil (made from citrus flowers) and fennel seed oil.
“When you get into scenting you learn you have a base note, a middle note and a top note. Your base notes last longer, your top notes don’t. Citrus tends to be top so you can mix it with another essential oil to ‘anchor’ it in the soap, so for that, we’re using the fennel. (The scent) does mature over time in soap, so initially, you won’t get that fruity smell but the longer you leave it, it will mature and become quite nice.”
You can use any mix of scents you like, but in this case, Gina mixes up a 60-40 ratio of bergamot to fennel. You need to add 3% scent to a soap mix, so, in this case, she adds a total of 27g of scented oils to the 900g of coconut, almond and palm oil.
“The fennel is quite strong and over-powering and I want it to have an underlying note of citrus.
“One drop of an oil can change a scent, but if you don’t put enough in you’re not going to smell it. I’ve had people go ‘I’ve put 2ml in’ but it’s not enough, you’ve got to use a lot more.”
CAUSTIC SODA
Caustic soda is usually bought as granules in a sealed container and is always added to water (never add water to caustic). Mixing the caustic should always be your first step as it takes time to cool down.
“It absorbs water so you need to keep (the container) sealed, and it’s also quite static-y so if you put your (bare) hands near it, it will jump.”
Gina uses a stainless steel spoon to add the correct amount of granules to a bowl on her scales, then measures out the exact amount of water required (stated in the recipe).
The bowl and jug are then taken outside to a table.
“We need 342g of water to dissolve the 129g of caustic soda (for this recipe). I recommend you use a long spoon and it goes in, then I step back (as far as her arm can reach), turn my face away and just gently mix it.”
Small clouds of white fumes come from the mix but quickly dissipate as Gina stirs back and forth for about 30 seconds to stop the granules from sticking to the bottom of the jug.
Once we’re back in the kitchen, she uses her thermometer to check the temperature which sits at around 70°C. She leaves the jug of lye and water standing in a bowl of cold water to help it cool more quickly to the desired 30-40°C range.
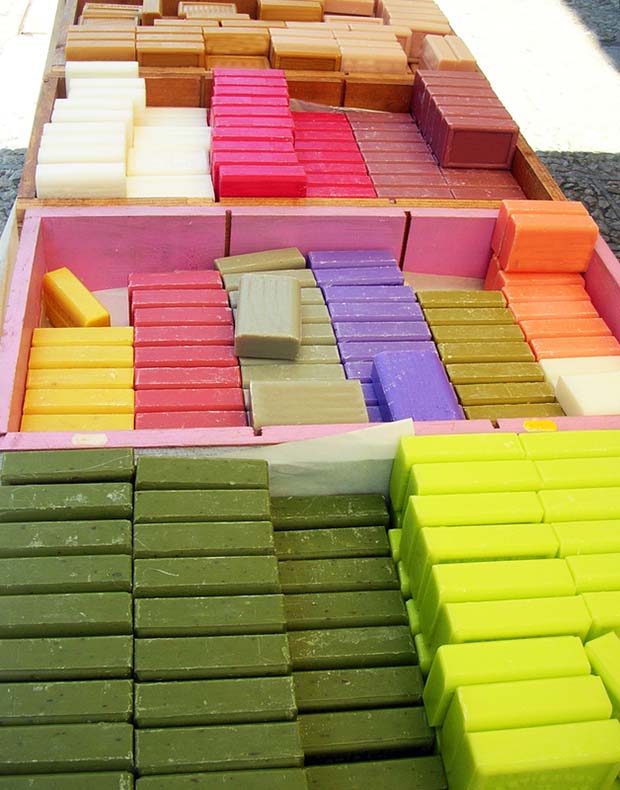
Colouring soap takes some practice. Photo: Justforever | Dreamstime.com
COLOUR
Soap dyes come in liquid or powder form. The colour or colours in soap will depend on what oils you are using, and the colour will lighten in the 24 hours after you first mix it in.
“If I was to make an avocado soap, with half of it being avocado oil, and I wanted to make it pink, I’m going to have trouble colouring green oil pink, plus you’ve got a chemical reaction going on that can affect the outcome. Sometimes people get a shock because they colour something pink, it comes out looking grey but then when you pull it out of the mould 24 hours later, it’s gone pink.
EQUIPMENT YOU WILL NEED
- Rubber gloves & safety glasses
Kitchen gloves, industrial gloves or rubber gloves will protect your hands from drops of lye which will cause burns. - An apron
- 2 mixing bowls - These should be stainless steel or glass that can withstand heat. Don’t use aluminium (it reacts with the lye and can create a poisonous gas), wood or flimsy plastic.
- Stirring spoons (Stainless steel or heat-resistant plastic – not wood)
spatulas - 1 long glass thermometer - Candy or meat thermometers are good. Many soapmaking books will recommend having two - one for the lye, one for everything else - but Gina says that’s not necessary and you can move a thermometer between oil and lye while creating a batch of soap).
- Measuring jugs
- Stainless steel, heat-resistant plastic or glass.
- Scales
- Stick blender - You can beat soap together by hand using a whisk but the stick blender makes it “a much, much easier process,” says Gina.
- Battery-powered milk frother - You don’t need this but it’s very handy for mixing colours into the soap.
- Rags or paper towels - So you can quickly wipe up any spillages of caustic soda.
- Moulds - These can be as simple as a cardboard milk carton, or any container that will hold liquid. “Milk cartons are really good because they’ve got that waxy inner so you can just rip off the cardboard (when the soap is set),” says Gina. “I’ve got the best soap moulds you can buy but if money is an issue or you’re not sure, you might want to line a container with plastic wrap or some sort of silicone paper, it will just be hard to get out of the mould - you’ve usually got to break whatever you’re using to get it out. “
“With silicone (moulds) the soap just falls out – if you’re using silicone baking moulds (vs. silicone soap moulds) the colour does leach out of them onto your soap.”
GINA’S SOAP RECIPE
300g coconut oil
300g sweet almond oil
300g palm oil
Total oils 900g
Total lye 129.39g
Total water 342g
The ratio of oils to lye and water is worked out using a special soap-making calculator (there’s one free for anyone to use on the Soapcraft website). Different oils and combinations of oils will affect how much water and lye is required to make soap.
The lye/water combination must be exact, and must be measured in grams (not ml). A 5% ‘discount’ is pre-built into the calculations.
“You’ve got that discount either way, so it won’t wreck the mix if you put in say 132g or 127g (to the recipe above), but if I put in 127g, it would be less lathery (although it will still clean your skin). If I put in a little bit more caustic, it’s going to lather up a lot more and get used up more quickly.”
In this example, the original recipe called for olive oil, not almond oil. When Gina recalculated to allow for the almond oil, the difference was 1g of lye, not enough to be of concern.
However, if she’d had to change the recipe, she would have added or subtracted the amount of oil she was using to suit the amount of lye she had already mixed.
Lye can also be made in batches and stored for later use.
