DIY project: Make your own fused-plastic tote bag
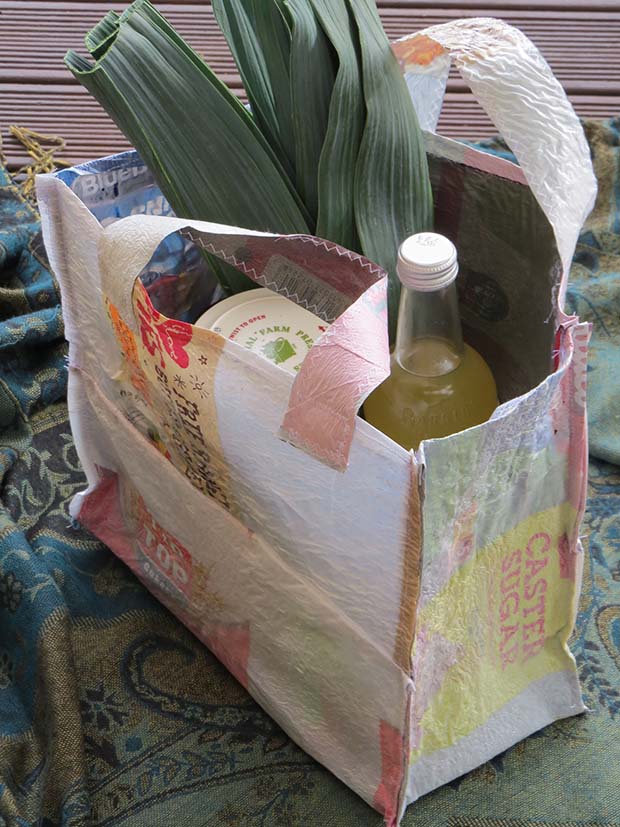
Grab the iron and a bundle of soft plastic bags then make a tote with sustainable style.
Words and photos:Julie Legg
Fabric or string bags are popular but multi-use, hardwearing reusable plastic bags are an inexpensive alternative. Take a few hours on a rainy weekend to make a fused plastic tote bag; it’s fun and keeps those soft plastics out of the landfill.
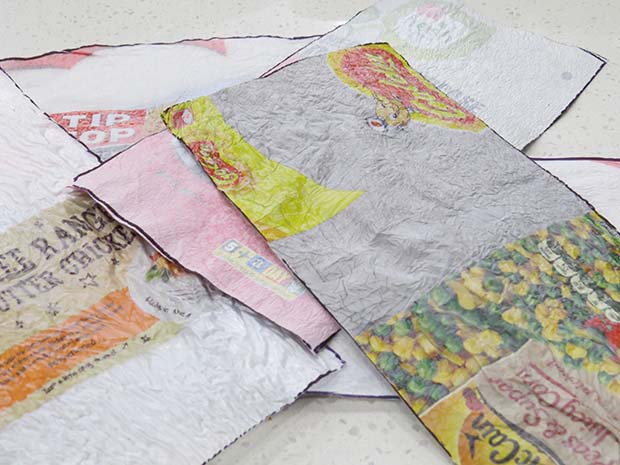
Most soft plastics can be used - from frozen vegetable bags to rice bags and chip packets. The secret to fusing plastic together lies in the temperature of the iron and the layers of plastic.
Before getting started, please note:
• Every iron is different, so test and perfect the fusion process before literally ‘steaming ahead’ with this project: too hot and the plastics will shrink, bubble or create holes in your work, too cool and the plastics won’t fuse together at all
• The number of layers is important - 6-7 layers of soft plastics are ideal to create a sturdy ‘fabric’ for your tote bag
• Soft plastics must be infused between greaseproof paper or there will be an unsightly melted mess on your iron
What you need
Soft plastic bags
Scissors
Greaseproof paper
Paper and marker pen
Iron
Sewing machine, thread and pins
INSTRUCTIONS
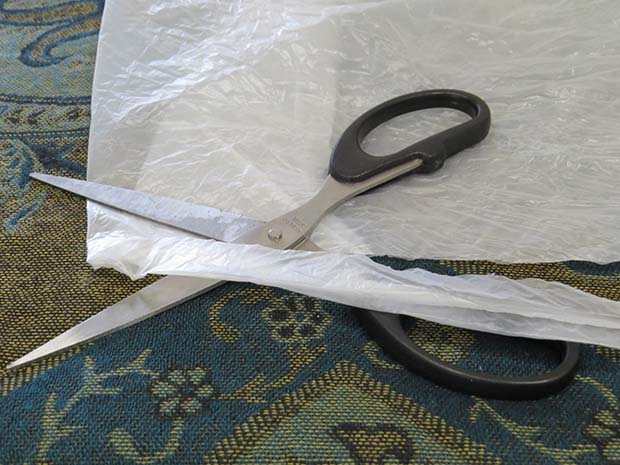
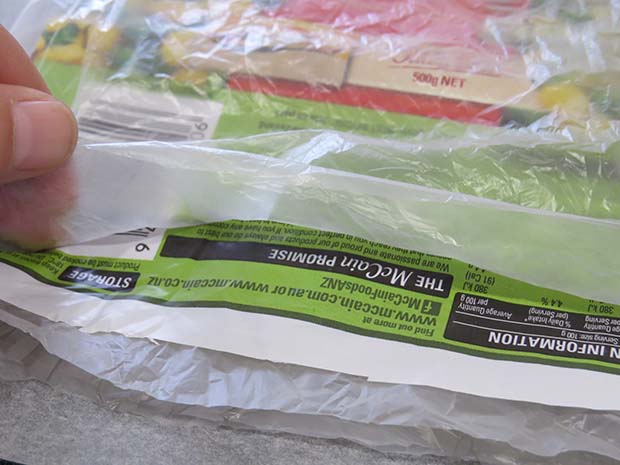
STEP 1. Lay a soft plastic shopping bag on a flat surface and, using scissors, carefully cut off the handles and the bottom seam.
STEP 2. Spread the rest of the plastic bag out as flat as possible. Cut through one side seam to create a large plastic single sheet if desired, or keep the sides intact to form an instant ‘double layer’, as this project has done. Repeat with multiple bags.
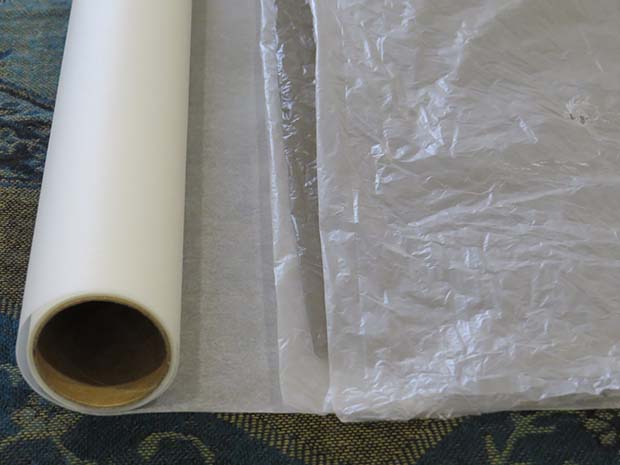
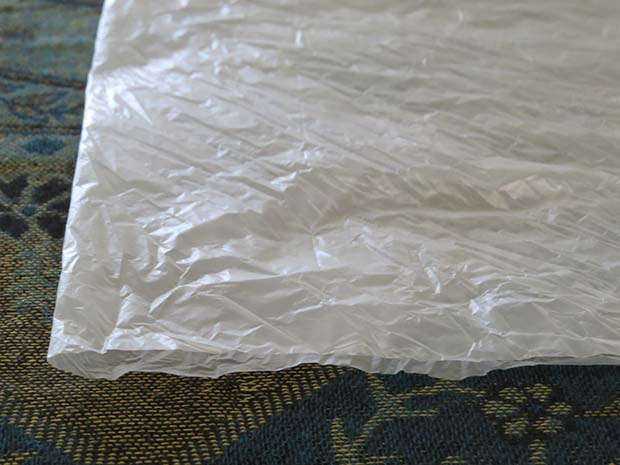
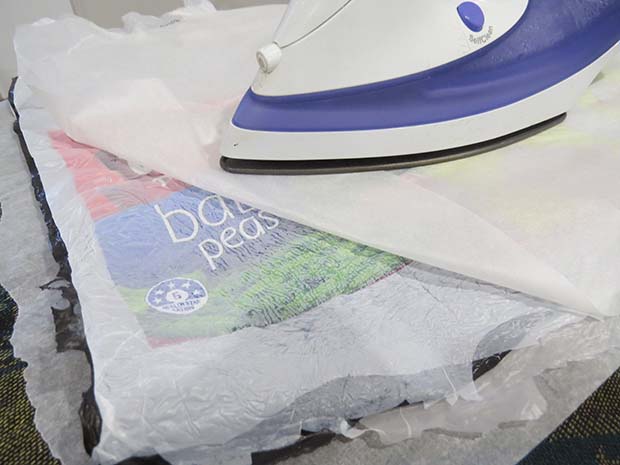
STEP 3. Spread a large piece of greaseproof paper on a flat surface or ironing board. Place 6-7 single layers of soft plastic neatly on top of each other.
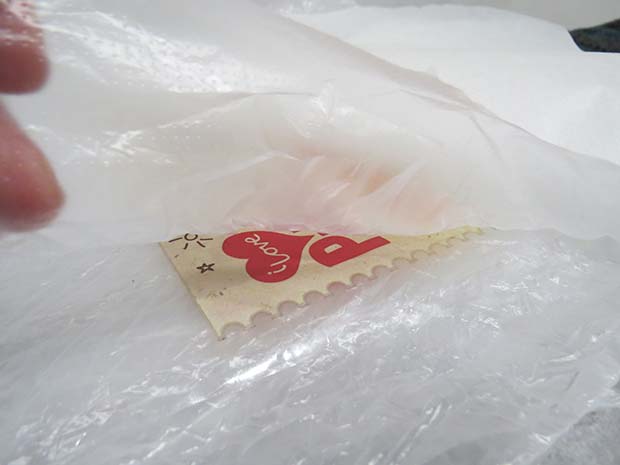
Tip: If using brightly coloured plastics, such as a bread bag, insert this beneath the top single layer (the muted colours will still emerge through but the ink won’t smudge).
STEP 4A. Once the layers are stacked neatly, place another piece of greaseproof paper on the top. First test the heat of the iron on experimental layers and adjust temperature when satisfied with the fusion process.
Iron your plastics together, keeping a firm pressure and moving the iron at a steady pace evenly over the paper.
Check to ensure pieces are fusing as they should. Set aside and repeat as necessary to make several ‘sheets’.
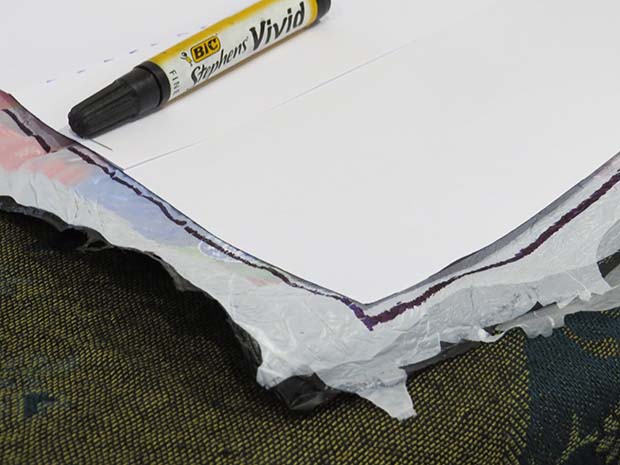
STEP 5. Decide on the size of the finished tote. This will depend on the amount of plastics available and likely usage. Create a paper template and, using a marker pen, draw the panel shapes directly onto the sheets of fused plastic. For this project, a smaller tote, the panel template was 30cm x 15cm.
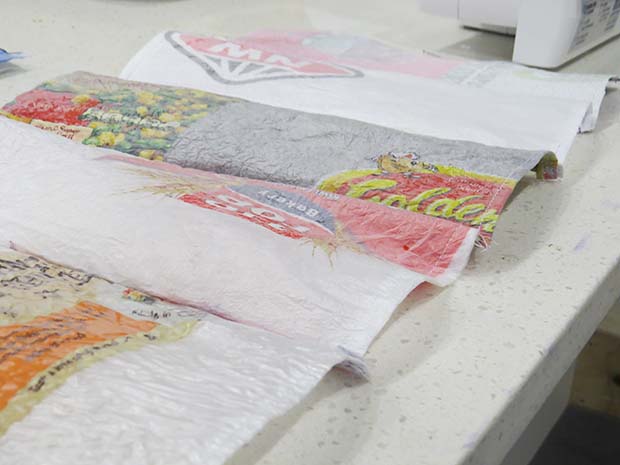
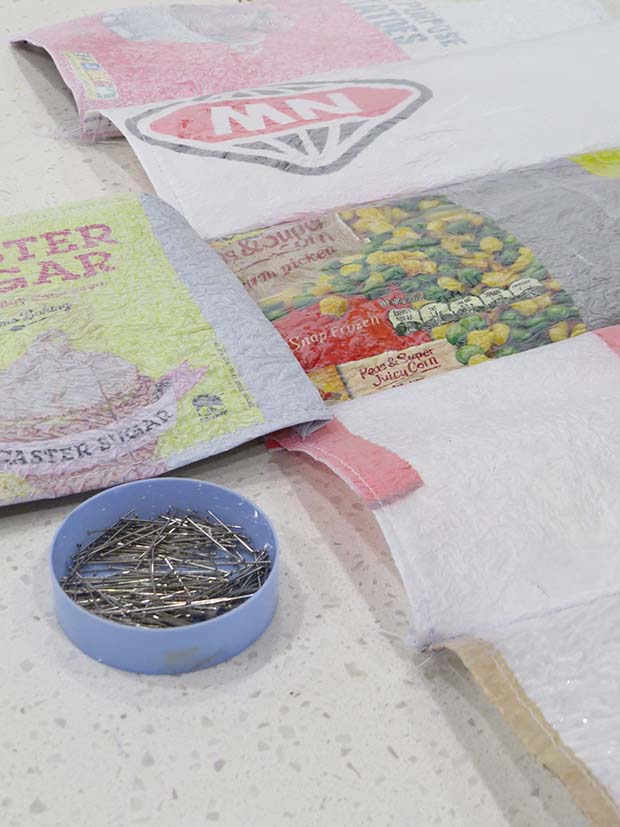
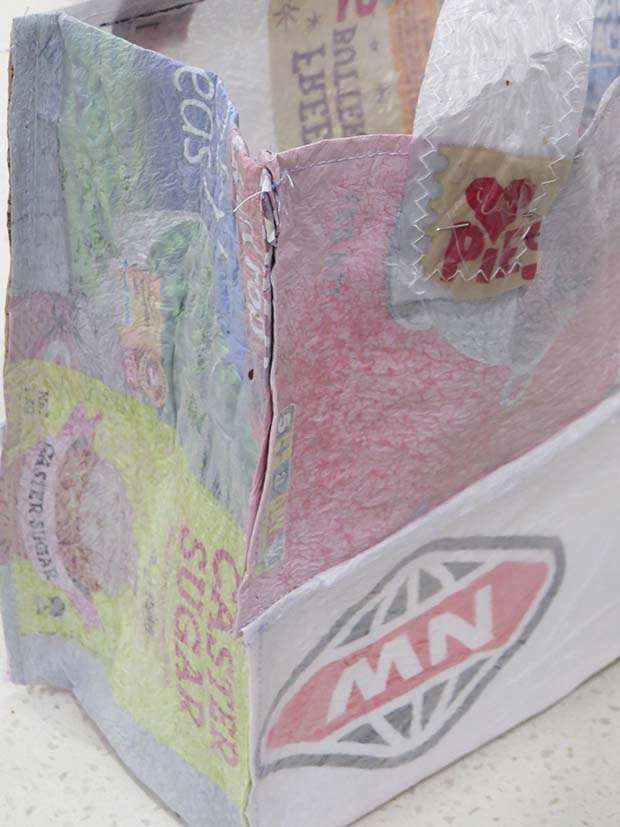
STEP 6. Cut seven panels in total. 2 x 2 panels will be sewn together to create the front and back, while the remaining 3 panels will form the base and sides.
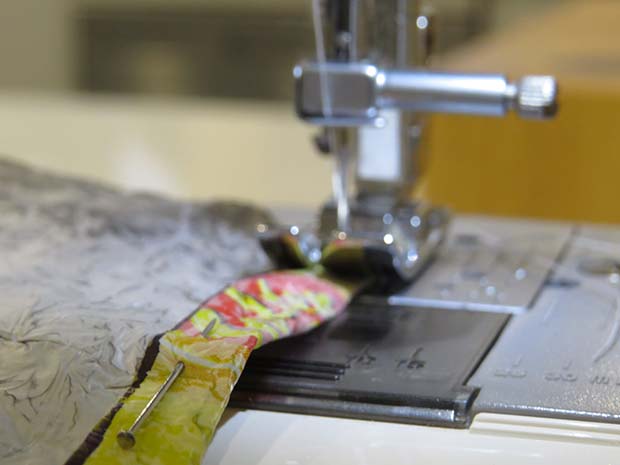
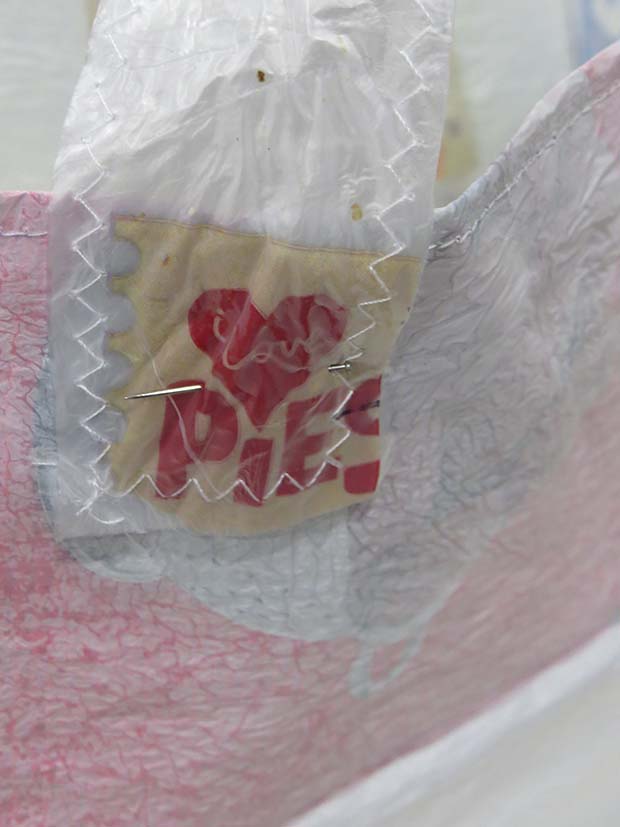
STEP 7. Pin and hem each panel separately, approximately 1cm from the edge. This will help strengthen the panels should the edges not be perfectly fused.
STEP 8. Pin 5 panels, one beneath the other, lengthways. Sew each panel together, ‘good sides’ facing inwards.
STEP 9. Pin the remaining 2 panels as ‘wings’, the short side of each secured to the centre panel (the format will resemble a giant plus sign). These wings will become the short sides of the tote bag.

10. Fold up the sides to form an open, flat-based tote bag and pin in place. Sew along external edges.
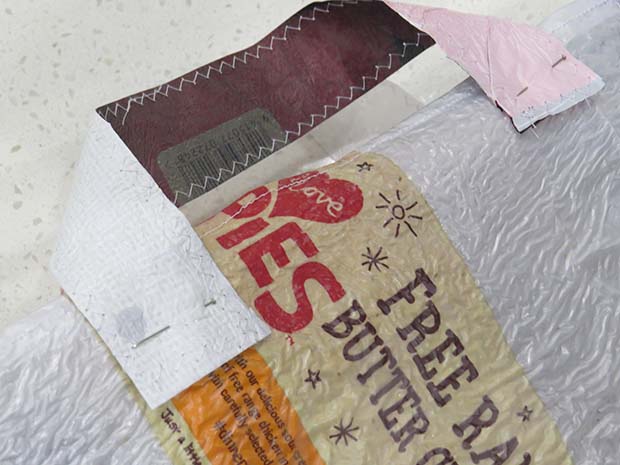
11. Make handles from offcut strips of fused plastic to suit. Hem, pin and sew in place.
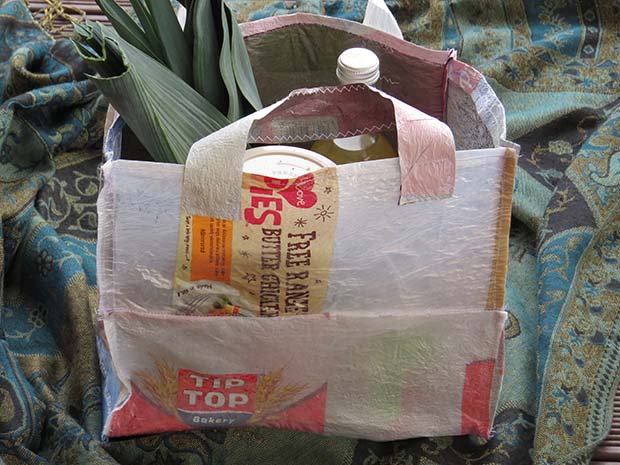
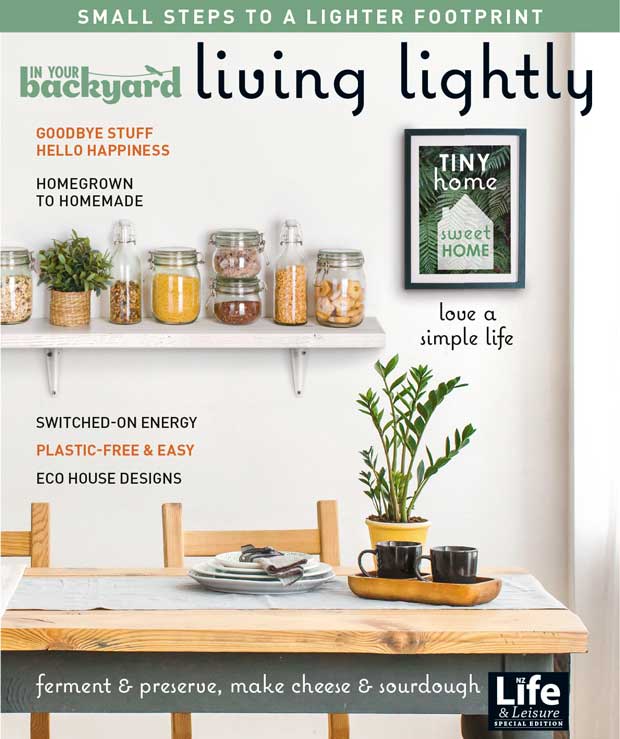
For more green living and eco ideas see our new special edition, In Your Backyard: Living Lightly
