DIY project: Upcycle a woollen blanket to make a cosy hot-water bottle cover
Give Jack Frost the cold shoulder with this easy-to-make ‘hottie’ coat made from recycled materials.
Words: Julie Legg
Now that the evenings are chilly, there’s every excuse to snuggle up indoors with a good book or reruns of a favourite film.
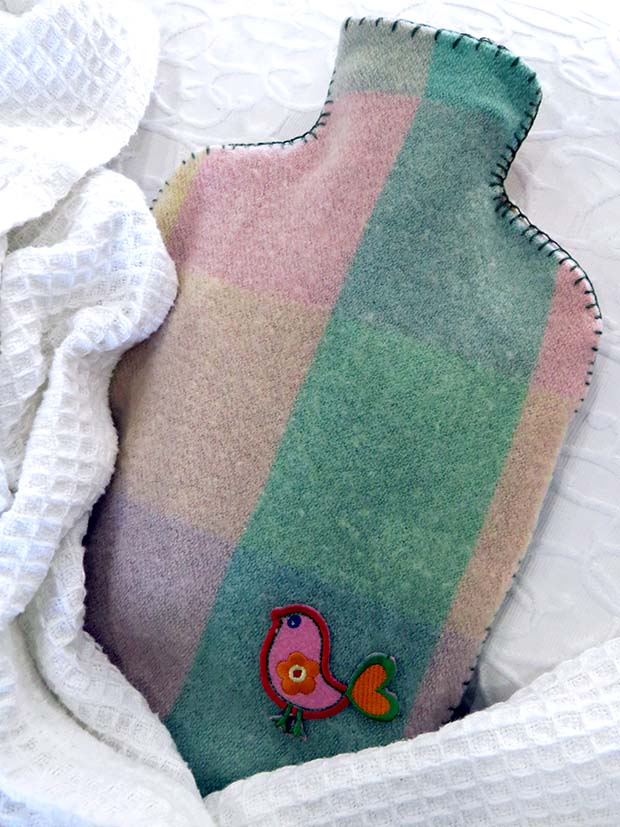
To add the cosy factor, there’s nothing like a hot-water bottle with a cuddly cover: convenient and versatile, they’re perfect as a lap warmer or even as a pet-basket warmer.
While fabric shops offer an array of themed material, it’s thrifty and fun to upcycle old jumpers and disused blankets. Soft woollen blankets work well, as do woollen scarves, fleece fabric or quilted material. Remember a hot-water bottle cover helps to conduct heat, but also insulates.
A fine material such as cotton may look cute but will lose heat faster than a thicker fabric.
Making a hot-water bottle cover is so simple. Once the templated fabric has been cut to size, decorate the masterpiece with a fabric-trim finish, or embellish with a motif or felt design. They make great personalized birthday presents, too, especially during the winter months.
There are many water-bottle cover designs. Some have an elasticated neck (whereby the empty water bottle folds and squishes into place); some have a zip at the back (very effective, especially if you’re adept at sewing in zips); and others use a simple sleeve as made below. The sleeve itself has a generous overlap so there’s no fear of coming in contact with the rubber water bottle inside, however if the overlap is cut too short, a simple Velcro arrangement can bring the overlapping pieces together firmly.
MATERIALS
Woollen fabric
Brown paper
Pencil and sewing scissors
Pins
Sewing machine
Cotton thread
Embroidery thread/needle (optional)
Decorative trim or ribbon (optional)
METHOD
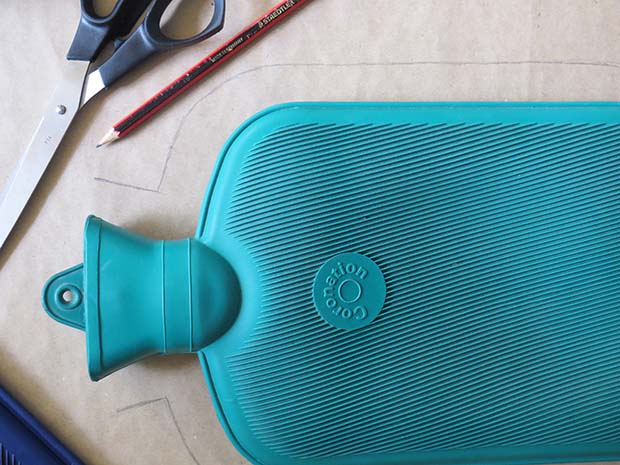
1. Lay a piece of brown paper on a flat surface and trace around the water bottle with a pencil, approximately 2cm wider than its physical shape. If not confident, trace around the outside of the hot-water bottle first then, using a tape measure, mark a 2cm gap around the silhouette. Cut around the outer line. If in doubt, fold the paper in half to ensure both sides are mirror images of each other.
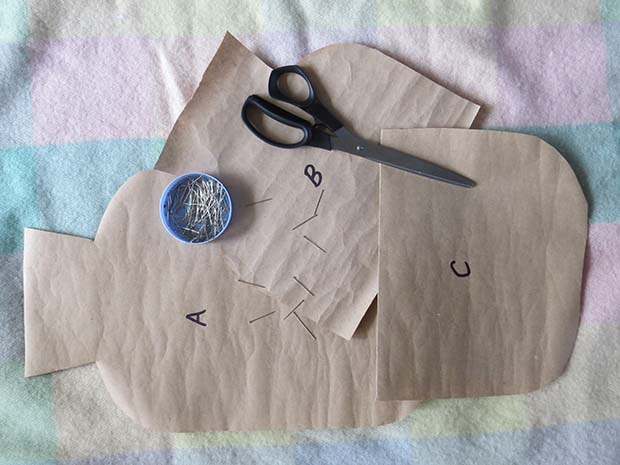
2. Cut three copies of this paper template. The first (A) will be the front. The two remaining templates, B and C, will form the back. As B and C will effectively overlap each other, creating an opening sleeve, for (B) cut 15cm off the bottom of the template and (C) cut 20cm off the top of the template.
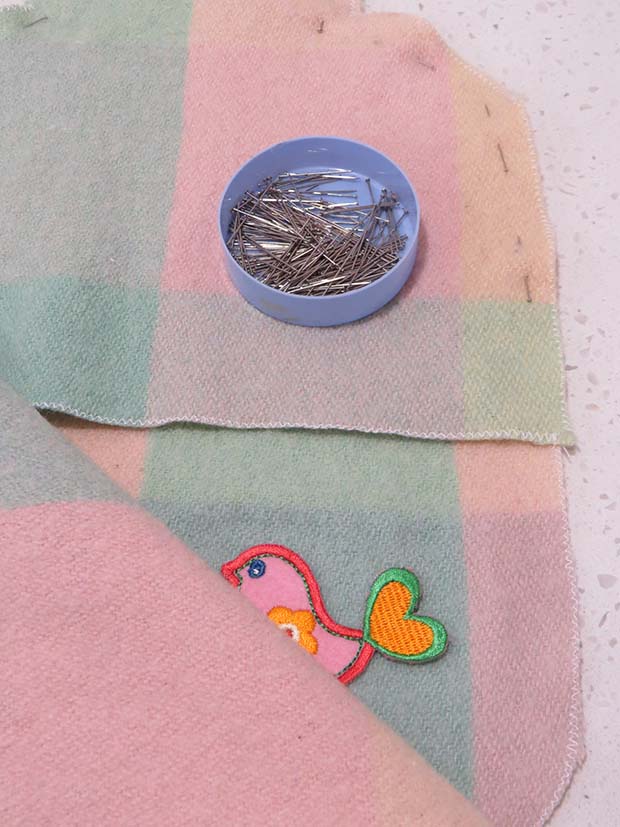
3. Lay chosen fabric on a flat surface, pin templates to fabric and cut with sewing scissors.

4. Using the zig-zag setting, hem around each of the individual pieces to help avoid fraying.
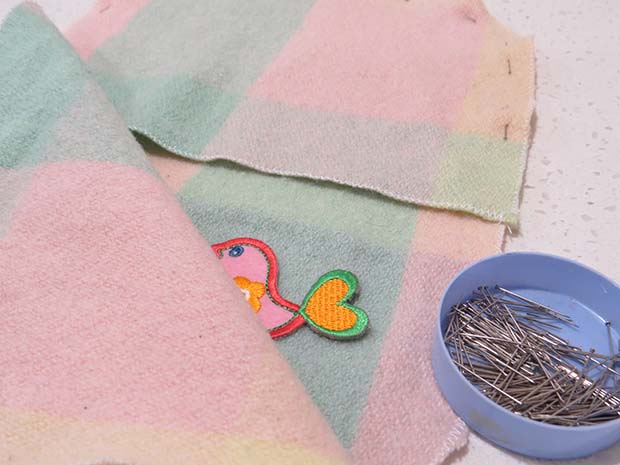
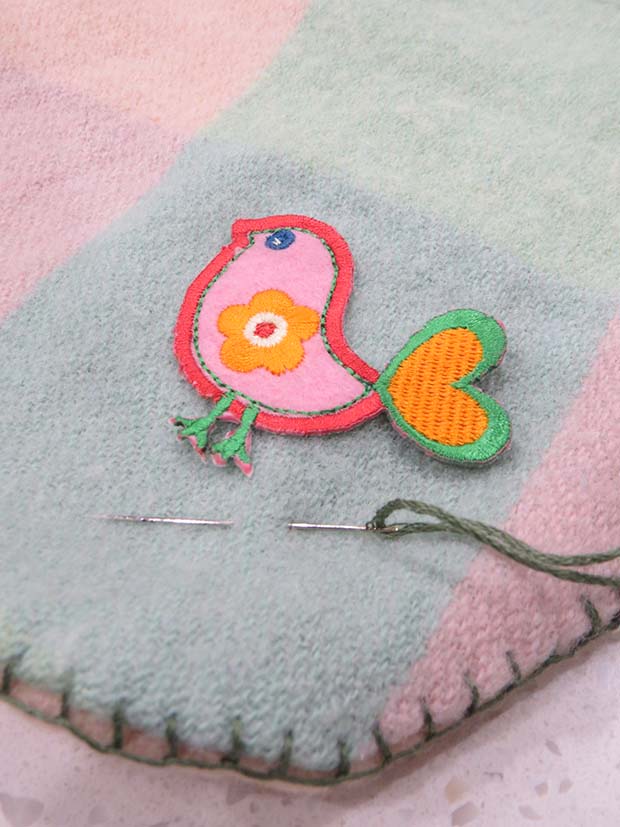
5. If adding embellishments to any panel, such as a decorative ribbon or badge, sew it on now while the pieces are separate.
6. Place ‘good sides’ of all three pieces of fabric facing inwards. Pin A panel (the front) and B panel (the upper segment of the back) so they match at the neck. Then pin C panel (the lower segment of the back) so it matches the base of A perfectly. The ‘sleeve’ section of overlapping fabric will be obvious at this point.
7. Pin together all three pieces of fabric in place, approximately 1cm from the edge. On a regular stitch setting, sew all pieces of fabric together around the perimeter. Turn fabric right-side out. Gently run your hand along the inside hemmed edges to smooth out any bumps. Press the edges so they are flat.
8. If wishing to hand finish, embroider a blanket stitch around the outside joins, the bottle neck and overlapping join on the back-facing sleeve.
MORE CRAFT PROJECTS
