Everything to know before starting a living wall (also known as green wall)

Whether it’s for a dose of native foliage or to hide an unsightly fence, livings walls can be a fun (and surprisingly easy) way to flex your green fingers.
Words: Nicole Barratt
Whether the goal is to grow thyme to pick for a roast dinner or to lure in bees with native plants, a living wall (also known as a green wall) could be the answer. The vertical gardens are space-savers, embraced across the globe by urban gardeners.
They are often designed to cover a blank wall or fence and flexible to suit almost any backyard space and any budget. Renée Davies, a Taranaki-based ecologist and award-winning landscape architect, is a passionate advocate for living walls.
“There’s often limited space for plants and nature in our urban environments, but I strongly believe all of us need to have some sort of connection with nature,” she says.
- One Central Park building in Sydney, Australia by green wall guru, Patrick Blanc.
- Curvaceous green wall in Sydney.
- Living wall apartment building in Torino, Italy.
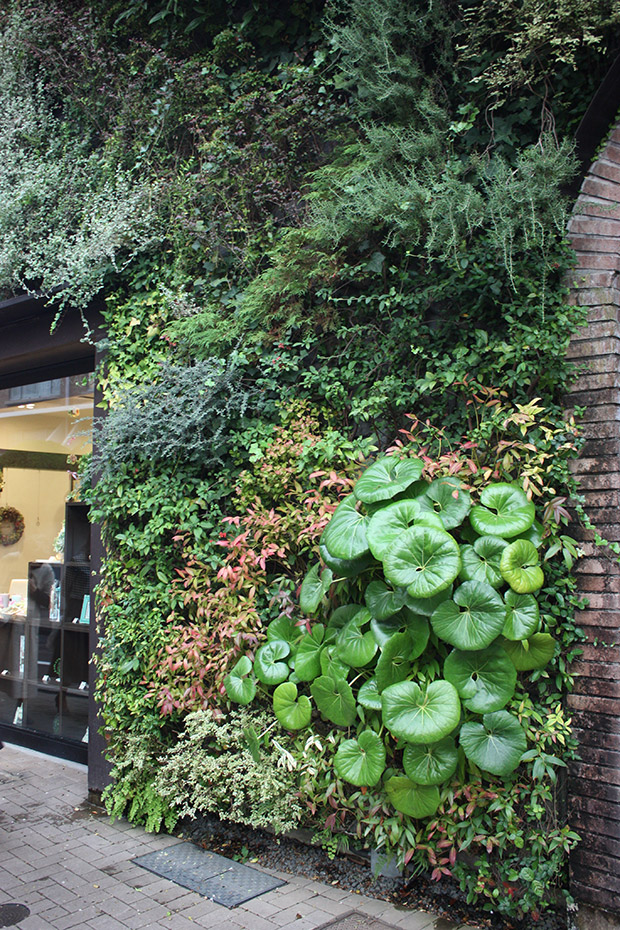
- Eclectic wall on café in Japan.
- Complex green wall by Patrick Blanc in Paris.
- Vertical gardens for apartment dwellers.
Renée planned to become a marine biologist, but plant science drew her in at university. One memorable visit to the Chelsea Flower Show in London prompted her interest in landscape architecture. “I thought, ‘Oh my gosh, this is the complete blend of everything I love’. It was plants, art, design and science all in one fabulous mix.”
Renée’s first living wall was designed to hide a water tank, but she underestimated the plants’ growing power. It was wildly successful and grew so far from the wall that its leaves and tendrils eventually covered her entire pathway. “That was certainly a learning curve, keeping in mind how big plants will eventually grow out from the wall,” she says.
“There’s plenty of beauty in living walls with attractive plants or flowers on a vertical surface.” Depending on the type of living wall (even if it’s just a wire with a climber growing up) they can also provide shade and thermal regulation to buildings. Plus, they’re a sanctuary for wildlife.
What to consider when designing a living wall
The first step to building a living wall is deciding its main purpose, Renée says. Is it for fresh herbs? It is to cover a fence with climbers? Do you want flowers? Determine the budget and how much regular maintenance it will require.
“There’s no such thing as no maintenance in gardening. So be prepared to check-in on things,” says Renée.
Wall designs range from wires up the side of a building with climbers growing, to more complex structures densely planted out. It pays to understand the surface to be greened. If it’s a fence, for example, think of weight constraints.
1. A simple living wall

Simple chain supports for star jasmine.
A wire structure with climbing plants. This could be as straightforward as climbers on a fence with concrete reinforcing mesh attached to it. Another option is attaching small hanging pots to the fence to support larger plants. This is ideal for a smaller budget.
Materials: Use no. 8 wire and a few stainless steel screws. For a more refined look, head to a yachting supplier or hardware store for stainless twisted cable, wire grips and turnbuckles (to tighten the wire and keep taught). Mesh can be stainless or galvanised steel, or just concrete reinforcing mesh depending on the location.
2. A more complex living wall

Bromeliads in hanging pots on mesh insert in fence panel. Designed and installed by Renée Davies.
A vertical box-style design with soil and mesh on the front. This method requires irrigation, from the top, to ensure there’s a good supply of water getting to the plants.
Materials: Wall pockets or planters are easy to get online or from most garden centres or hardware stores. Use a timber frame, chicken wire, sphagnum moss, soil and a dripper irrigation system.
“It’s just a matter of creating a box (with a waterproof back if you are placing it on a wall that you don’t want wet all the time),” says Renée. Create drainage holes. The mesh front will be tightly packed behind with moss and soil. Plants are then planted into the front mesh.
HOW TO CHOOSE PLANTS FOR A LIVING WALL
Renée suggests drawing a mind map of the ideal living wall. “Maybe it’s that you want a herb wall in the garden just outside the kitchen window. You might be focused on having all native plants, or your focus might be on attracting pollinators.”
While plants can be layered over each other, having a purpose as a starting point is helpful.
Edible plants: Thyme, lavender, prostrate rosemary, parsley, chives are all good. Any vegetable that will survive in a pot provided there is a dripper irrigation system.
Climbers & scrambles for wire and mesh walls: Natives such as kaihua, pōhuehue (maidenhair vine), puawhananga, Tecomanthe speciosa. Exotic plants such as star jasmine, passionfruit, wisteria species and grape vines.

A DIY living wall frame and mesh box using native Astelia nervosa at the Auckland Flower and Garden show.
Substrate/pocket/pot living walls: Natives such as Astelia nervosa (mountain astelia), Astelia banksii (wharawhara), Fuchsia procumbens (for shady spots), Arthropodium cirratum (renga renga), Dianella nigra (turutu), Peperomia urvilleana. Exotics include any succulents (especially for sunny spots) and bromeliads (for dappled shade).
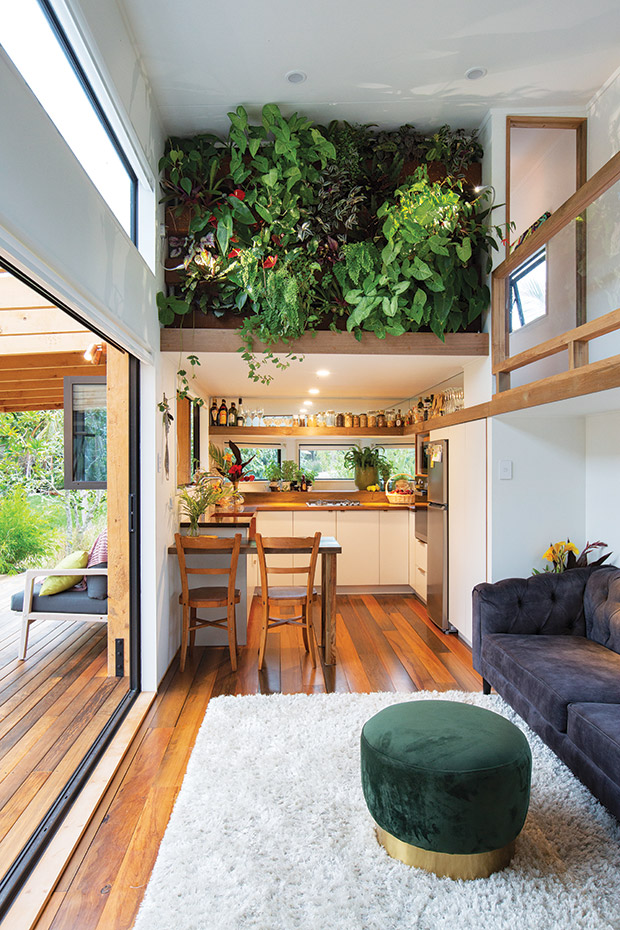
Indoor walls (or shady sheltered courtyard with no frosts): “Living walls can be really exciting inside because you’ve got the whole range of houseplants to choose from,” Renée says. Any houseplants will work, as most are from jungle environments and do well with little soil. They will need regular watering.

Photos: Tessa Chrisp/NZ Life & Leisure.
“Philodendron hederaceum, the heart-leafed philodendron, is a spectacularly easy and rampant climber, and good old Hoya carnosa will scramble up wires or hang down a pot for a bit of retro glam,” she says.
OTHER FACTORS
- DIY succulent living wall with mesh and box frame.
- Detail of succulent living wall.
Watering
Many planters dry out quickly; regular watering is important. Most vertical gardens require watering at least twice a day for 1-2 minutes. But be cautious not to overwater – if drainage is inadequate, soggy roots can become sickly roots. For larger living walls, Renée recommends setting up a simple irrigation system that will drip down the top. “Little and often is the best approach with living walls.”
Choosing a spot
Ensure the area gets plenty of light, but ideally not direct, all-day sun. A south-facing wall with some shade most of the day increases the range of potential plants with less risk of them drying out. Light availability differs within a vertical garden, as plants at the top provide shade for their more sun-sensitive neighbours. Grow sun-loving plants at the top tier, where they can grow and provide shade to other plants.
The most common mistake
Renée says the biggest mistake she’s seen is people assuming their wall is going to be perfect from the start. “Some plants will die, and then it can spoil the whole living wall look. If a plant isn’t doing well or dies, take it out immediately. Be prepared to replace plants every now and then.”
MORE HERE
How an Auckland soil scientist’s inner-city living roof flourishes without soil


