Why you should add chokos to your garden this spring
They’re the winter equivalent of cucumbers, and there’s a secret to picking the ones that taste best.
Words: Kristina Jensen
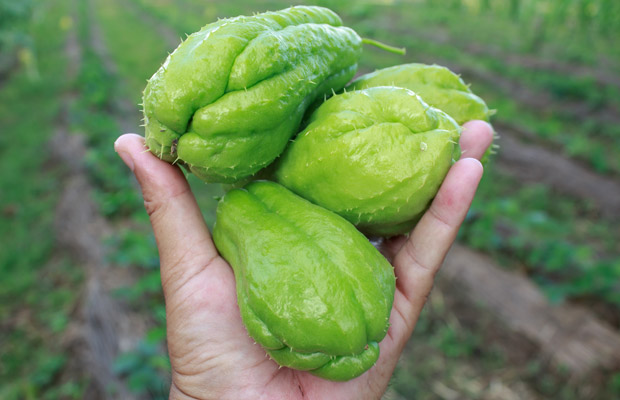
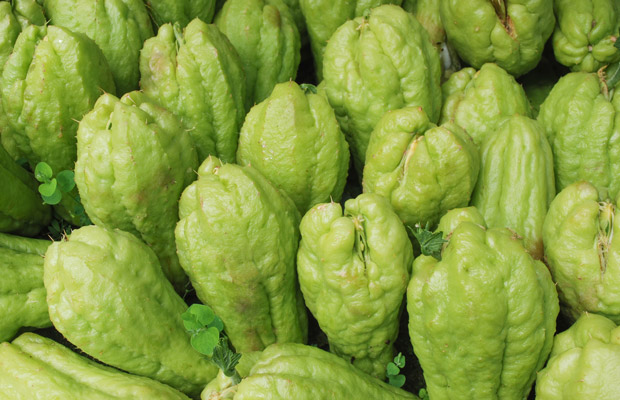
You may be someone who thinks that chokos are tasteless and tough. If so, that’s probably because you’ve only tried big, old, prickly ones.
The best chokos are the little ones, no bigger than a tennis ball, preferably smaller. Chokos can be used anywhere you’d normally use courgette or cucumber: peeled, cored, and lightly cooked in a stir-fry, or added raw to a salad or salsa with lemon or lime juice. They also ripen at a time when their summer-loving cousins are long gone.
I liked chokos from the first time I tried one. Mum and I were visiting an elderly friend, and she gave me a choko to take home. It was quite a big one and very prickly, so I wrapped it in my t-shirt to stop its insistent spines from poking me. Once home, Mum peeled it and carved it up into slices, which we tried with a bit of salt. I fell in love with the crunchy texture and still prefer to eat chokos this way.
It’s only recently that I’ve discovered the entire plant is edible: fruit, root, stem, seeds, and leaves. The tubers can be prepared just like potatoes. The leaves and shoots can be used in salads and stir-fries. Mum had memories of eating them during the war. Chokos were mostly used as stock fodder, but rationing made them people fodder too.
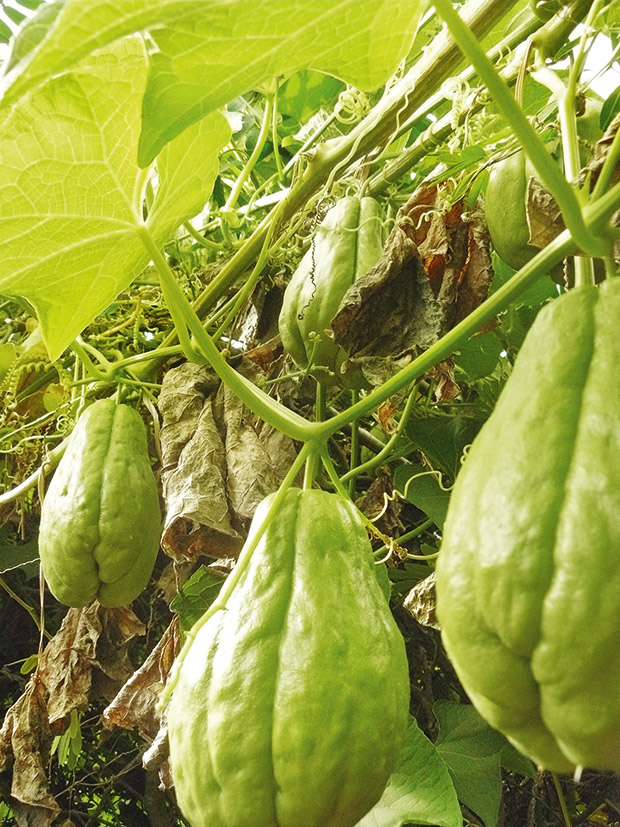
Chokos (Sechium edule) are also known as chayote or mirliton squash. The plants love to sprawl, and will happily climb to the top of trees to claim more growing space. My favourite plant is the one that grows out in Kupe Bay on D’Urville Island.
Our dear friends, Pip and Jeanette, feed the fruit to their kunekune pigs. It was Jeanette who first showed me that the shoots are edible too. Their choko plant – which is possibly a whole family of plants, entwined to look like one – occupies a small hillside, forming shady, dappled canopies that enchant both humans and pigs on a hot day.
THE COLOMBIAN EXCHANGE
Chokos were involved in what is commonly known as the Colombian Exchange. It’s a collective name given to the widespread transfer of plants, animals, culture, human populations, technology, and ideas between West Africa, the Americas and the Old World in the 15th and 16th centuries.
This influx of new species significantly changed global populations and greatly influenced agriculture. Unfortunately, it included the introduction of invasive species and diseases. Chokos can be classified as invasive but do provide a source of food for humans and animals.
4 TIPS FOR GROWING CHOKOS
1. Don’t be tempted to plant the fruit (which is also the seed) straight away. I get the best results by placing a big choko on a shady windowsill on a plate with a damp paper towel underneath it. Always keep the paper towel damp. Roots and a sprout will appear after 2-3 weeks.
2. Alternatively, you can put a choko in a dark cupboard. Like a potato, it will usually start to sprout.
3. Chokos need to be planted after the last frost of the season. Best practice is to bury the roots but leave the sprout exposed. Give it something to climb up and over (trellis, pergola, wire fence). Keep an eye on the vine as they’ll run wild and take over everything around them.
4. Chokos don’t like growing in pots as the roots are susceptible to rot. It’s best if you can find a spot in the garden where they can ramble to their heart’s content.
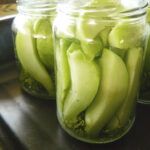
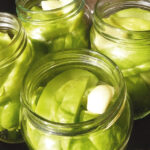
Recipe: Chilli Dill Chokos
Makes: 3-4 x 500g jars
Time: 30-40 minutes
- The jars need to be reasonably warm, so they don’t crack when you add the hot liquid. If they have cooled down, reheat in the oven for 5 minutes.
INGREDIENTS
7-9 medium-sized chokos (no bigger than a tennis ball at the widest point)
½ cup salt
½ cup sugar
7 cups boiling water
3 cups white wine vinegar
2 heads of dill flowers (or a small handful of green sprigs)
chilli flakes
6 peppercorns per jar
½ tsp dill seeds per jar
1 garlic clove per jar
METHOD
Preheat the oven to 180°C. Wash and dry the jars, then place in the oven for 20 minutes to sterilise them.
Peel and quarter the chokos. Remove the large pip in the centre. Slice 1cm thick or cut into chunks.
Bring the water to the boil in a pot on the stove. Add the salt and sugar, stirring to dissolve. Add the vinegar. Keep the mixture hot, but not boiling, on a low heat.
Remove the jars from the oven, and add the peppercorns, dill seeds, and garlic. Work quickly, so the jars stay hot. Add the choko slices or chunks. Top up with the hot liquid to just below the rim of each jar.
Place the jars on a sturdy oven tray or into a casserole dish and slide them carefully into the oven for 20 minutes with the lids on but not screwed down.
Remove from the oven and secure the lids. Leave the chokos in the jars for two weeks before eating.
Love this story? Subscribe now!
 This article first appeared in NZ Lifestyle Block Magazine.
