A step-by-step guide to planting fruit trees correctly
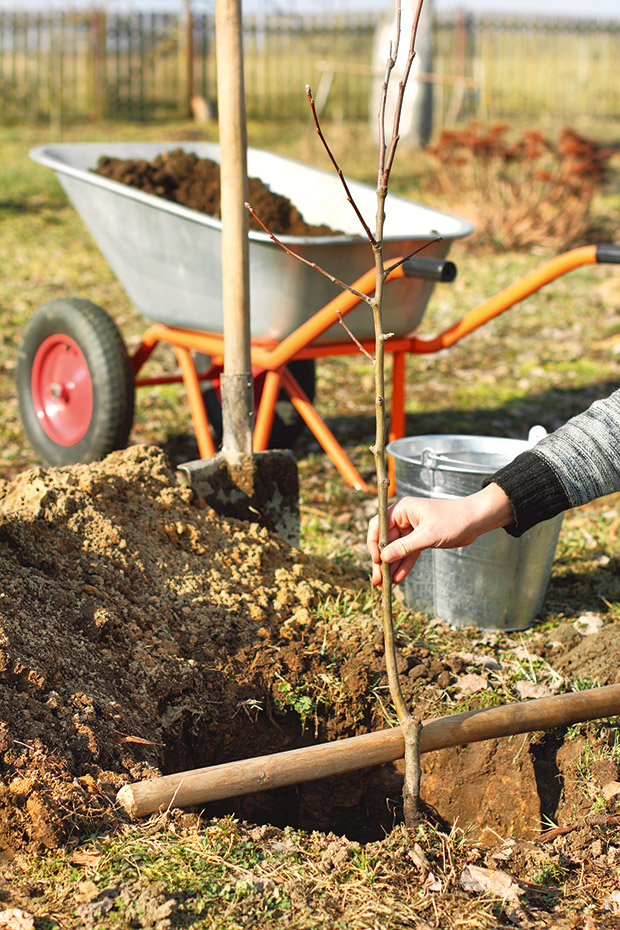
A strong, healthy fruit tree starts with the right kind of hole.
Words: Sheryn Dean
I take tree planting very seriously. So seriously, that when I planted my orchard, I used a digger and truckloads of dirt. I know I’m extreme, but it really paid off.
Planting time is your opportunity to improve the soil in a tree’s root zone, and it’s worth putting in the effort to give your tree the best start possible. Trees will be more resistant to pests and diseases, withstand competition from other plants, and repay you with fruit, sometimes within a year.
It depends on your climate, but the ideal time to plant trees in most areas of New Zealand is in June and July, August at the latest. Deciduous trees are dormant in winter and don’t need energy to produce leaves and flowers. Winter planting gives roots time to settle and grow before the spring flush. It’s also the time of year when, hopefully, there’s good rainfall.
The exception to the mid-winter planting rule is if you’re planting evergreen, heat-loving plants in areas with a cold winter. Plant citrus, avocados, tamarillos, and other subtropicals after the risk of frosts has passed.
1. Match the tree to the soil
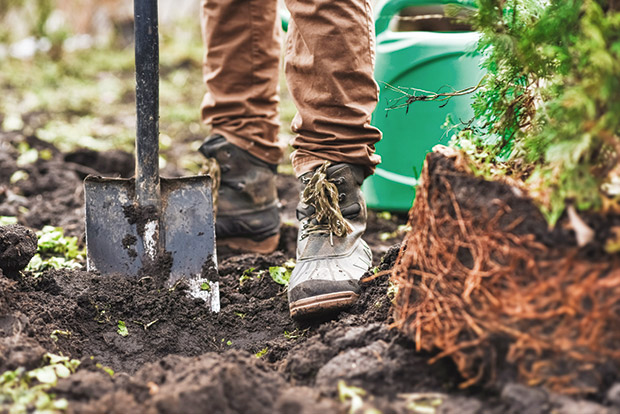
If you’re not sure what kind of soil you have or its properties, there’s a great online resource you can use – for free – to find out. The Visual Soil Assessment (VSA) field guide has comparative pictures and notes that teach you how to grade your soil. It’s fun (to me) to look, sniff and feel soil, and all you need is a spade.
Before you start: If you have clay soil or a hard pan (a hardened layer of soil) within 1m of the surface, dig a hole and fill it with water late in the day. If the water doesn’t drain away by morning, you need to find another location for your tree. If it’s a hard pan, dig through it until you reach free-draining soil.
Know your soil moisture: Most fruit trees prefer their roots to be moist but not waterlogged. There are exceptions, such as persimmons and figs, which are more tolerant of having wet roots than most fruit trees. Conversely, the roots of the avocado are susceptible to the fatal root rotting disease (phytophthora) in moist soil.
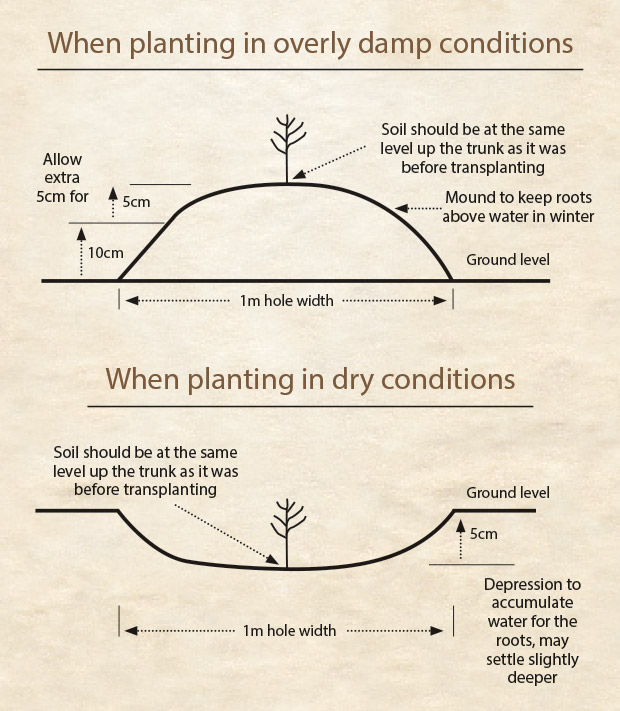
If you have free-draining soil or soil prone to drying out: plant in a depression or, if on a slope, on a terrace or swale that holds the water and directs it to the roots.
If your soil gets boggy in winter: create a mound of soil and plant into that. Most roots are in the top 30cm of soil, so it doesn’t have to be a high mound to be effective. Even 10cm of height will give the uppermost roots air and can be the difference between life and death.
Tip: A newly-planted tree will ‘settle’, depending on how big the hole is. They can sink up to 5cm or so – I recommend allowing for that when you’re placing the plant. Read how below.
2. Help the soil
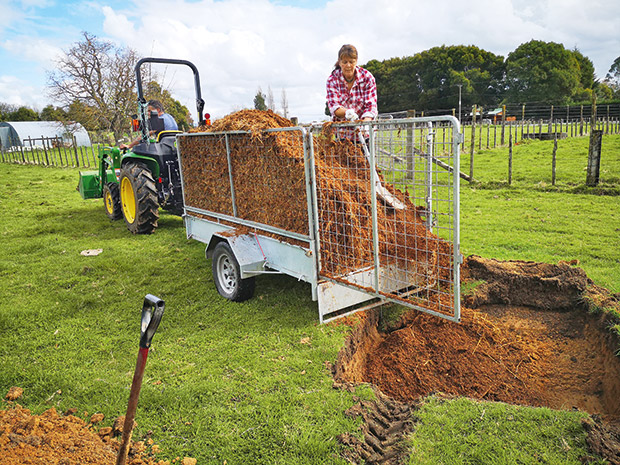
I used truckloads of compost when planting my fruit trees.
Add compost: Both clay and sandy soils will be improved by adding copious amounts of good quality compost. It encourages microbes that then create micropores that hold the water and air that roots need for good growth. I’ve found one-third compost to two-thirds of existing soil is about right if you have nutrient-deficient soil.
Correct deficiencies: A basic soil test is all most of us need, and it will show you the levels of the major nutrients. A more thorough (expensive) test can show you all the additional micronutrients that might be missing.
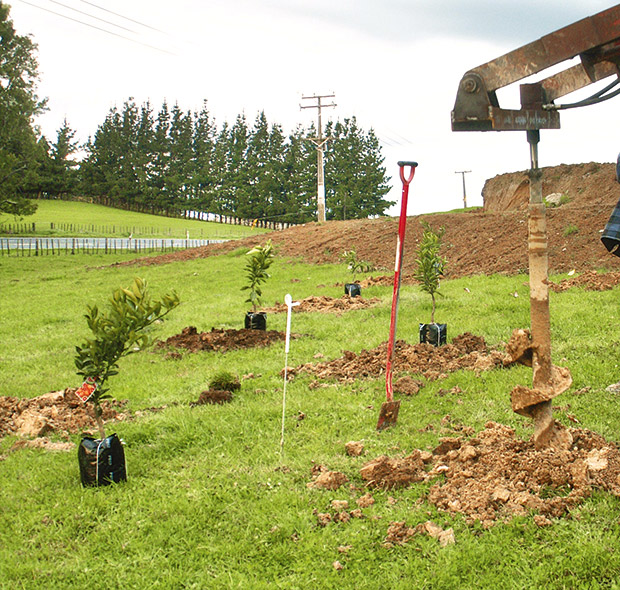
You can successfully use a post hole borer IF you know the right technique.
If there is a deficiency, add the required nutrients in small amounts to the soil you’ll use to backfill the planting hole, and mix it in thoroughly. I’d recommend adding seaweed into your compost, which adds micronutrients. If you can’t source any from a nearby beach, you can buy dried seaweed at a reasonable price online.
If you don’t want to pay for a soil test: If you decide not to test your soil, you can buy a simple pH test kit at good garden centres (or pay a little more and get a pH meter). The pH or acid-alkaline level of your soil affects everything. Most fruit trees like a pH around 6.8 which is slightly acidic (7.0 is neutral). Anything less than a score of 6.5 is detrimental to your trees and soil biology.
You need to add lime to soil to raise the pH. The amount you use will vary depending on your soil, the area you’re covering, and how high you want to raise it. For example, to raise the pH of 1m3 of soil from 5.5 to 6.5, you need to add 700g to sandy soil; 800g to a medium loam; 1kg to clay. Source: www.rhs.org.uk
Often, if the pH is low (acidic), magnesium levels will be too. In that case, use dolomite instead of lime, as it contains both lime and magnesium.
3. Water
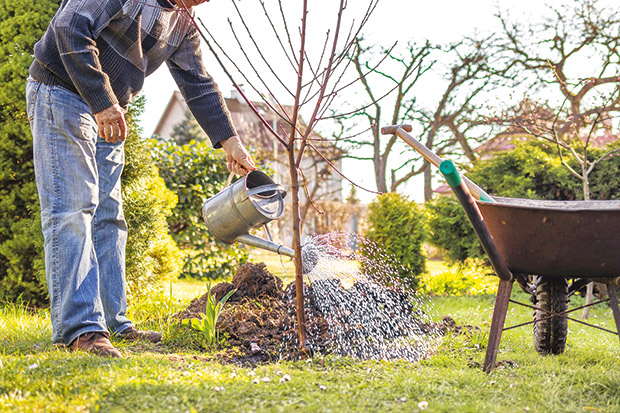
It’s vital to water newly planted trees, especially during their first summer, as they won’t yet have a well-established root system.
Help dry soil hold moisture: Where the soil is prone to drying out, I use two methods to help it hold moisture.
Biochar: You can buy biochar or make it by burning wood in a low-oxygen environment. It lasts for thousands of years and is also a climate-friendly way to sequester carbon.
Water storage crystals: These are a very effective alternative you can buy in garden centres. The biodegradable crystals can hold up to 500 times their weight in water and can last in the soil for up to five years, according to the UK’s Royal Horticultural Society (RHS).
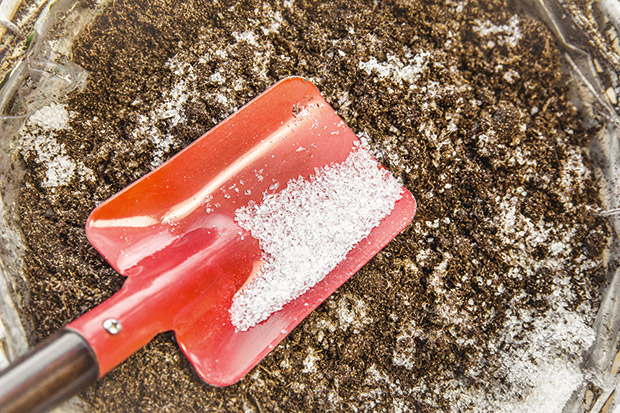
Both biochar and water storage crystals act like a sponge, absorbing and holding moisture in the soil, then slowly releasing it over time. These multiple, underground mini reservoirs encourage the roots to grow deep where moisture levels tend to stay constant. It’s much more effective than any regular watering you may – or may not – get around to. I highly recommend them.
Do this if the first summer is really dry: Water deeply once a month. Regular surface watering is detrimental as it encourages roots to stay near the surface, where they quickly dry out.
I recommend drilling tiny holes in the bottom of two or three 20-litre buckets. Ideally, the water should seep out over 24 hours. Check it’s soaking the soil – scrape a hole with your fingers to see how deeply the water has penetrated. Done correctly, it should be damp down to 30cm. Repeat if needed, then move the buckets onto the next tree.
Tips:
•Soak biochar or crystals in a weak multiple-nutrient solution (compost tea, worm wee etc) before use.
•Don’t use too many water crystals as they will swell and shrink with moisture, which can cause quite a lot of subsidence if you use too many. A hydrated double-handful mixed through the soil for a 1m3 hole is ample.
THE RIGHT WAY TO PLANT A TREE FOR HIGH PRODUCTION
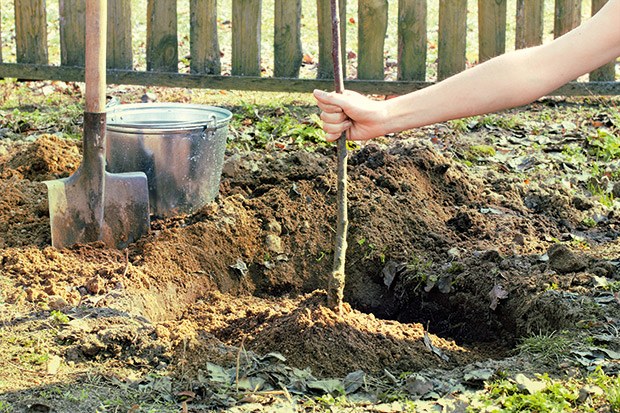
1. Dig a hole 1m x 600mm deep.
2. In clay soils, scrape or roughen sides, check for drainage, and sprinkle the sides heavily with gypsum, which helps soil aeration and water percolation.
3. Mix together compost, sand, or clay (if using), biochar or crystals, and additional minerals as needed, into the dirt extracted from the hole.
4. Face the tree’s strongest roots and branches toward the dominant wind direction. Make a mound or water-catching depression as needed as you backfill the soil. Ensure planting depth is the height as previous soil around the trunk.
5. Firm around the roots by gently standing on the backfilled soil.
6. Make the final soil height about 10cm proud of the desired level to allow for settling.
7. Stake the tree to prevent wind rock while it’s getting established.
8. Water well. The goal is not just to water the roots but to wash all the soil particles into the air gaps around the roots. After a good watering, the soil height will be around 5cm proud.
9. Mulch to prevent competing weed growth.
10. Talk to your tree. A study by the RHS indicated plants respond better to softer sounds such as a woman’s voice. However, my conversations are threatening – ‘after all this work, you’d better produce oodles of scrummy fruit’ – but it still seems to work.
WHY I USED A DIGGER
How much you need to modify the soil in the planting hole depends on how bad your existing soil is. I planted my orchard into a clay bank that had previously been cropped for maize and grazed by dairy cattle, so I had to add a lot of nutrients.
Holes were dug using a digger, then backfilled with compost. Trees I planted in later years (small, hand-dug holes, backfilled with bucketfuls of compost), had about a third of the vigour of the originals which were planted with lots of love, food, and machinery.
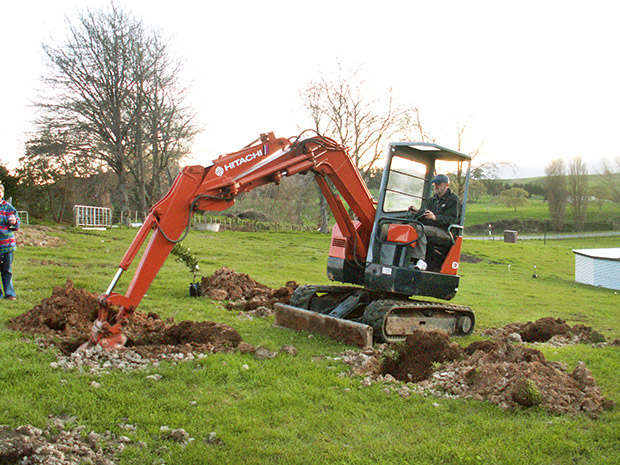
Digging tree holes the fun way.
Diggers are my favourite tree-planting tool, but even a post-hole borer is a good option IF you know the right technique. It’s crucial to ensure the sides of the hole aren’t smooth or round when you plant a tree, especially in clay soil. Roots can’t penetrate the smooth glazed curved walls created by the blades of a borer. It’s important to roughen smooth sides with a spade to create a porous surface.
If you have clay, use a digger (or rotary hoe or willing teenager) to mix in sand (or sandy soil) to the clay that you backfill around the roots. Alternatively, if your soil is very sandy, you can mix in compost and/or clay.
WHY I LIKE DIGGING BIG HOLES
Oversized holes like those pictured at the top left (1m by 600mm) can accommodate up to two years of root growth.
If you’re using a post hole borer, bore three holes close together in a triangle and then chip away at the centre, so they become one large hole. It’s much quicker and easier than digging with a spade. Roughen the sides to allow root penetration.
Love this story? Subscribe now!
 This article first appeared in NZ Lifestyle Block Magazine.

