What’s your soil’s score?
Soil and herbage testing is a great way to improve the productivity of your land.
Words & Photos: David Whyte
Who: David Whyte
Where: Waikato
What: 0.5ha (1.25acres) with 250 citrus trees (mainly navel orange and tangelo), avocado, figs, feijoas, 200 other fruit trees, 100+ tree lucerne, supplying Ooooby
A driving force behind purchasing our block was to provide each family member with 5+ a day of high nutrient fruit.
Think about the excitement when a fruit comes into season. Everyone salivates over the fresh, juicy flavours, and while I’ll admit that vegetables are likely more important, they aren’t as sweet and yummy to eat.
To me, quality fruit is high in nutrients, including minerals and micro-minerals, so it was essential that we measured the mineral level of our soil and corrected any deficiencies, otherwise we wouldn’t achieve the full nutritional benefits we were after.
Proof of just how sandy soil can be.
It is one thing to know what the soil has in it, but it’s another to know that the plants can access these nutrients so finding out this information requires both soil and herbage tests. I am more concerned about the trees’ nutrients instead of grass nutrients, as one would be in keeping cattle, so we decided to do a leaf test too.
This was made simpler because we own an old orchard and have approximately 250 citrus trees spread relatively evenly over our block. The bonus was we could compare citrus with citrus, giving us a fairly good idea of nutrient levels across the entire property.
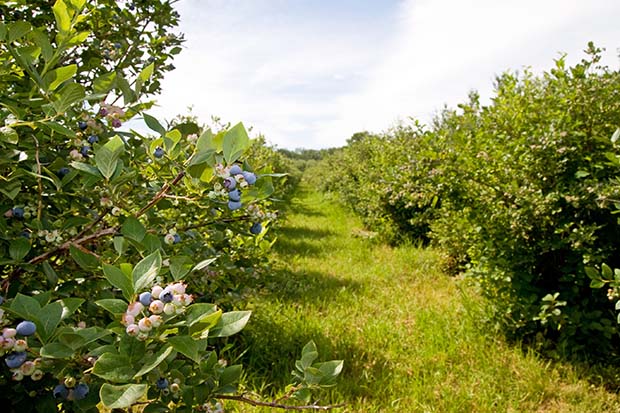
Leaf sampling on citrus is done in spring and requires season-specific leaves, specifically spring flush growth from non-fruiting laterals (extension growth), taken at shoulder height with leaves that are 5-7 months old. However these details change depending on the type of tree you are testing, for example, avocados are tested during April-May, apples in early-mid summer, and blueberries just before harvest.
Taking a sample is simple. You cut grass with some scissors, but the sample must also be a representative sample, for both herbage and soil tests.
You want to obtain a property average but clearly you cannot sample every blade of grass or every bit of soil so you need to approximate your local soil. You want to avoid soil or grass that is different to your normal conditions, so don’t take samples from around gateways or animal handling areas as these are likely to be more compacted from foot, vehicle and animal traffic, or from near a spring that appears seasonally.
I sampled at approximately 20 locations somewhat evenly across my 5000m² – 20 samples are recommended for a lifestyle block – which reduces the risk of a one-off result significantly affecting the total result, eg taking soil from a spot where your dog just urinated.
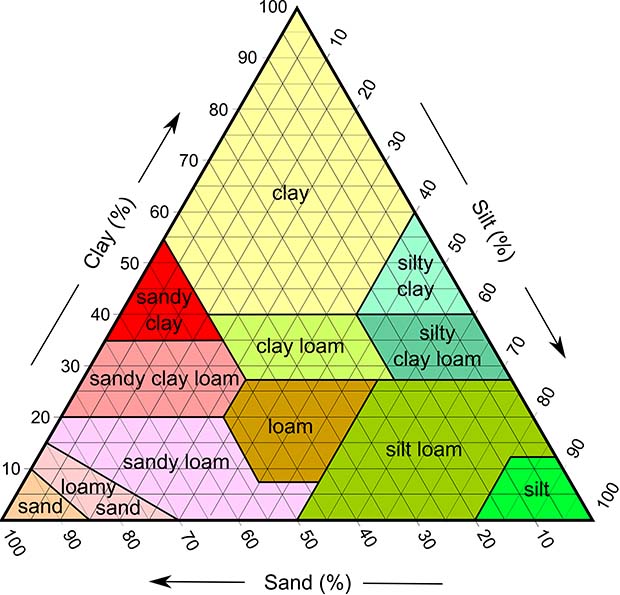
Photo: USDA Wikimedia Commons
TAKING THE TEST
The basic soil/herbage tests look at the three macronutrients of NPK. Additionally, information like pH and organic matter are included. I wanted the minor nutrients too, so got as many of these tested as possible. Given the different chemistry techniques and machines used, most of the minor nutrients can be measured using a couple of tests. However, if you’re after things like cobalt and selenium these are additional. Check with the testing lab first as the more tests you do, the higher the expense.
I wandered around the place, sample bag and map in hand, collecting for one test type at a time so as not to get confused, and ticking off the identified collection points as I went. This meant I ended up with a rather large sample. Then we dropped the sample in the courier and awaited the results.
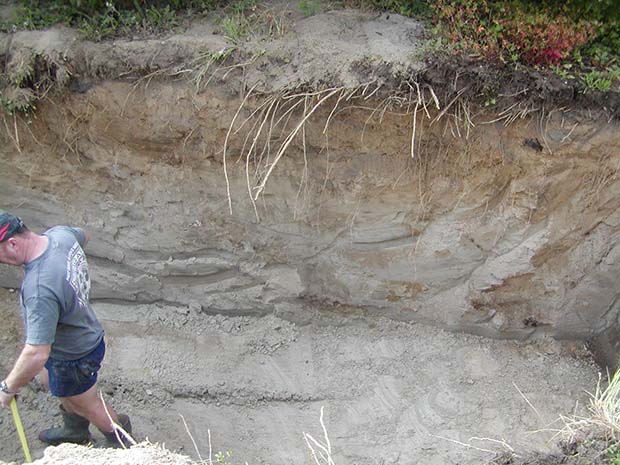
Digging a big hole to view the layers in our soil
TAKING ACTION
If you have a larger block that is able to absorb a ton or more fertiliser over a season or two (and you have a suitable place to store some of it) the next part is easy. You call up your local fertiliser company representative and they visit you on-site to discuss your data sheet and make recommendations. The minor elements are then mixed with the bulk fertiliser to create a unique formulation for your block.
However, if you have a small block like ours, a ton of fertiliser will last quite a few years, so we had to go down a different track. I discussed the situation with our local farm supply store and had them order in the minimum volumes of trace elements we required. Most are available in 20kg bags which will last about two years.
Fortunately, they come with the actual percentage of the nutrient on the bag (I did some complex chemistry before I found out this helpful fact). You can calculate how much to apply by reading up on the fertiliser company’s recommended rates, then work out how much you should apply.
For example, for manganese the fertiliser companies recommend an application rate of 6kg/ha of manganese sulfate to overcome deficiencies (we had very low levels). We have 0.5 ha, so we needed to apply 3kg throughout the property.
It gets more tricky if the product supplied is at a different mineral percentage than the product specified by the fertiliser supplier. This comes about due to different levels of water and other chemicals in the final mix.
For example, zinc sulfate at 35% zinc is recommended at 10-15kg/ha. But if the sack I have purchased says it is 20% zinc, then we clearly need to apply more than the 10-15 kg/ha.
We divided our place into 19 areas of approximately equal size (the unit size of a row of citrus). We then took the total amount of fertiliser products needed and divided it by 19. This reduced the chance that we would over (or under) apply and get a whole lot of nutrients in the northern part and none in the southern.
Fortunately, this worked out to a coffee mug of nutrients or about a teaspoon per tree, so it was fairly simple to wander around holding a cup, sprinkling teaspoons of nutrients every few steps. It must have been quite funny to watch some guy with an old ceramic mug pacing up and down, dishing out the reddish powder with a KFC plastic spoon.
Other nutrients such as cobalt (and selenium when I can find some, as the volume I require is very small) are required at much lower levels, around 350g per hectare. Clearly spreading this low level by hand evenly over a hectare would be impossible so I dissolved the correct weight of cobalt into water, put it in my sprayer, along with some seaweed and other nutrients, and then undertook a soil/grass/tree spray to get even coverage.
The goal was to produce high nutrient food that had all the trace elements. However, we have reaped much healthier trees and fruit also. In retrospect, this shouldn’t have been surprising as if the trees didn’t have the nutrients they needed they were never going to be in full health, but at the time I didn’t think about this.
When we first purchased the block the citrus trees were covered in black sooty mould due to whitefly nymphs sucking the leaves and excreting out sugary honeydew as waste. This honeydew then coated the leaves and black sooty mould was the result, living and digesting this food and coating the leaves and stopping photosynthesis. Although we haven’t noticed a reduction of whitefly (we don’t keep records or take samples so tracking/comparing year to year isn’t possible), we’ve clearly reduced their numbers because the new growth is staying clean and clear much longer. The fruit also has fewer defects or rotten spots and less earwig damage.
Our trees are double blessed: less bloodsuckers and more photosynthesis, and the result is good nutrition for us and our customers, and healthier, more productive trees.
3 TIPS FOR GETTING THE BEST RESULTS
- Draw a map or print one off an online map and then record where you sampled so next time you can choose the same locations for a comparable test.
- If your property has very different soil types then it’s important to treat each area as a separate test. A previous property we looked at had a clay hillside that then changed into a sandy river plane. In that instance, you would need to test each area separately.
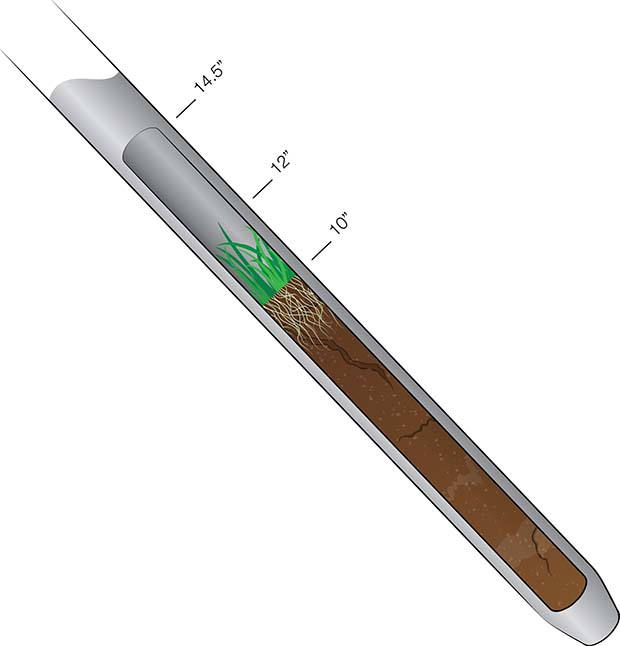
- Soil plug samplers can be borrowed from companies that offer soil testing, or often fertiliser reps or rural supply stores will lend theirs to you if you send the test via them. A sample needs to be a plug of soil from 15-30cm deep so we used a metal pipe, hammered it into the soil, then used a piece of dowelling to push the soil out of the pipe into a bag. Using a spade isn’t that practical as it naturally digs out a wedge shape which is biased towards soil at the top of a sample as there is simply more of it. If you have to use a spade, it needs to be angled straight down so you dig out an even square of soil – you can then slice a plug to send for testing.
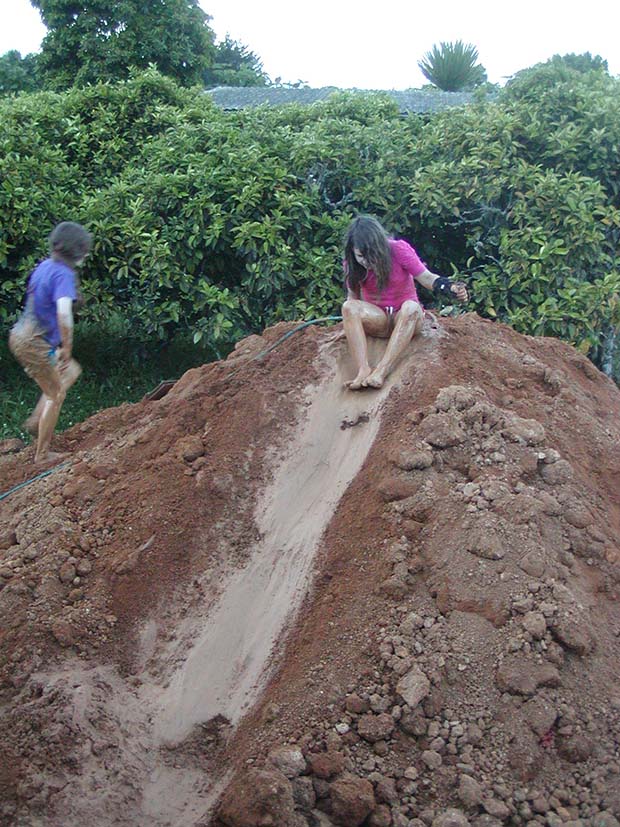
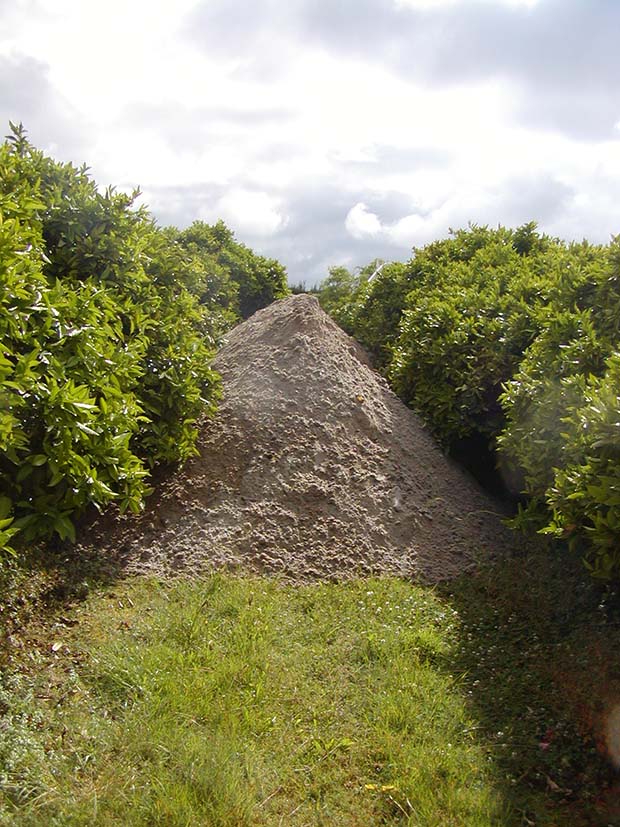
Trinity and Yasmin having fun on the clay pile from our pH test.
WHY YOU SHOULD CONSIDER THE REAMS TEST
Since undertaking these tests I have discovered a different way of soil testing. It tests for soil available nutrients, not total nutrients in the soil.
It also tests for the different types of nitrogen, indicating what is available for the plants.
Reams tests are done in Australia and US laboratories and are reasonably cost comparable to standard tests. There are also a number of local companies offering this soil test as part of their fertiliser service.
I would in the future seriously look at getting a Reams test.
WHAT THE LEAVES ARE TELLING YOU
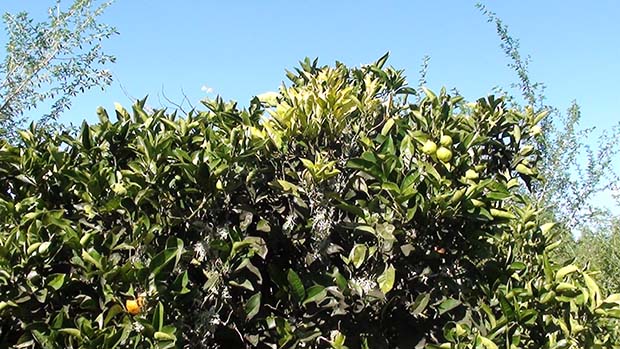
Citrus trees are nutrient hungry so deficiencies show up sooner than in other plants.
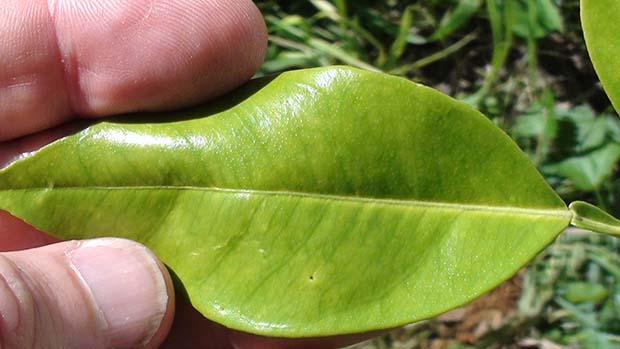
Green veins with yellow leaves on new growth indicates manganese and/or zinc deficiency. Just to confuse things more, it can also be an iron deficiency but that is rare in ‘normal’ healthy soils. The picture on the far right shows a new branch with all the leaves showing symptoms of manganese and/or zinc deficiency.
-

- Small, yellowish new growth indicates a nitrogen deficiency.
-

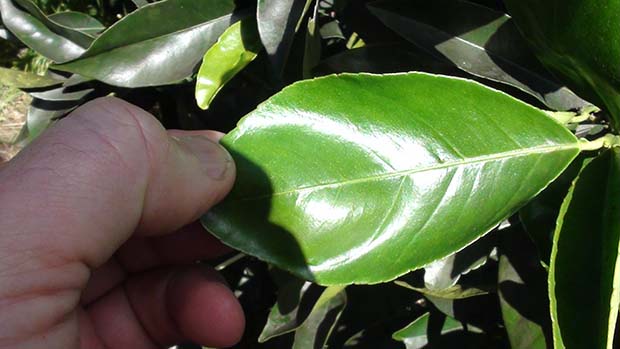
- Sufficient nutrients produce deep green new growth.
-

- Yellow on old leaves between the veins indicates a magnesium deficiency. It can also indicate these leaves are just getting old and about to fall off, so observation over time will determine which it is.

A group of sick-looking leaves in the middle of a healthier tree indicates that this area is having its nutrients restricted. In this case, lemon borer had destroyed the nutrient flow just under the bark so the best remedy is to prune out this branch. If the resultant prune is below the borer, then no further action is needed. In theory, if you can still see the borer hole post-pruning, you can pour in some diesel (I would use meths) and seal the borer in with wax.
READ MORE
Hill Laboratories has an extensive list of fruit trees and vegetables, with information on the optimal testing time for leaves and soil.
