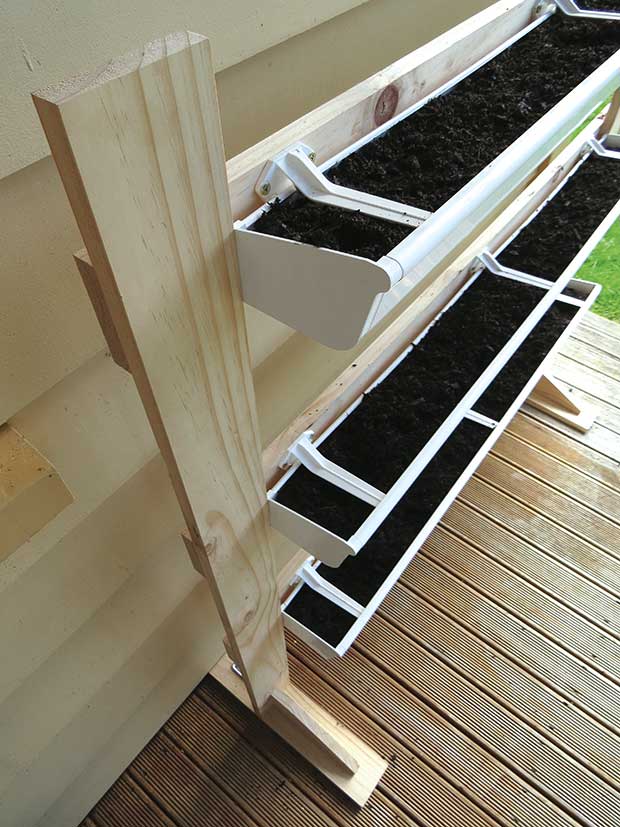
DIY project: Build a vertical gutter garden for growing salad greens
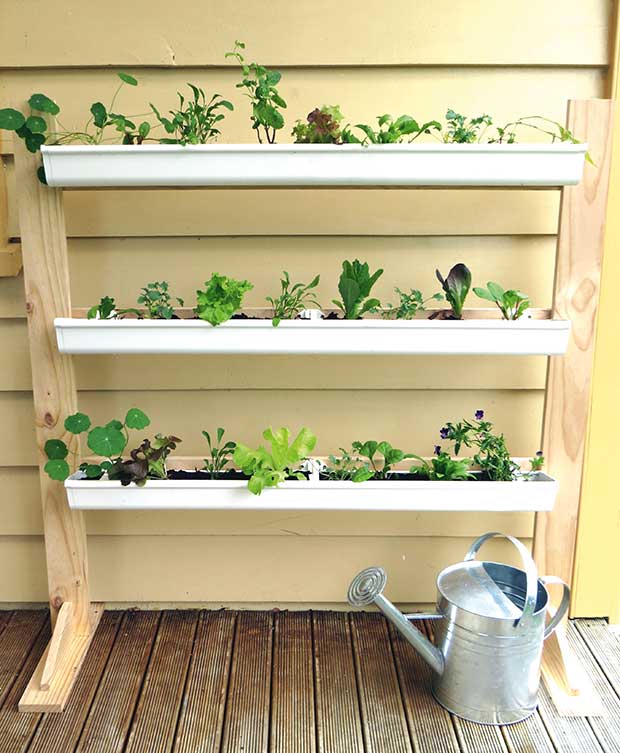
This smart stand-alone ‘gutter garden’ can grace a deck, patio, courtyard or an external wall. It has a shallow base and best suits shallow-rooted plants. We used new materials, but it’s possible to repurpose old guttering and timber. Customise the design to suit your needs, just make sure you allow plenty of room between each gutter to give plants plenty of light and room to grow.
Words and Photos: Julie Legg.
YOU’LL NEED:
3m plastic guttering
6 gutter end caps (3 left, 3 right)
Gutter cement
6 x 1.2m (90 x18mm)
dressed pine
24 x 35mm screws
12 x 16mm screws
4 x 45mm screws
36 x 20mm screws
9 x gutter supports
2 x 100 x 100mm angle brackets
Equipment: Saw, sandpaper, drill, spare piece of timber to raise frame for clamping, G clamp, set square.
Cost: $125
STEP 1
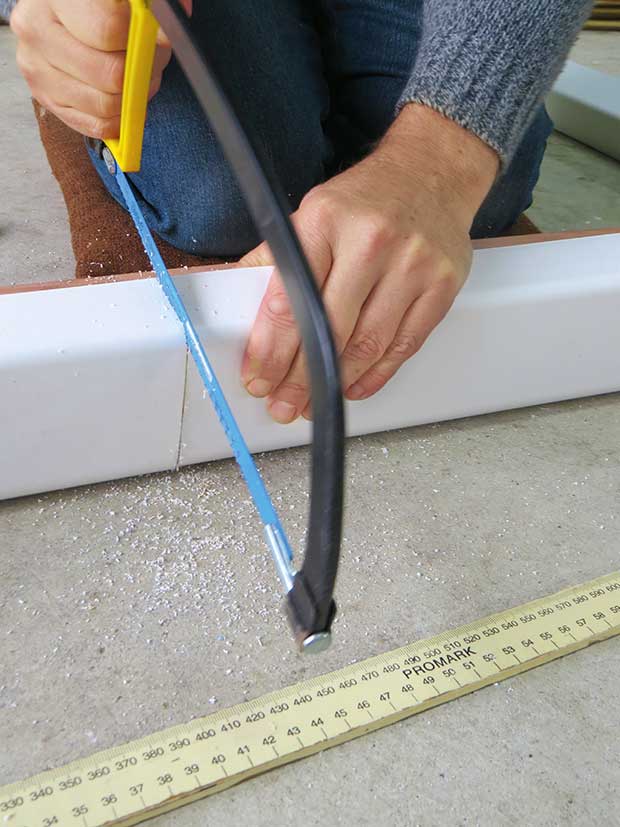
Cut guttering.
Measure and mark guttering into 3 x 1m lengths. Place a piece of wood inside the plastic guttering to help retain its shape while sawing. Sand off any plastic burrs to ensure the end caps fit well.
STEP 2
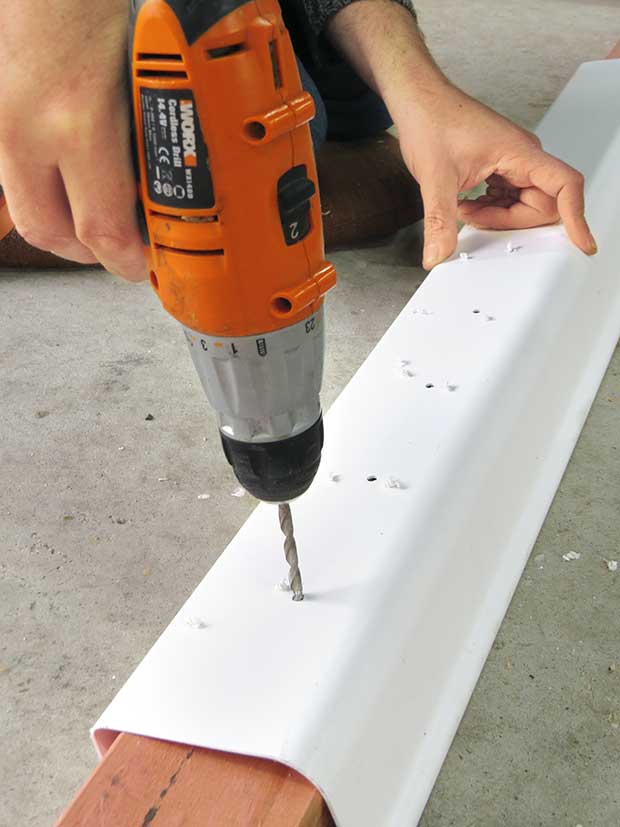
Drill drainage holes.
Upturn the guttering and drill 5mm holes, about 100mm apart, along the bottom for drainage.
STEP 3
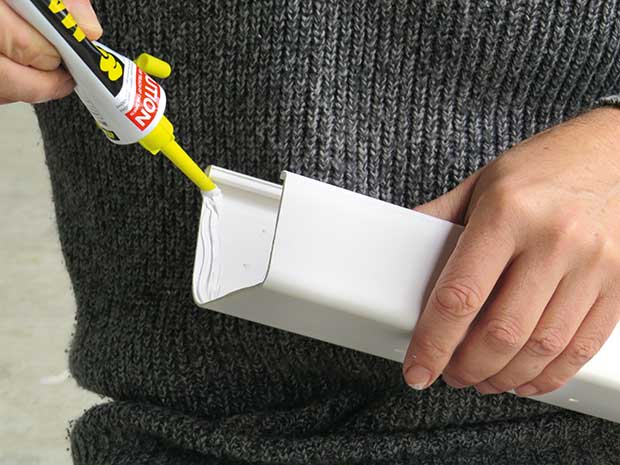
Glue gutter ends into place.
To securely fit gutter ends with minimal mess, apply cement to inside of gutter (not end caps). Wipe away excess glue and leave to dry for 10 minutes.
STEP 4
Form sides and backboards.
To form the sides, vertically lay 2 x 1.2m pieces of pine, about 1.2m apart. Place a piece of wood beneath each side to raise off the ground for easy clamping.
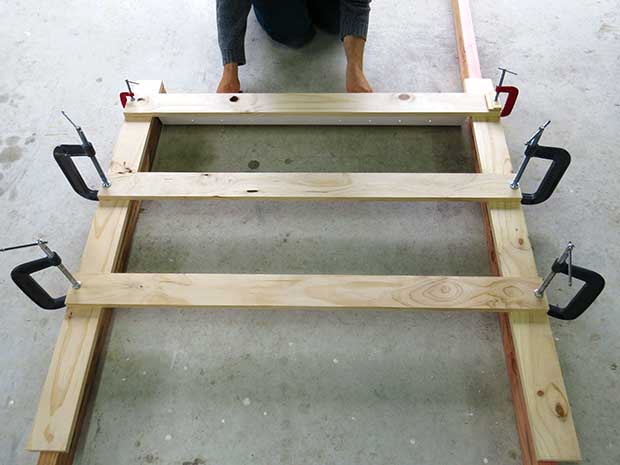
STEP 5
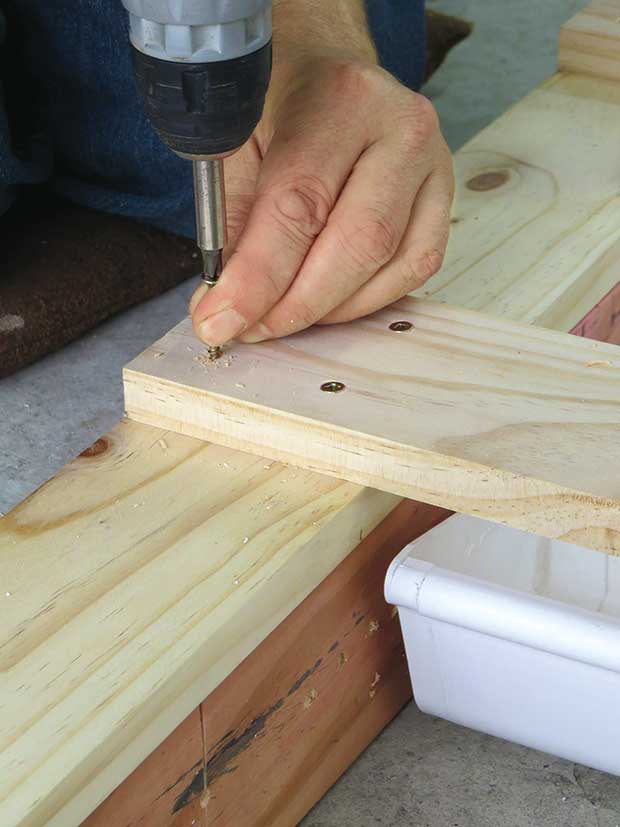
Attach the three backboards.
To make the backboards to which guttering is secured, place 3 x 1.2m pieces of pine on top of the sides, the first with its top edge 90mm from the top edge of the sides. Put the remaining two in place with a 250mm gap between them. Clamp to secure and drill pilot holes in a square formation, 20mm in from edges of each backboard end. Secure to sides with 35mm screws.
STEP 6
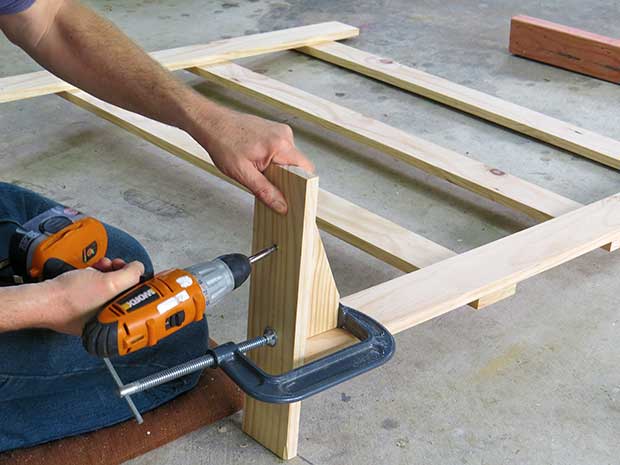
Attaching front brace and feet.
To make feet and front braces, cut 2 x 200mm and 2 x 400mm pieces from remaining 1.2m length. Affix feet by placing a 400mm piece at each base, setting it back 130mm from rear of leg. Screw into place. Attach the 100x100mm angle brackets at the back of the foot with 6 x 16mm screws per leg. To make front brace, cut off and discard a triangle from one corner of each 200mm block. Affix each brace by screwing it to the foot.
STEP 7
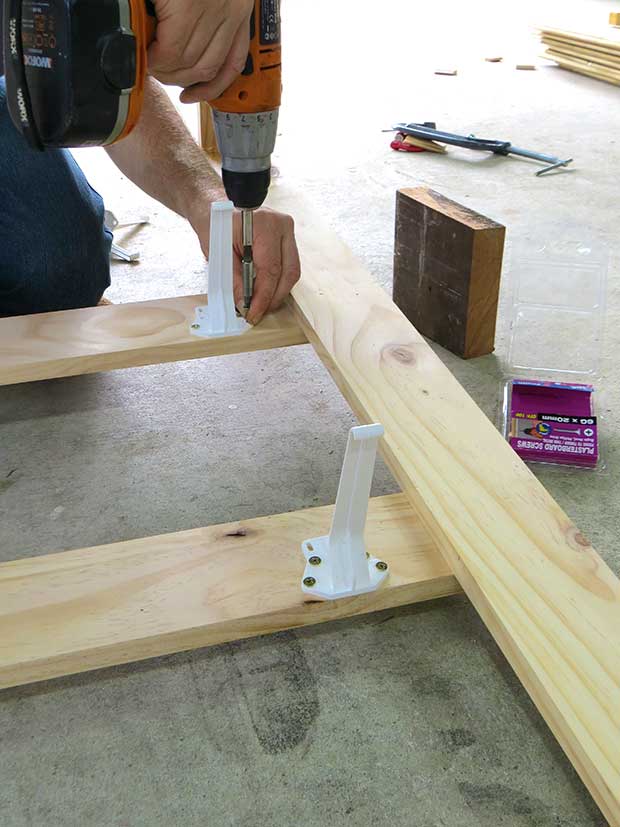
Drill gutter supports to backboards.
Attach gutter supports to sit flush at the top of backboards (three supports per backboard). Place a support in centre of backboard, then two to sit 40mm in from each side. Affix with 20mm screws.
STEP 8
Clip guttering into place.
Attach guttering to backboards by clipping into the supports.
TIP: Not all 1.2m lengths are cut equal – ensure you choose exact lengths for the legs.

This story is an extract from In Your Backyard: Urban Harvest, a special edition of NZ Life & Leisure, about growing food in small city spaces. It’s packed with advice such as how to start a productive veggie garden, the best crops, creating awesome soil, vertical growing, container gardening, hydroponics, espaliered trees and edible hedges. Order online at shop.thisnzlife.co.nz
