Easy sauerkraut for beginners: Kelli Walker’s tips for the perfect ferment
Tip no. 4: You don’t need fancy salt to make delicious kraut.
Words: Nadene Hall Main images: Sally Tagg Additional images: Kelli Walker, Nadene Hall
Sauerkraut is a simple mix of cabbage and salt. The cabbage ferments in an anaerobic brine for as little as a few weeks, but you can age it for up to a year or more.
Sliced cabbage and salt are mixed together, then massaged by hand, or worked on with a traditional wooden pounder (like a giant pestle) until enough liquid can be squeezed out to cover the now-limp leaves.
-

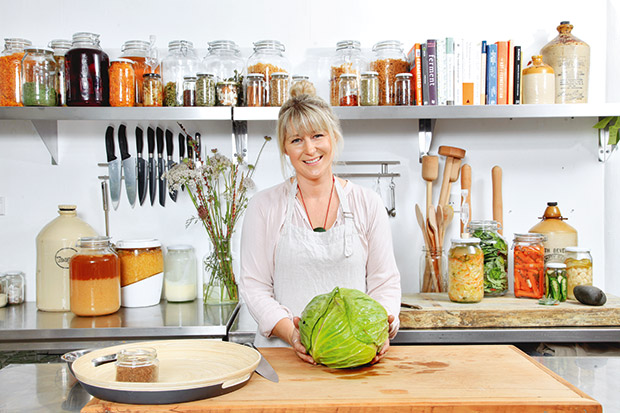
- STEP 1. The best cabbage to use is fresh from your garden or farmers’ market.
-
- STEP 2. Slice evenly for best results.
-

- STEP 3. Add to a large bowl for pounding.
-

- STEP 4. Add salt – plain sea salt is fine.
-

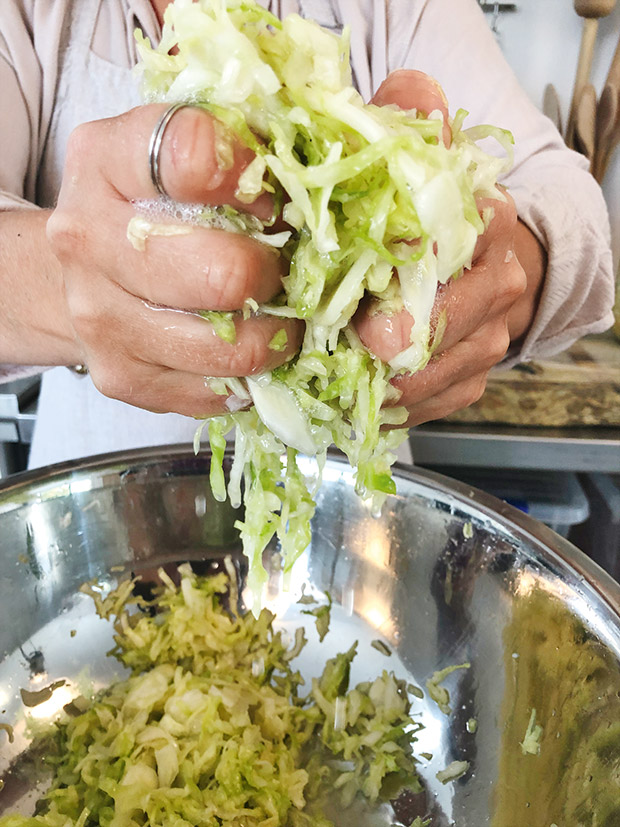
- Step 5. Use your hands to massage moisture out of the leaves, or a pounder like the one Kelli is using in Step 7.
-

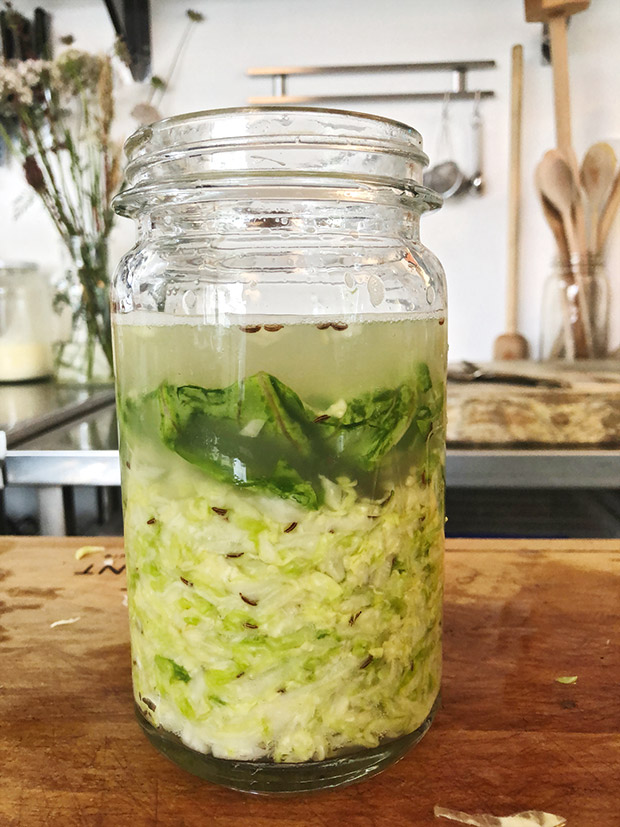
- Step 6. Adding caraway seeds for extra flavour.
-

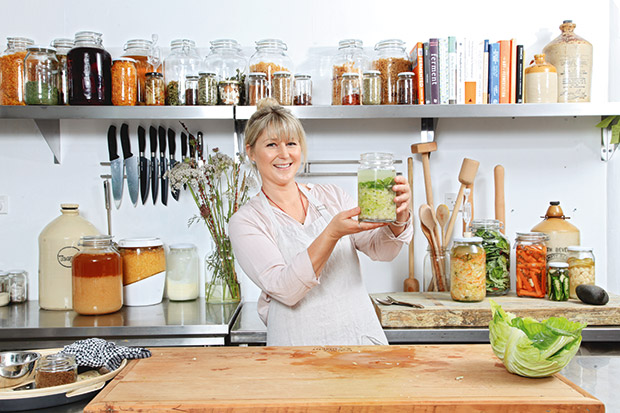
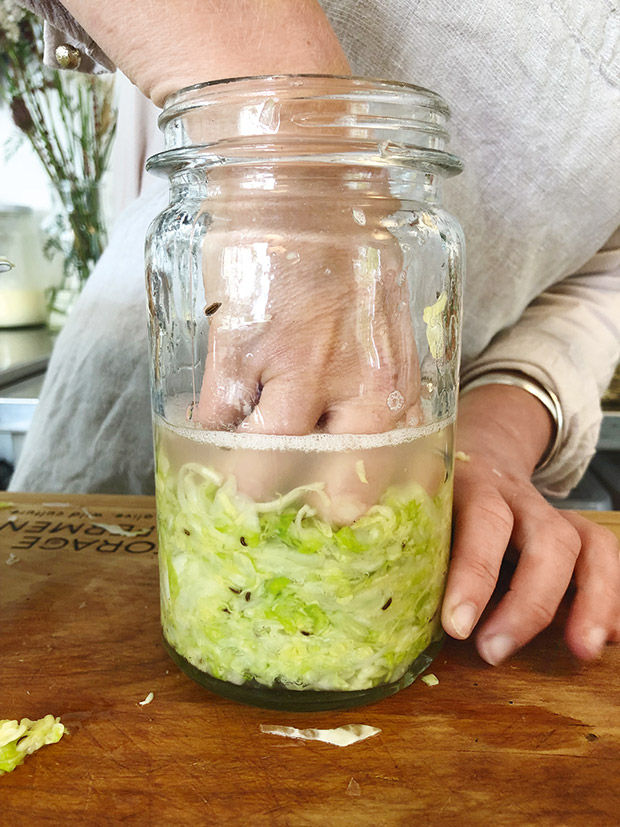
- Step 7. Kelli using a pounder to squash the leaves under the brine.
-

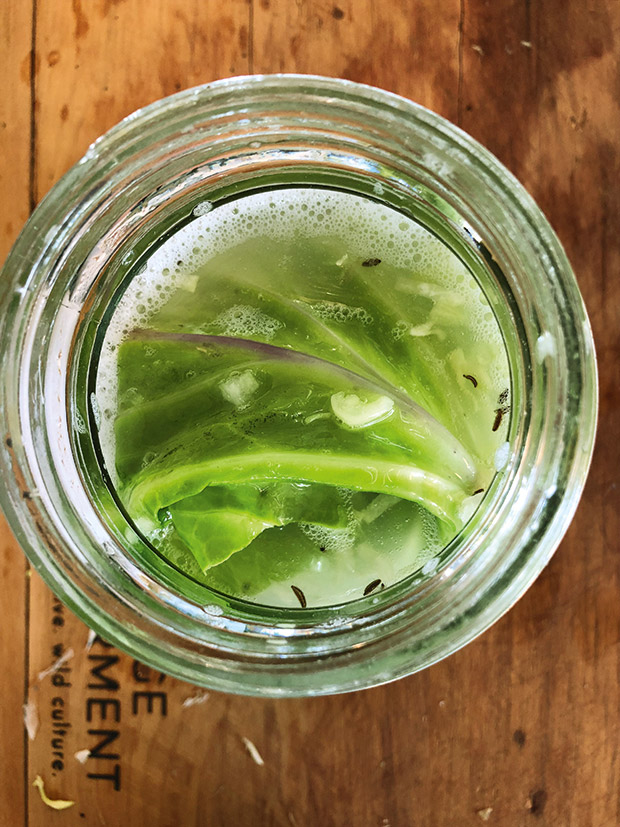
- Step 8. A large outer leaf becomes the follower.
The chopped cabbage is put into a jar and pushed down firmly so it sits under the brine. It’s held in place by a larger outer cabbage leaf which acts as a blanket (and is called the ‘follower’). The follower has a weight placed on top of it to ensure the cabbage stays submerged in the brine, keeping it in an anaerobic (without oxygen) environment. The lid of the jar should be tight-fitting.
Other than quickly opening a sealed lid to release CO₂ throughout the process, sauerkraut is left alone, submerged in the brine, for 4-6 weeks, to develop its tangy flavours.
Kelli’s experience is that New Zealanders like the texture and mild flavour of sauerkraut aged up to around six months, while it still has some crunch to it. However, sauerkraut can be fermented for up to a year or more, producing a softer texture and much stronger, sour flavour.
READ MORE: Recipe: Forage & Ferment’s Wild Sauerkraut with Turmeric, Ginger and Marigold
GO WILD
You can buy powdered starter cultures for sauerkraut and other ferments in a packet, but Kelli has never used one.
She prefers the ‘wild’ bacteria that is found naturally in her environment and on her home-grown or farmer’s market-fresh organic vegetables.
“People have this idea that you can’t achieve a beautiful, reliable consistency unless you use a culture starter. A culture starter is a powdered form of a bacteria, isolated in a laboratory and grown on a substrate. To me, that has a real sense of ‘fast food’, not trusting that nature knows best.
“It’s better to have a greater diversity of bacteria; when you ferment naturally, you can get up to 40 different strains of bacteria, as opposed to 3-5 from a packet mix.”
DON’T ADD WATER
Fresh cabbage will provide more than enough moisture to make up a brine for sauerkraut.
“I never add water, on the basis that all that local terroir, that flavour and sense of place we’re getting from the vegetables, would be diluted or lost,” says Kelli. “It’s just watering down those flavours.”
SLICE EVENLY
When you’re cutting up your cabbage, slice it to an even width.
“You want to shred it consistently,” says Kelli. “You can do that with a sharp knife or a food processor or whatever is easiest. I slice it just a few millimetres thick. That’s a personal thing; some people like it really fine and it gives you a greater surface area and it will ferment a bit quicker. If you’re inclined to do chunks, then it may take a bit longer to ferment.”
YOU DON’T NEED FANCY SALT
Some people think they need exotic salts, but plain NZ sea salt is Kelli’s preference.
“Anything from a 1.5-3 percent ratio of salt is fine, but you can’t go wrong with 2 percent. (Fermenting guru) Sandor Katz never weighs anything, unless it’s koji or something where you have to be very specific (with measurements). He just adds salt to the cabbage, mixes it, then tastes it. He says if it tastes like the sea, you’re going to be fine.”
TOOLS OF KRAUT
Once salted, the cabbage is pounded to release moisture. Kelli uses a traditional wooden pounder, but a rolling pin, pestle, or your hands will also do the job.
“The salt helps the cabbage release moisture. What you’re doing, when you’re massaging or pounding it, is breaking down the cell membranes, so it helps it release this water. Ideally, pound it, then pick up a handful of cabbage, give it a really good squeeze and you want to see streams of droplets dripping out of your hands.”
Cabbages can be drier at certain times of year. However, even these ones will release enough water to cover the leaves. If you don’t feel like pounding or massaging, leave the cabbage and salt sitting in a bowl and the moisture will be more slowly drawn out.
ADD A LITTLE FLAVOUR
Kelli adds extras to her sauerkraut including carrot, beetroot, kale, marigold and nasturtium petals, garlic, ginger, and caraway seeds.
“It’s quite nice to play around with colours too. Turmeric root or powder is a beautiful one for a lovely orange.”
For the easiest of sauerkrauts, Kelli adds about 2 tsp of caraway seeds to a mix of 1.5kg of cabbage and 25g of sea salt.
THE CABBAGE
Even a big 3kg cabbage is going to shrink a lot after it is pounded and fermented, yielding perhaps four, 400ml jars. Three big cabbages will fill a 5-litre crock and yield around 12 jars.
“It’s tricky to talk cabbage heads because think about the difference in size,” says Kelli. “Red cabbage is normally a bit smaller, green cabbage can be up to 4kg, or as little as 1kg.
“I like the idea of starting small. If you go big and you don’t like it, that’s a lot of kraut to throw away or try to give away.”
THE FERMENT VESSELS
Kelli recommends glass jars or crocks (large, barrel-like jars with special lids) for fermenting.
“I know there are plastics that are supposedly food safe, but I choose not to put an acidic ferment in plastic. I prefer glass, stainless steel, or a crockery pot.”
Whatever you choose, it needs to be clean, but there’s no need to sterilise containers in the oven, says Kelli.
“Put them through a dishwasher cycle, or use hot soapy water, that’s clean enough.”
Glass is a good option if you are a person who needs to see what’s going on. Ferments do best if the lid stays on and the ingredients aren’t disturbed, so if it’s in a jar, you can still see what the fermenting process is doing without having to open it.
DON’T BE TEMPTED TO OPEN IT UP
A ferment needs to be in an airtight jar. However, one of the by-products of fermentation is CO₂, especially in the first 5-10 days. That needs to be released.
“You need to burp it every few days, by just lifting the lid briefly,” says Kelli. “Or bang a hole in your lid and put a little airlock in the top, or use a fermentation crock.”
TEMPERATURE CONTROL
Kelli’s ferments sit in a cool, temperature-controlled environment.
“It’s about consistency of temperature,” she says. “If you’re getting 12°C overnight and then 28°C during the day, or your kitchen gets hot because you’re cooking, then your ferment is probably going to end up mushy or not nice-tasting.
“Everyone thinks ‘put it in the kitchen’, but realistically your garage might be a more consistent temperature. Find a cupboard in the garage or a hallway so you’re not getting that fluctuation in temperature.”
In summer, a ferment can be taste-tested after 2-3 weeks. In winter, it can take six weeks or so for flavours to develop.
KRAUT GOING WELL
During the fermenting process, you’ll see bubbles forming, and you’ll hear little ‘plop, plop, plop’ sounds as CO₂ escapes. The colour of the contents will change.
If you’ve mixed red and green cabbage, it will slowly change to shades of soft pink to deep purple.
Make sure there are no floaties in the brine that sits above your fermenting vegetables. It’s especially important if you decide to ferment in an open container. “’Floaties’ could be exposed to oxygen and create mould and that would ruin the whole thing,” says Kelli. “That’s why I don’t use an open crock (with no lid), because it’s just too risky.”
“You get quite a nice sour smell,” says Kelli. “But I really discourage people from opening the lid and peeling back the cover leaf to look because you want to keep it down as long as possible. Just have confidence it will work.”
After 2-3 weeks, have a look. There should be no mould, but sometimes you might see yeast.
“(Ferments) can grow kahm yeast which looks like a white film sitting on top of the brine,” says Kelli. “It’s not detrimental – it’s in the air – and it’s not going to make your kraut unsafe, but it can sometimes give you a funky flavour. I don’t like (that flavour) and I personally wouldn’t keep a kraut that has a lot of kahm yeast due to the taste. But if it’s a big crock, you can salvage it – just scrape it off with a spoon.”
HAVE A TASTE
After 2-3 weeks in summer or 4-6 weeks in winter, have a taste of your kraut. It should taste sour, but still have a crunchy texture. If you want a stronger flavour and/or softer texture, leave it for longer.
If you’re happy with it, use a little kraut on your dishes, as an accompaniment to other foods.
“Sprinkle a bit on the food on your plate, to help you digest your food more easily, and it helps you take in more nutrients from other foods too.”
MORE HERE:
Recipe: Forage & Ferment’s Wild Sauerkraut with Turmeric, Ginger and Marigold
