6 mistakes made by almost every beginner sourdough baker
Baking sourdough took off during lockdown, but along with all the crusty goodness were the bad bakes. Expert organic sourdough baker Neville Chun reveals what it takes to create a perfect sourdough and how to avoid baking a frisbee.
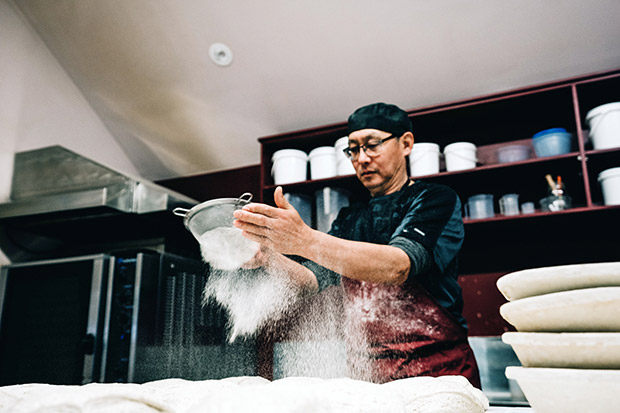
Words: Nadene Hall Images: William Chun, Neville Chun
Neville Chun bakes thousands of loaves of organic sourdough each year. But he admits even he has a ‘bad bake’ every so often.
“Recently, I baked 32 loaves, and I chucked out 30 because they weren’t right. Maybe to someone else they would be fine, but to me, I have this vision in my head, and that bake didn’t meet my expectations. If you become complacent, sourdough will bite your bum!”
The reason for his bad bake was something every sourdough baker will struggle with at some point, no matter their level of experience. Neville bakes more than 70 loaves, two days a week in his certified kitchen, supplying a local organic food store. It requires careful timing at every stage, so each batch of 16 loaves is close to (but not quite) at peak ferment when it goes into the oven. Even after tens of thousands of loaves, it can still go wrong.
“I might bake 4000 loaves a year, but I’m still learning. I realised afterward I wasn’t letting the pre-ferment ferment long enough before I mixed it into the dough. That created fermentation problems right through to baking. I needed to start a bit earlier to give myself more time.”
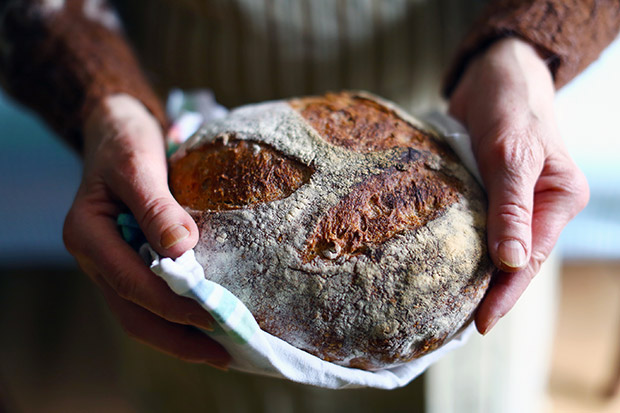
Sourdough expert Neville Chun only occasionally has a ‘bad bake’. Image: William Chun
The season also affected it, with Neville’s ‘bad bake’ coming just as autumn turned to winter, even in the commercial bakery he has set up in the former games room of the Chun family’s home.
“There’s a seasonal change, and the sourdough seems to know that.”
Neville bakes two different types of sourdough each week. One is a ‘country’ loaf made from a strong, organic, Australian white baker’s flour. It’s mixed with NZ-grown organic rye and wheat, which Neville mills just before he makes it, and diastatic malt. The other is a pain au levain (pronounced ‘parn oh looh-varn’, say it quickly), a classic creamy-white crumbed sourdough loaf enriched with fresh-milled organic rye flour.
He experiments with other types of bread for his family – during lockdown, he spent hours perfecting a sourdough made using creamed corn – but prefers to stick with just the two for his commercial baking.
“The more you bake (a particular recipe), the more experience you get. Experience really means being able to spot problems and understand what the mistake was and how to remedy it for the next bake.
“It’s all about the look, feel, exact measurements, and timing. It’s about looking at the dough, feeling the dough with your hands, knowing where it’s at whatever the stage, and if there’s a problem, what to do.”
Neville has taught a few people how to create sourdough. These are the common issues he sees.
Mistake 1: The starter is too weak
You’ve followed all the instructions on how to make your starter. It seems ok, but every time you bake, the bread is flat, and it seems to take much longer to rise (known as ‘proving’) than it should.

A healthy, strong starter will have lots of bubbles on top.
“If you’re a beginner you might think, ‘did I do something wrong?’ Good fermentation comes from a healthy, vibrant mother starter that will almost power its ways through the baking process. If you’re a newbie, you won’t know a really good starter from a weak one.”
A weak starter will have some fermentation activity, but it will look inactive compared to a strong one, with just some small bubbles on the surface.
4 SIGNS OF A STARTER GONE BAD
• no bubbles, very still
• separation of water and flour
• dark water
• smells sharply acidic
If you stir it up and mix the water back into the flour, then wait a few days, but still see no movement, it’s dead. “It’s finished,” says Neville. “It’s better to start again.”
4 SIGNS OF A STRONG STARTER
• bubbly on the surface, and throughout its mass (use a clean spoon to check inside your starter);
• one big mass (not separate flour and liquid);
• creamy-coloured;
• pleasant, slightly acidic, wheaty smell.
The confirmation of its strength is what happens when you first use it.
“You’ll take a bit of your mother starter to make a pre-ferment (the first stage of creating a sourdough), and you transfer it into a bigger portion of water and flour. The following day, if that’s really vigorous and bubbly, it’s a sign of a strong starter.”
NEVILLE’S TIPS FOR MAKING A STRONG STARTER
• use organic flour/s
• use bottled, filtered, or artesian water
“Try to use unadulterated ingredients, so you give yourself the best chance to kickstart the wild yeasts (on the grains).”
You can also buy starters that are dried and ground into a powder. The bonus is it’s a mature starter with proven flavours and strength. Neville has created several certified organic sourdough starters, all kickstarted from organic wheat or rye grains grown in Canterbury. He sells his creations to bakers all over NZ and worldwide. They include ‘The Scotsburn’, created from an organic “mulika” wheat variety, and a toffee-molasses-flavoured one he calls ‘Great NZ Mississippi’ made from imported US organic wheat flour.
It’s easy to create a starter from a powder: mix the dried culture in water and flour, wait a few days for it to rehydrate and start bubbling, then care for as normal.
BONUS TIP: KEEP YOUR STARTER SAFE
Keep your starter in a cylindrical-shaped container, made of food-grade plastic, not glass.
“Storing your starter in glass can be a tragic day if it ever falls and smashes. I store my live mother starter in a 1-litre, food-grade pail with a lid (that I have on the container but slightly loose so CO₂ can escape).”
It’s important to have a tall, narrow container, not a flat, tray-shaped one, so you reduce the area of the starter that’s exposed to air.
Mistake 2: Dough not developing
Sourdough is quite a forgiving bread, says Neville. You don’t even knead it; just fold it a few times at set intervals to develop the gluten. Gentle, minimal handling of the dough, time, and temperature – both warm and cold – do a lot of the work for you.
Watch Pandoro co-founder Richard Tollenaar creating a perfect sourdough loaf.
“The folding method is the best one for developing the dough,” says Neville. “It’s simple, it doesn’t take long, it works well.” If something goes wrong, you’ll feel it in the dough.
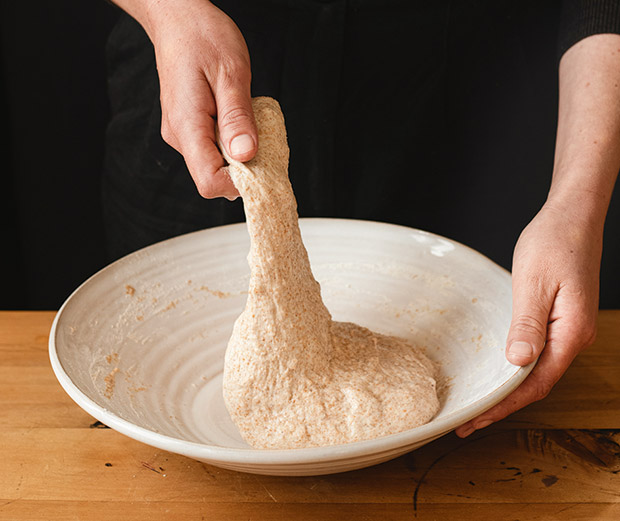
Lifting the dough, then folding it over the top of itself is a much better technique than kneading sourdough. Photo: Nicola Galloway
“You might be doing three lots of folds over one and a half hours, so you’ll feel how the dough is developing. A good dough will start to feel lighter, more elastic, and get more airy. If it feels solid, and dense, you know you could be heading for a bad bake – that’s one clue.”
Most doughs make two, three or four loaves. But at the start, when it’s one mass, the time it spends rising is known as the bulk ferment (eg, you’re fermenting the bulk of the dough).
This is when you’ll get more clues to the dough’s progress. “You should see it growing and becoming spongey. If it stays a solid mass, you’re probably wasting your time.”
A bread that doesn’t rise during the final ferment is a bad sign.
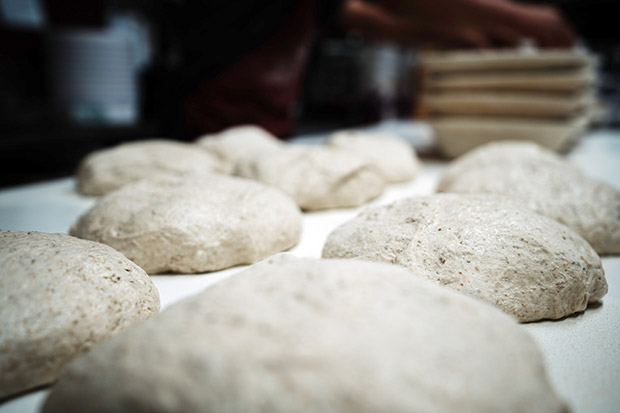
Image: William Chun
“If you’re doing your final proof (just before baking) and it doesn’t rise, it’s another clue it’s not going to be a good bake. It goes right back to your mother starter – if it’s good, you’ll see fermentation throughout, regardless of temperature and time. If it’s sitting there for three hours and doesn’t rise, you’re likely wasting your time baking it.”
And if you do anyway? “Yeah, you’ve baked a frisbee,” laughs Neville.
Mistake 3: Dough not taut enough at the end
An experienced baker makes shaping a dough look very easy, as Pandoro Bakery co-founder Richard Tollenaar demonstrates in this video (skip to the 2.25 mark). “It’s all about the surface tension,” says Neville.
The goal is to create a smooth, tight skin on the outside of the dough. Like Richard, he places it seam-side up in a banneton for its final rise. This means, when you tip it out to bake, the ‘seam’ is on the bottom and you can score a smooth, ‘clean’ top.
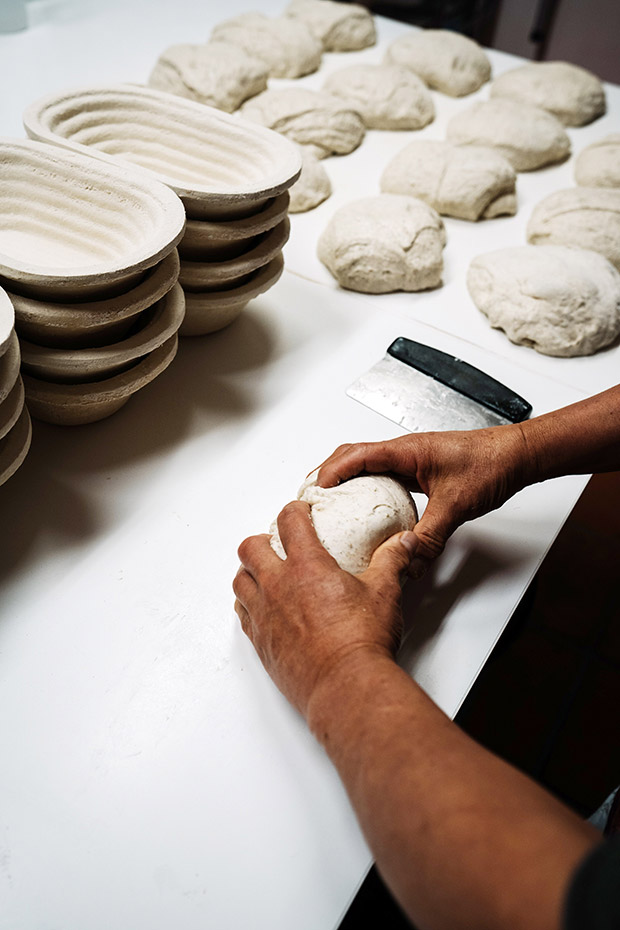
When you shape the dough, just before its final rise, you need the outside to be taut. Photo: William Chun
Note, there’s no flour on Richard’s bench in the video or Neville’s. Flour makes the dough slippery, but what you need is for the dough to grip the bench so you can pull its surface tight.
NEVILLE’S TIP
Use a banneton, a traditional oval or round basket made from cane, rattan, or best of all, natural wood fibre.
“It makes the whole job so much easier. You put the shaped dough into a banneton, and it supports and holds the shape until it’s ready to bake.”
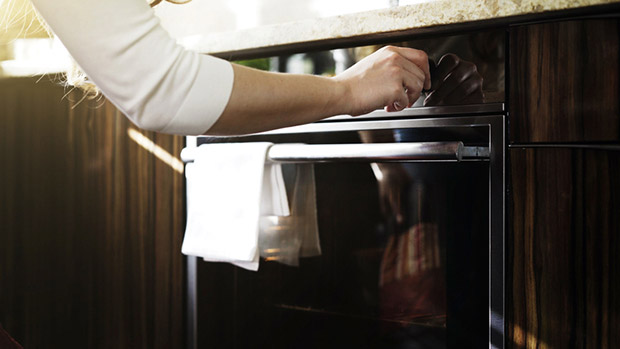
Mistake 4: Almost all kitchen ovens are liars
Neville uses a proper commercial baking oven with a stone base, which allows him to bake up to 16 loaves at a time, but even his oven temperature isn’t accurate. He can dial up 210°C, but the actual temperature inside can be 240°C.
Domestic ovens can have a wildly different temperature to what you dial up, ‘cold’ and ‘hot’ spots, and they’re also very dry, which creates a problem when you bake bread.
“Domestic ovens don’t hold moisture,” says Neville. “They’re always exhausting it out, and that’s not a good environment to make a good sourdough. You need moisture to protect the loaf surface while it springs.”

Oven spring occurs in the 15 minutes or so after you place a dough in the oven. The yeasts inside ferment and let off CO₂. Other gases also expand, as does the water inside the dough, which all stretch the dough’s elastic surface. The spring finishes when the yeasts die off due to the dough’s internal temperature going over about 42°C.
“Moisture helps to protect the loaf surface as it springs, it gives it elasticity to give you maximum spring. In a dry oven, the crust forms too quickly and the loaf can’t expand.”
NEVILLE’S TIPS
1. use an independent oven thermometer (cost around $10) which you read through the door, to get the true inside temperature of the oven cavity;
2. put lots of ice in a hot pan below the loaf to generate a stream of steam (it helps, but only a bit, says Neville);
3. use a Dutch oven, a cast-iron pot with a fitted lid.
A Dutch oven (often referred to as a DO by breadies) is Neville’s pick for getting the very best bake out of any oven. It keeps the loaf in a moist environment for maximum oven spring. You then remove the lid for the last 20 minutes of baking, so the crust can develop a beautiful colour.
Mistake 5: Not baking enough
If you want to get better at making sourdough, bake regularly, says Neville. Every loaf is a learning experience.
“It can seem complicated or overwhelming, but every loaf, even a failed loaf, has a purpose. Next time you bake, you’re going to have a bit more experience, and get incrementally better and better.”
Mistake 6: Not talking to other enthusiasts
Neville says he’s found it important to connect with other bakers. He recommends the New Zealand Sourdough Bakers group on Facebook.
“Take photos, ask questions, there’s quite a few (including me) in that group. Just asking questions of experienced bakers helps a lot and reduces the learning period. In six months’, you’ll look back and see a big difference.”
MORE HERE
Recipe: Make sourdough crumpets from excess sourdough starter
