
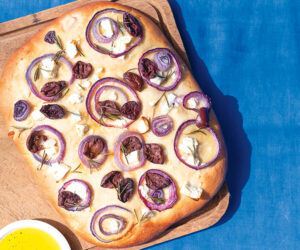
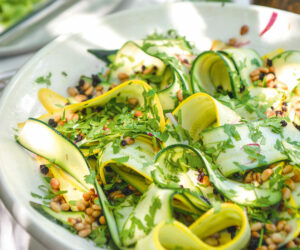
Recipe: Yoghurt Flatbread with Olives, Feta & Red Onion

Bringing back the stars

The rise of the kunekune
Aotearoa’s beloved roly-poly piggies are making a big noise overseas – with good reason.

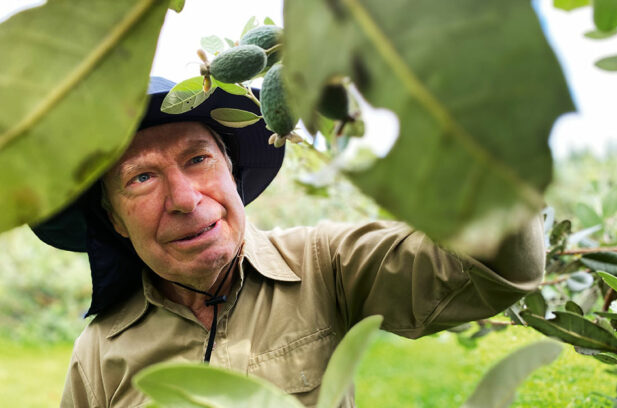
A man's journey to leadership through reconnecting to his roots
Hemi Sundgren's quest to reclaim identity and te reo Māori has put him in the roles of historian, artist and tribal leader.

Former Women’s Weekly editor publishes her first novel aged 85
With careers to date including a stint in a Melbourne nightclub and tripping the lights fantastic as an actress, why not a new late-life career?

Recipe: Peach Bellinis
This summery cocktail is often made with uncooked pureed fruit, but roasting the peaches develops their flavour and adds an extra sweetness.
Most Popular


What’s On


Featured Stories


Shop
Food


Hands-on


Most Popular
Land


Travel


Animals


Send this to a friend